Steps to create Amazon Redshift Depot
Pre-requisites specific to the Redshift Depot
To create a Redshift Depot you must have the following details:
Pre-requisites specific to Depot creation
-
Tags: A developer must possess the following tags, which can be obtained from a DataOS operator.
-
Use cases: Alternatively, instead of assigning tags, a developer can create a Depot if an operator grants them the "Manage All Instance-level Resources of DataOS in the user layer" use case through Bifrost Governance.
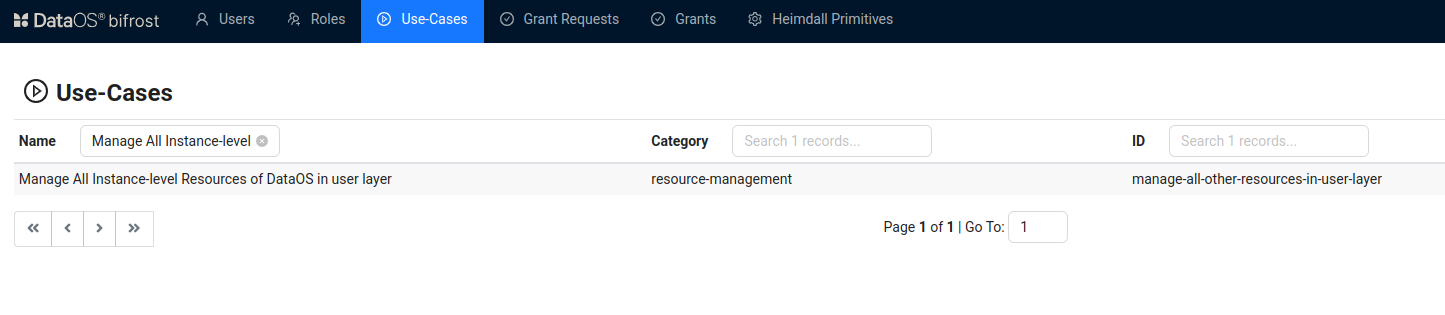
Bifrost Governance
Pre-requisites specific to the source system
-
Hostname: The hostname or endpoint of the Redshift cluster, which specifies the server address to connect to. You can obtain this from the AWS Management Console under the Redshift cluster details or ask the administrator managing the cluster.
-
Port: The port number on which the Redshift cluster is listening. The default port for Redshift is
5439, but it may differ based on your setup. Check the cluster details in the AWS Management Console or consult your database administrator. -
Database name: The name of the specific database within the Redshift cluster you want to connect to. This can be found in the AWS Management Console or provided by the database administrator.
-
Username and password: The credentials used to authenticate and access the Redshift database. These are set up when the user account is created and must be securely obtained from the Redshift administrator.
When accessing the Redshift database in Workflows or other DataOS Resources, additional details are required:
-
Bucket name: The name of the S3 bucket where the data resides. You can find this in the AWS S3 Console or consult the administrator managing the data storage.
-
Relative path: The path within the S3 bucket pointing to the data you want to access. This path is typically structured based on your data organization and can be obtained from the team managing the data or the S3 Console.
-
AWS access key: The Access Key ID used to authenticate and authorize API requests to AWS. You can obtain this from the AWS IAM (Identity and Access Management) Console under your user’s security credentials or request it from your AWS administrator.
-
AWS secret key: The Secret Access Key associated with your AWS Access Key ID. This key is also available in the AWS IAM Console under security credentials and must be securely stored. If you do not have access, request it from your AWS administrator.
Create a Redshift Depot
DataOS provides the capability to establish a connection with the Amazon Redshift database. We have provided the template for the manifest file to establish this connection. To create a Depot of type ‘REDSHIFT‘, follow the below steps:
Step 1: Create an Instance Secret for securing Redshift credentials
Begin by creating an Instance Secret Resource by following the Instance Secret document.
Step 2: Create a Redshift Depot manifest file
Begin by creating a manifest file to hold the configuration details for your Redshift Depot.
name: ${{redshift-depot-name}}
version: v2alpha
type: depot
tags:
  - ${{redshift}}
description: ${{Redshift Sample data}}
owner: ${{owner-name}}
layer: user
depot:
  type: REDSHIFT
  external: ${{true}}
  secrets:
    - name: ${{redshift-instance-secret-name}}-r
      allkeys: true
    - name: ${{redshift-instance-secret-name}}-rw
      allkeys: true
  redshift:
    host: ${{hostname}}
    subprotocol: ${{subprotocol}}
    port: ${{5439}}
    database: ${{sample-database}}
    bucket: ${{tmdc-dataos}}
    relativePath: ${{development/redshift/data_02/}}
To get the details of each attribute, please refer to this link.
Step 3: Apply the Depot manifest file
Once you have the manifest file ready in your code editor, simply copy the path of the manifest file and apply it through the DataOS CLI by pasting the path in the placeholder, using the command given below:
Verify the Depot creation
To ensure that the Depot has been successfully created, you can verify it in two ways:
-
Check the name of the newly created Depot in the list of Depots where you are named as the owner:
-
Additionally, retrieve the list of all Depots created in your organization:
You can also access the details of any created Depot through the DataOS GUI in the Operations App and Metis UI.
Delete a Depot
If you need to delete a Depot, use the following command in the DataOS CLI:
By executing the above command, the specified Depot will be deleted from your DataOS environment.