Building an Application with Appsmith
This guide walks you through creating a simple Appsmith application to consume a DataOS Data Product. Let's get started and transform your data into interactive and insightful visualizations!
What do you need to get started?
-
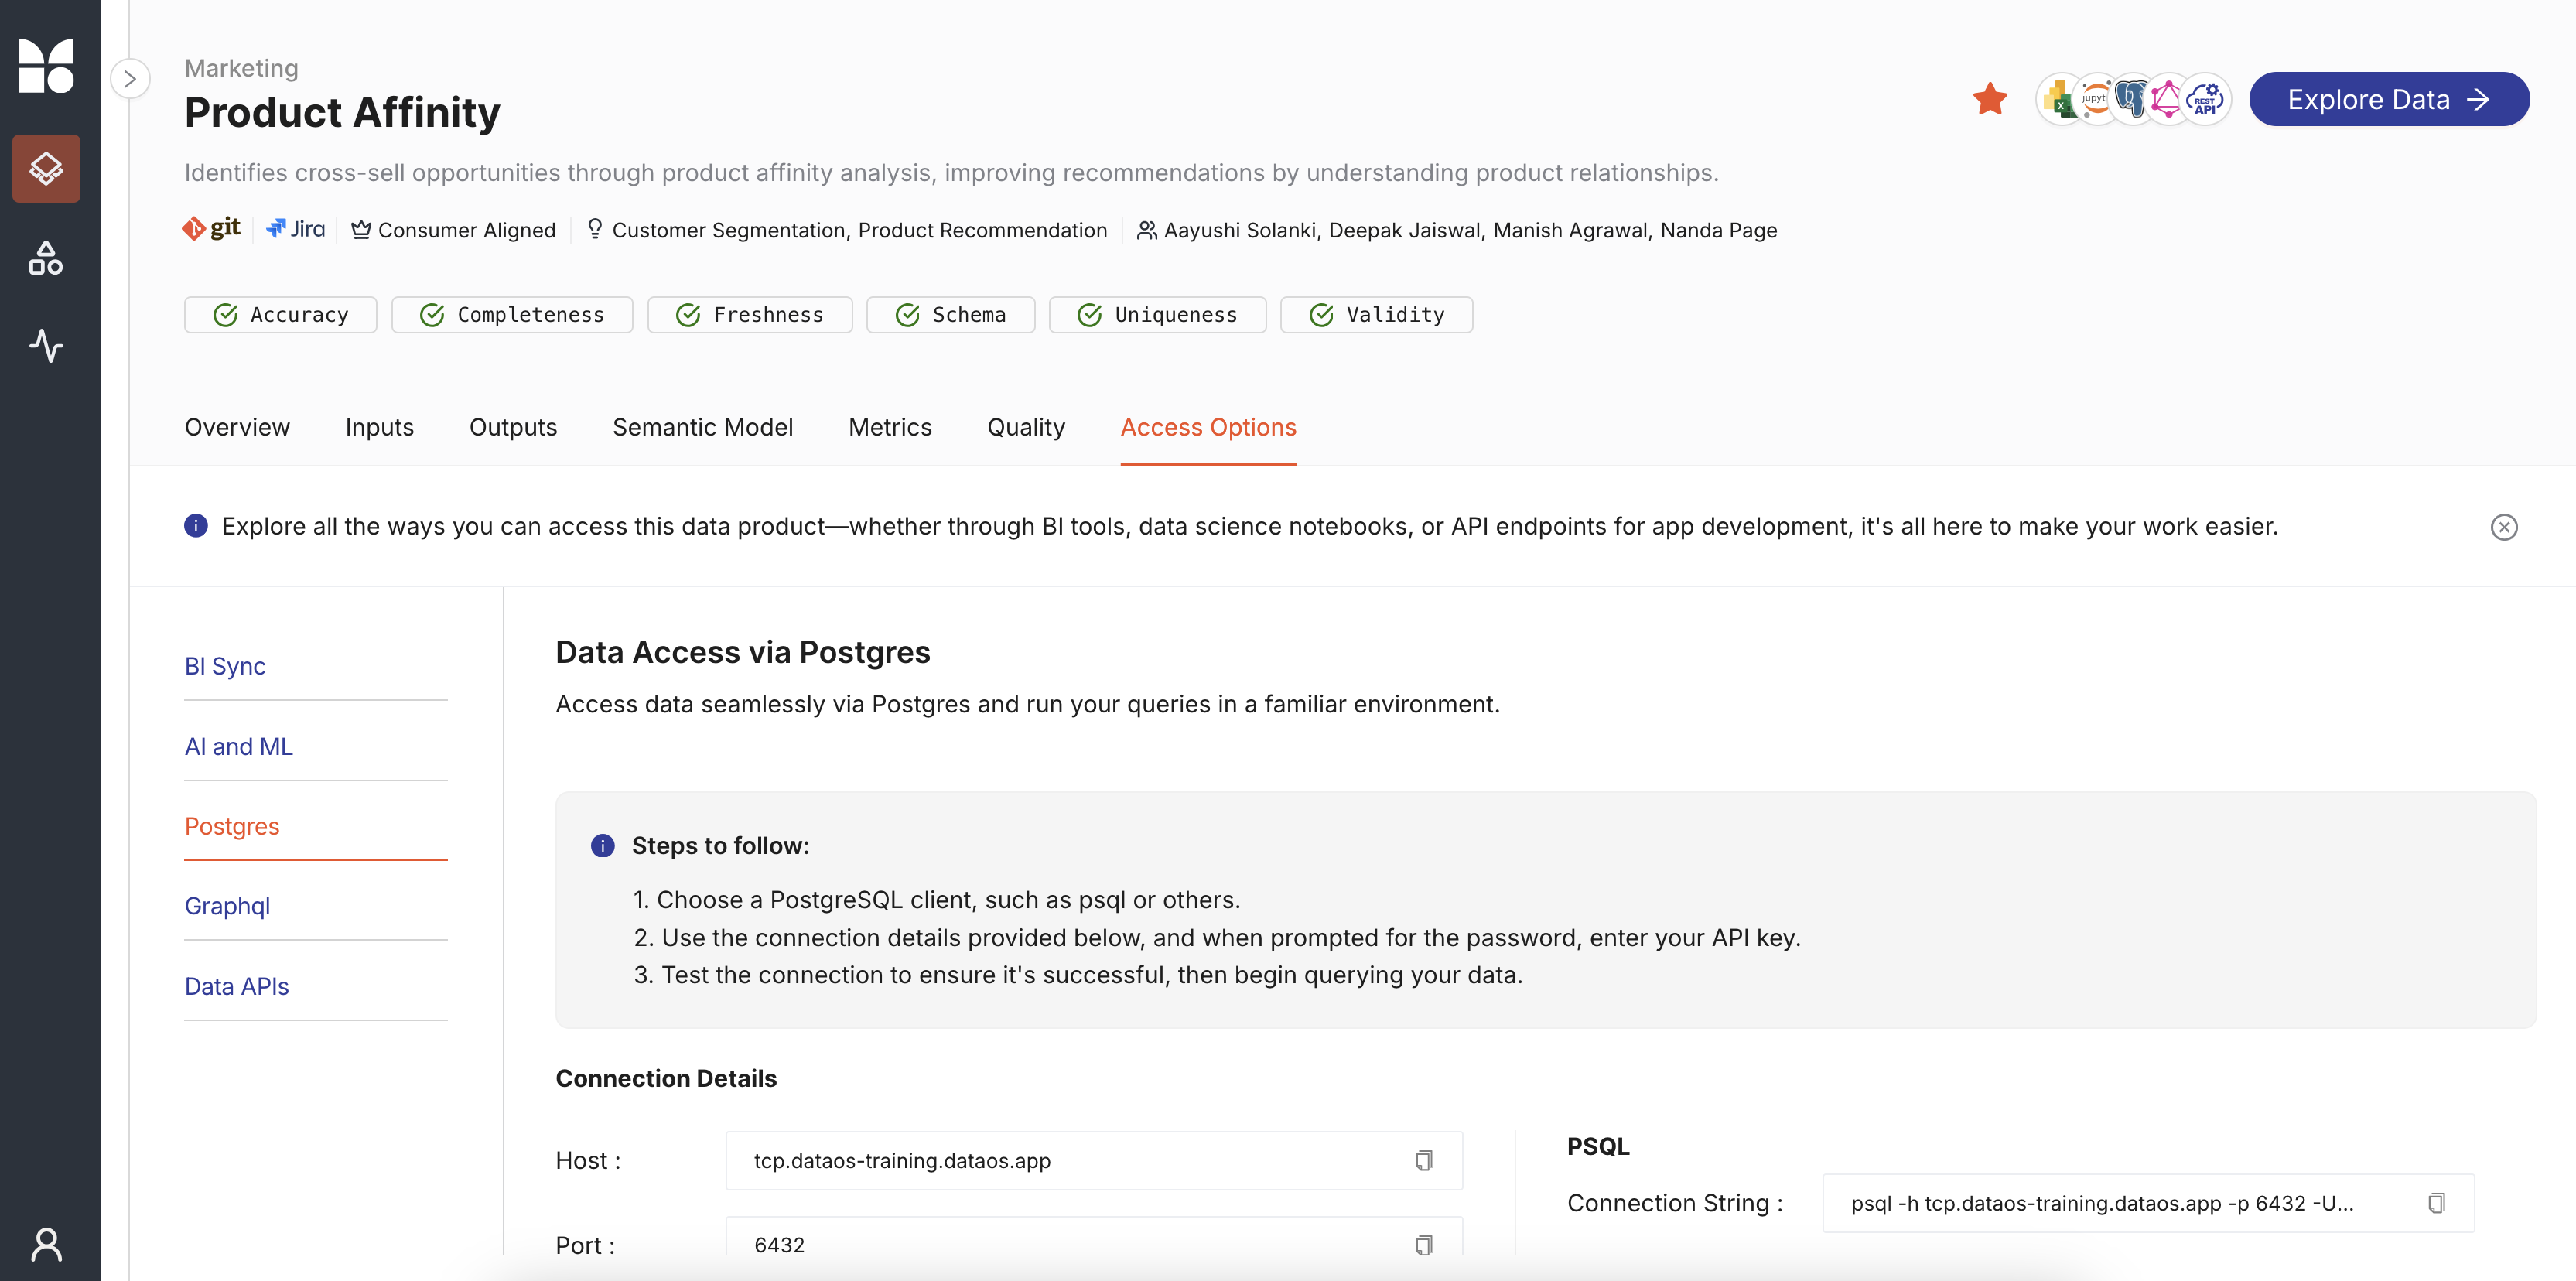
Ensure your Data Product is created and the semantic model is configured before starting application development. For this demonstration, we are using the Product Affinity Data Product. Once completed, the following access options will be available.
-
To access your data over HTTP using
curl, refer to this link.
Using cURL for requests
Using cURL to connect with Appsmith allows you to quickly import API requests directly from the command line. This method is useful for users who have pre-existing cURL commands and want to seamlessly integrate them into their Appsmith applications.
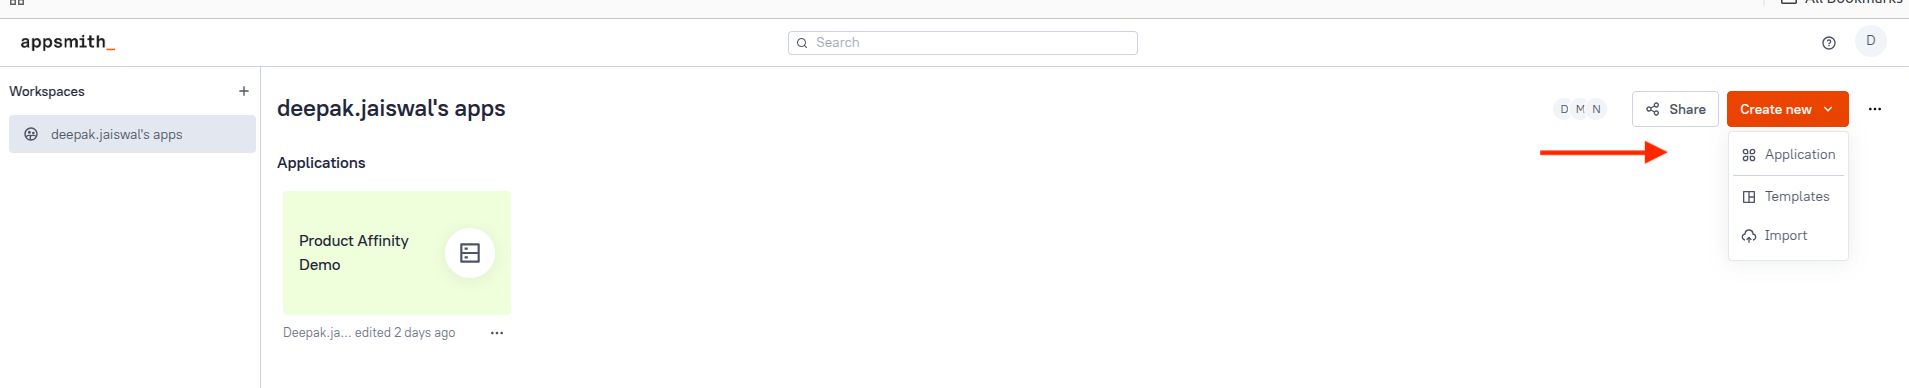
Step 1: Log in and set up your workspace
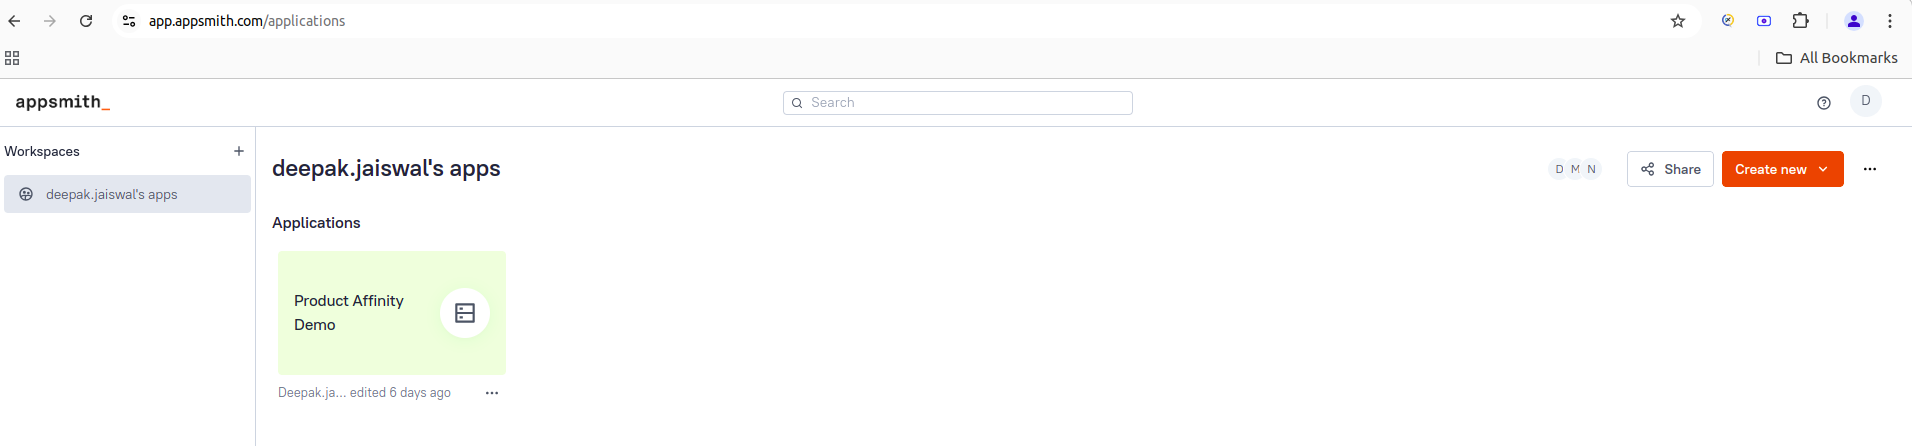
- Log in to Appsmith to access your home screen. You’ll find an existing workspace or create one if it’s your first time.
-
In your workspace, click the "Create New" button at the top right.
Step 2: Start creating your application
- Select "Application" to create a new application. You can either choose a template or start from scratch.
-
Once selected, you’ll land on the editor page where you’ll design and develop your application.
Step 3: Import and configure your API
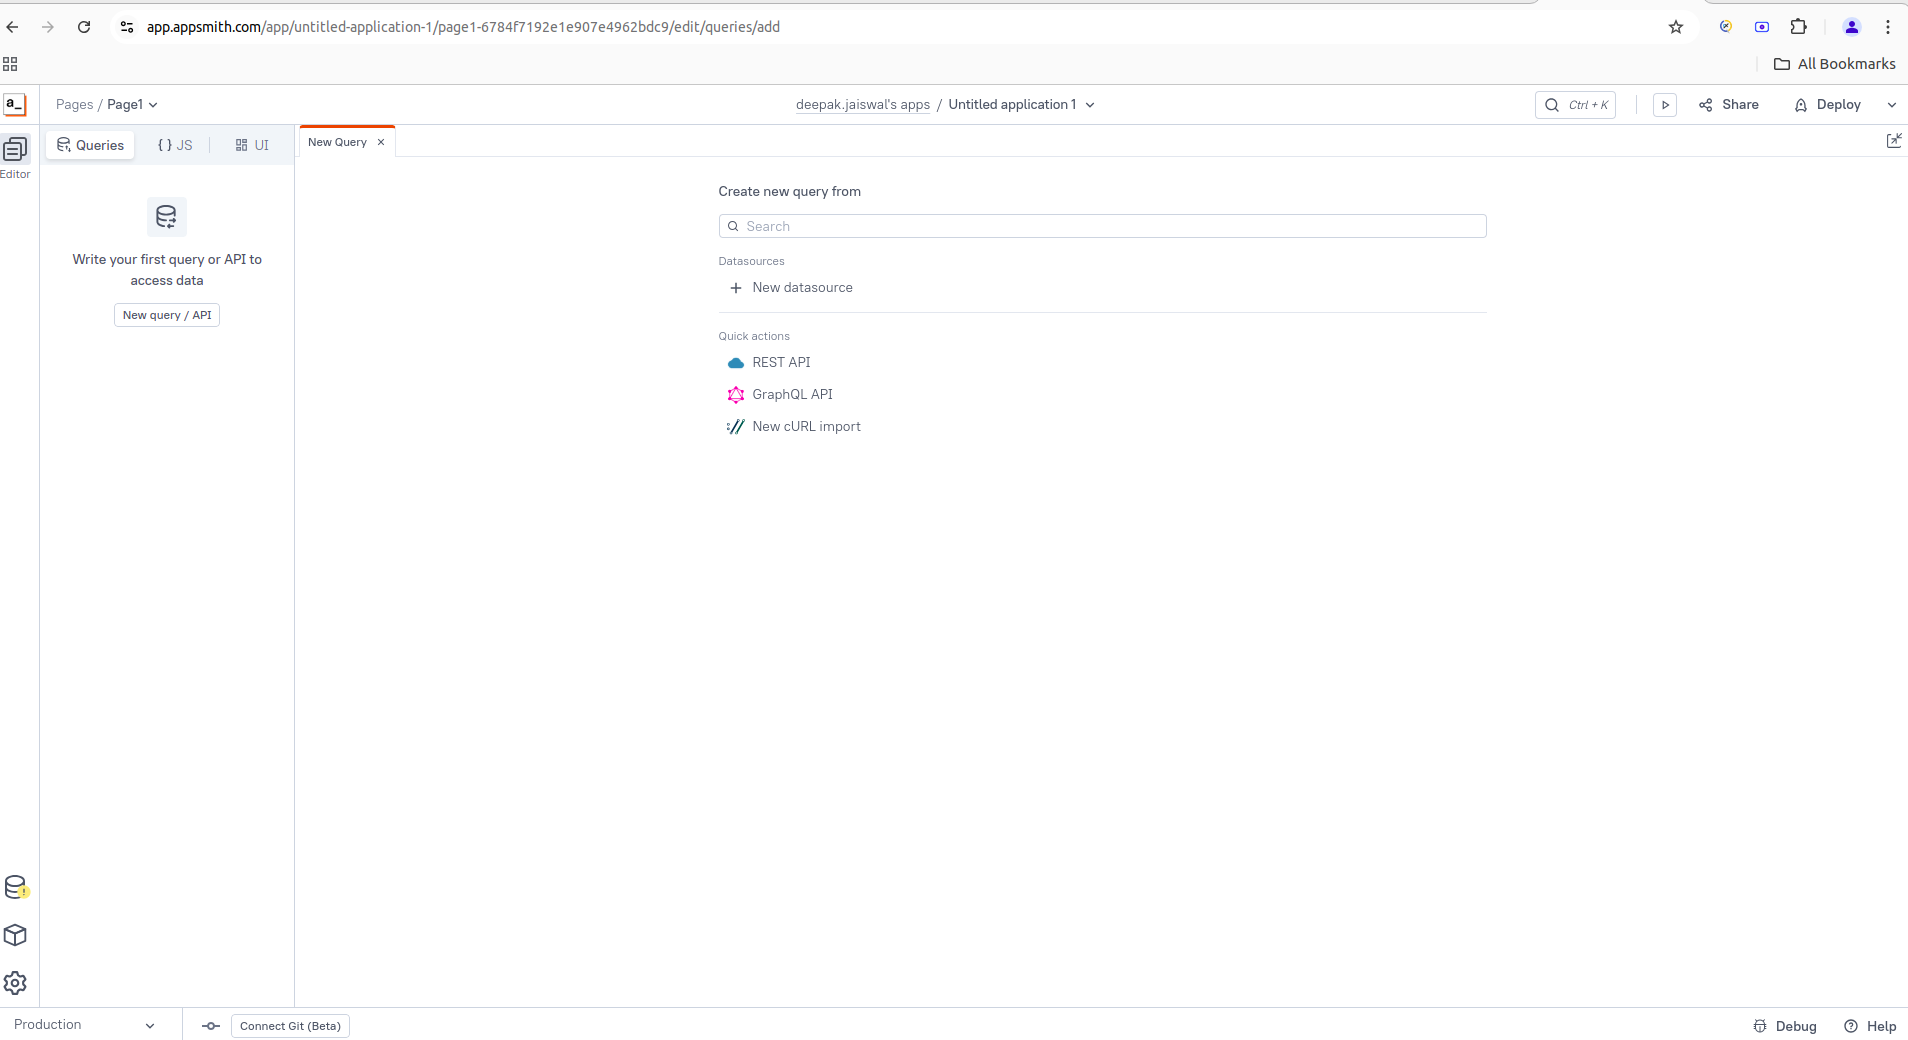
-
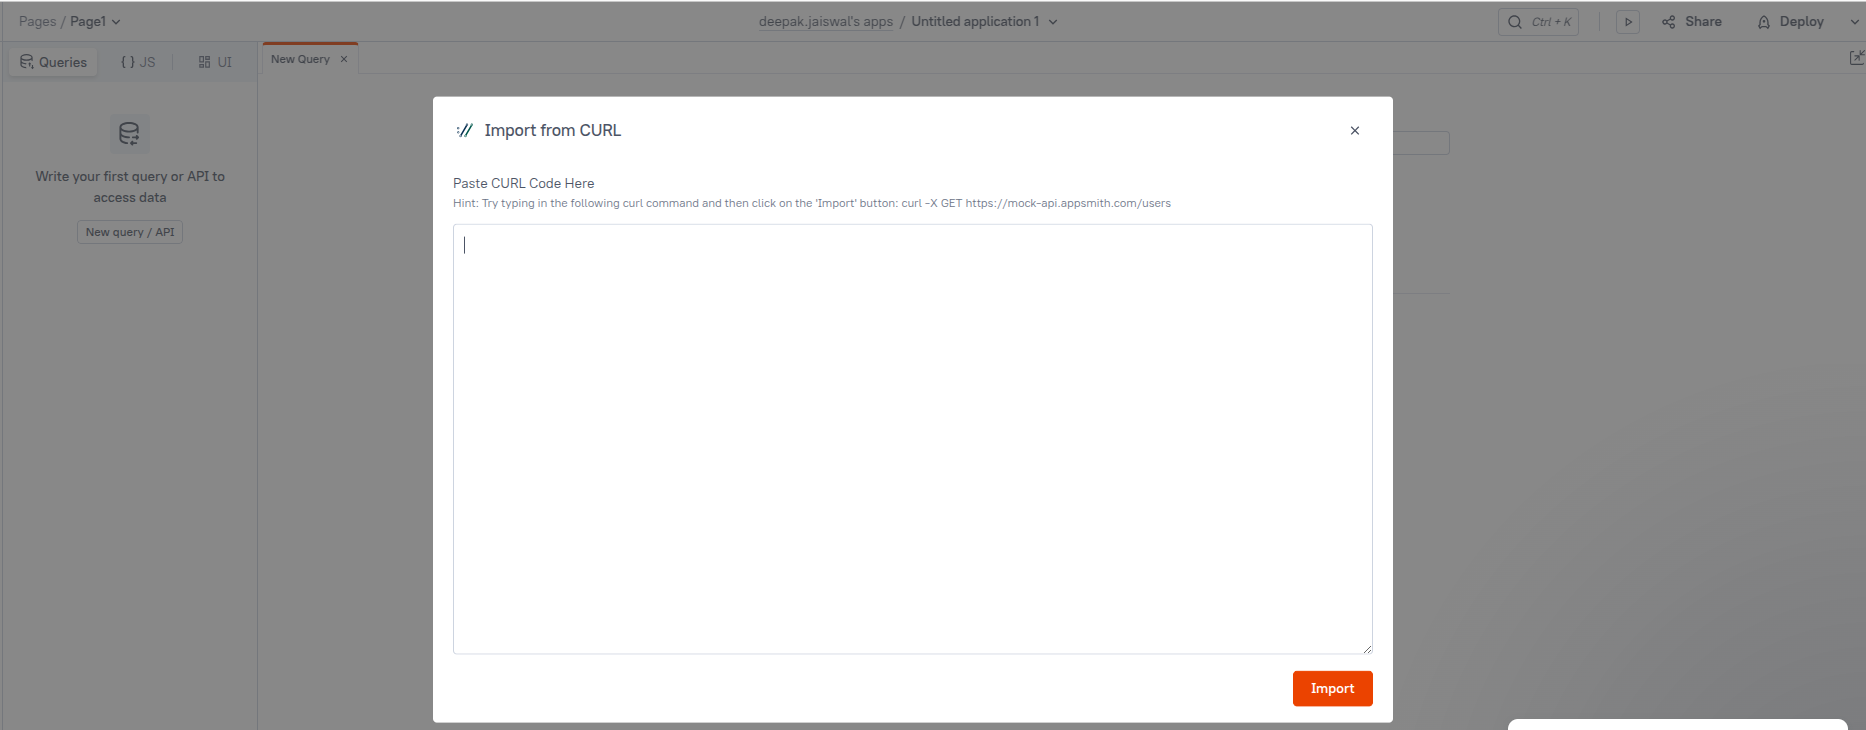
Navigate to the Queries section, then choose "Import via cURL" from Quick Actions.
-
Paste the cURL command obtained. Ensure the API key is added in the command.
-
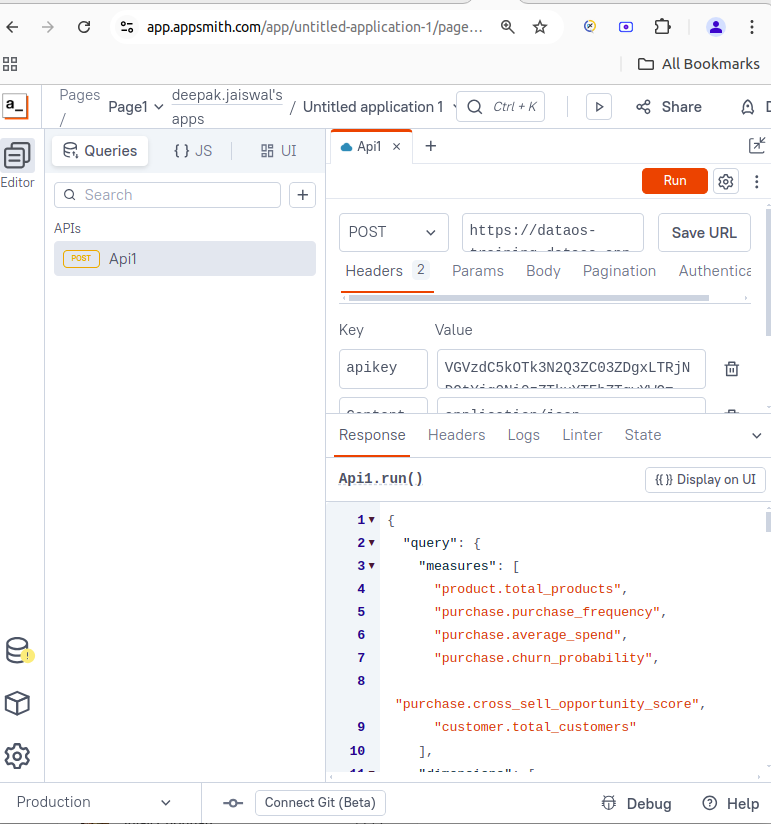
Validate the query by running it and renaming it for easy identification during UI binding.
Step 4: Build your user interface
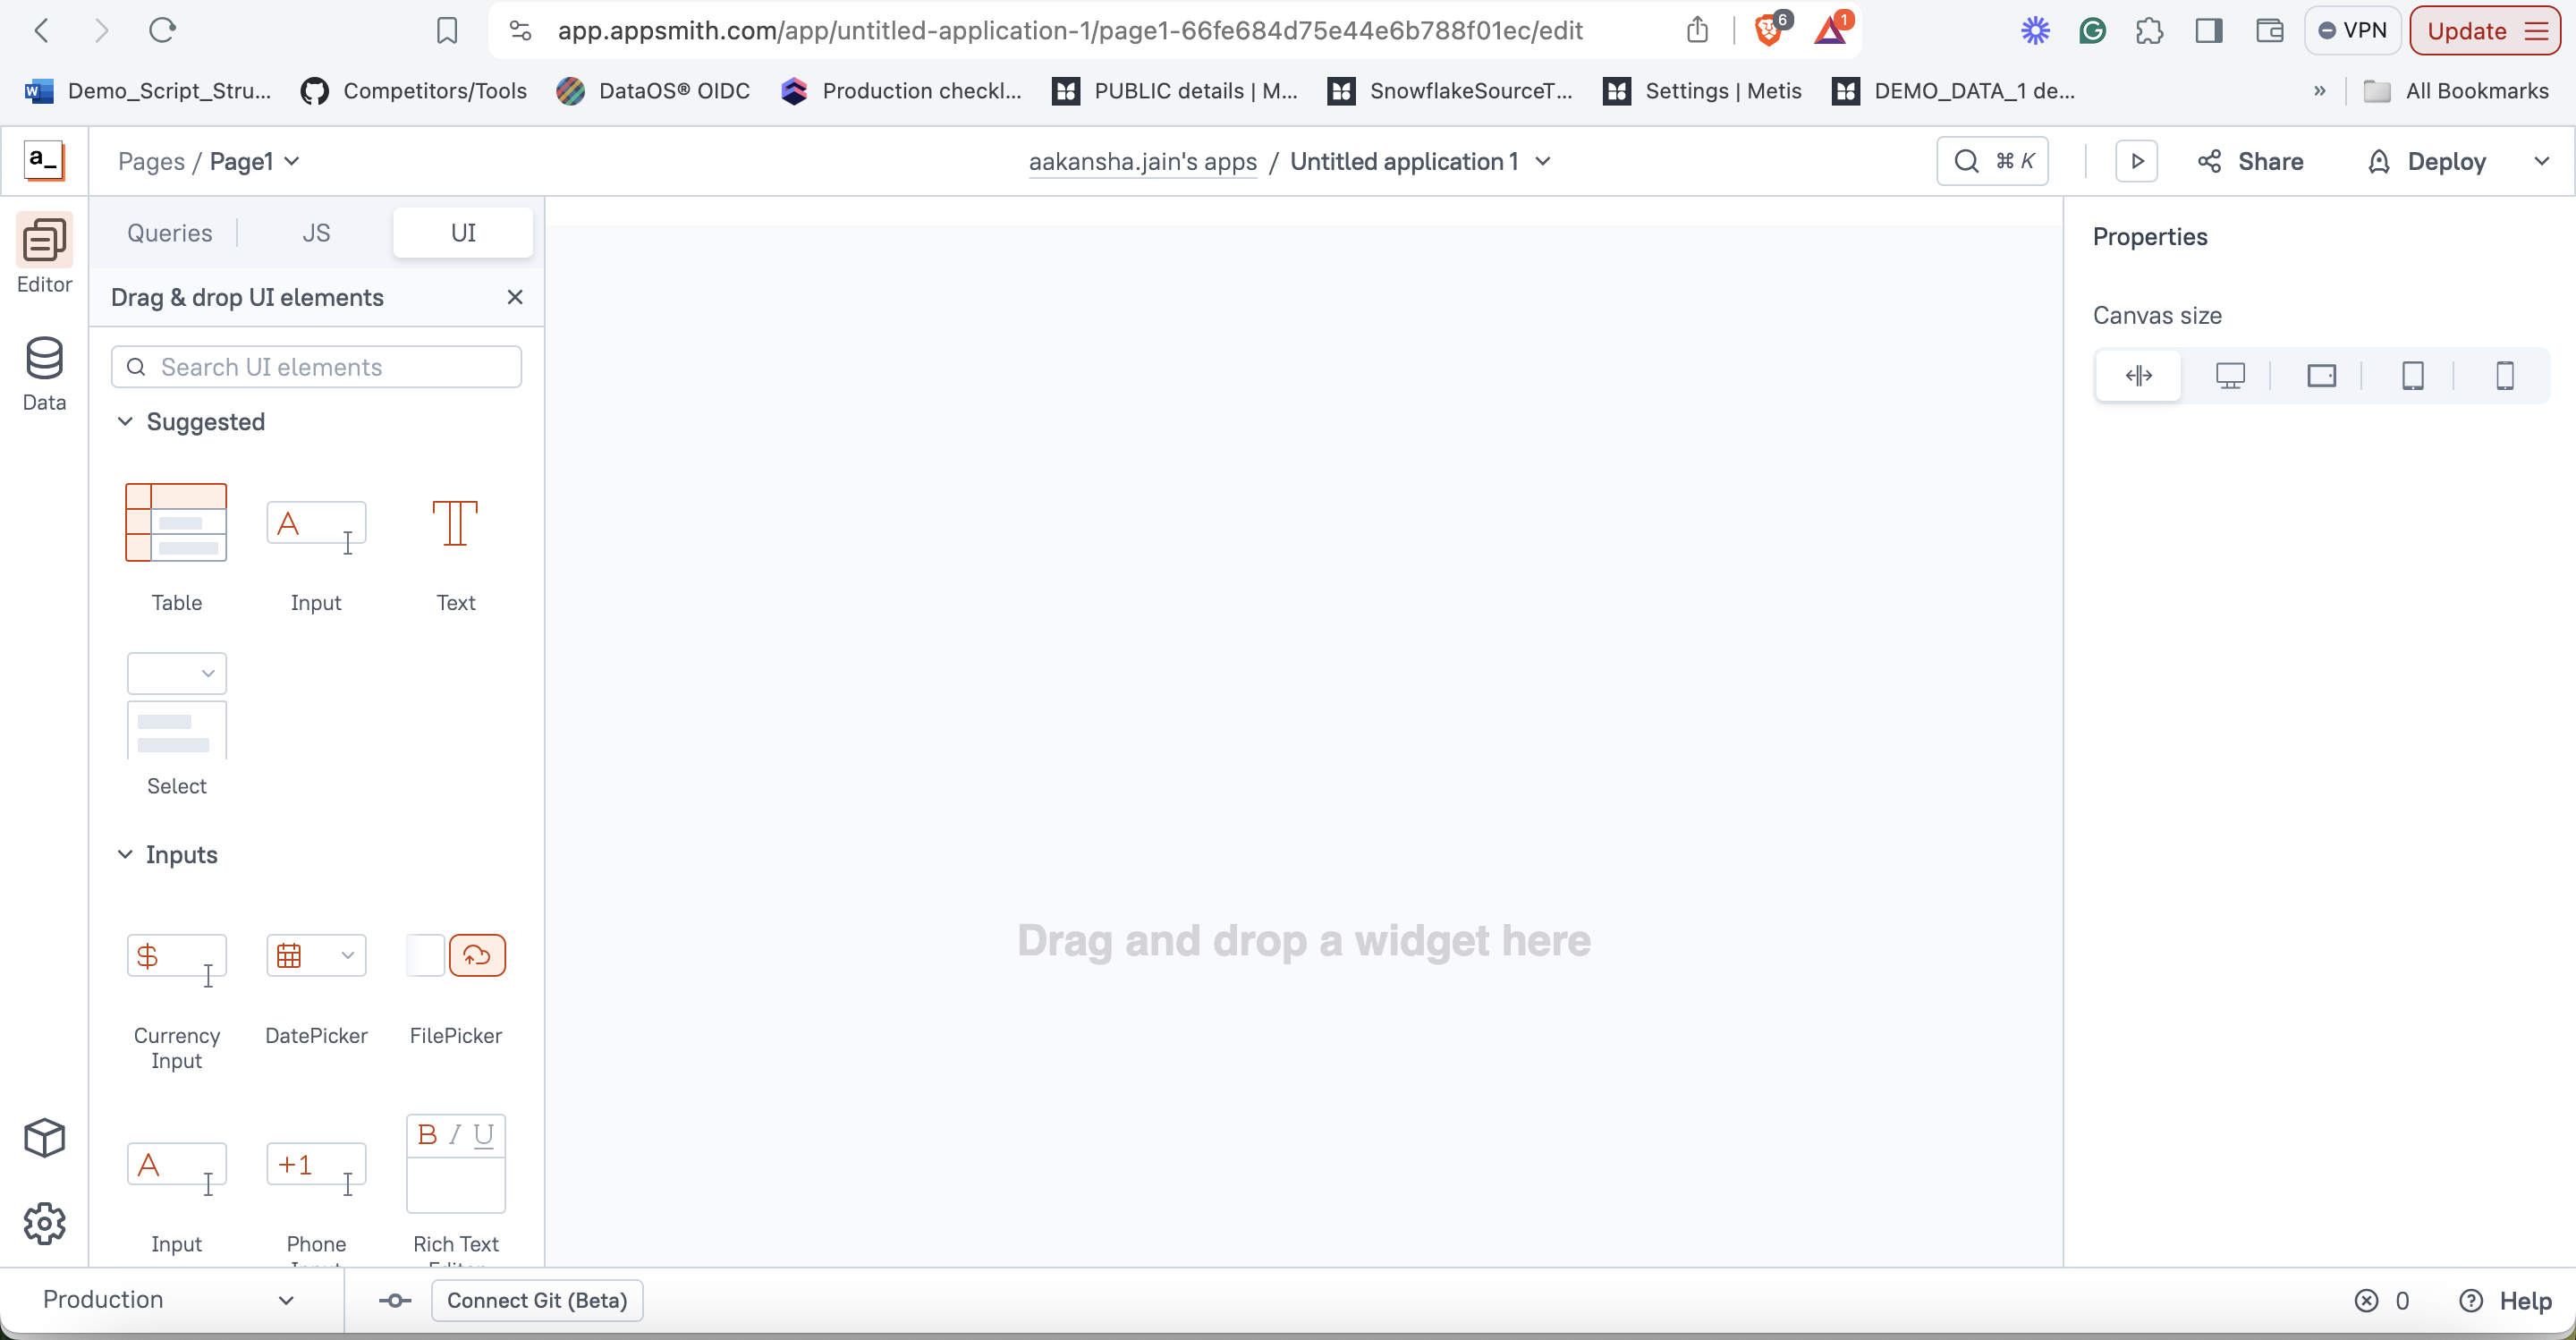
-
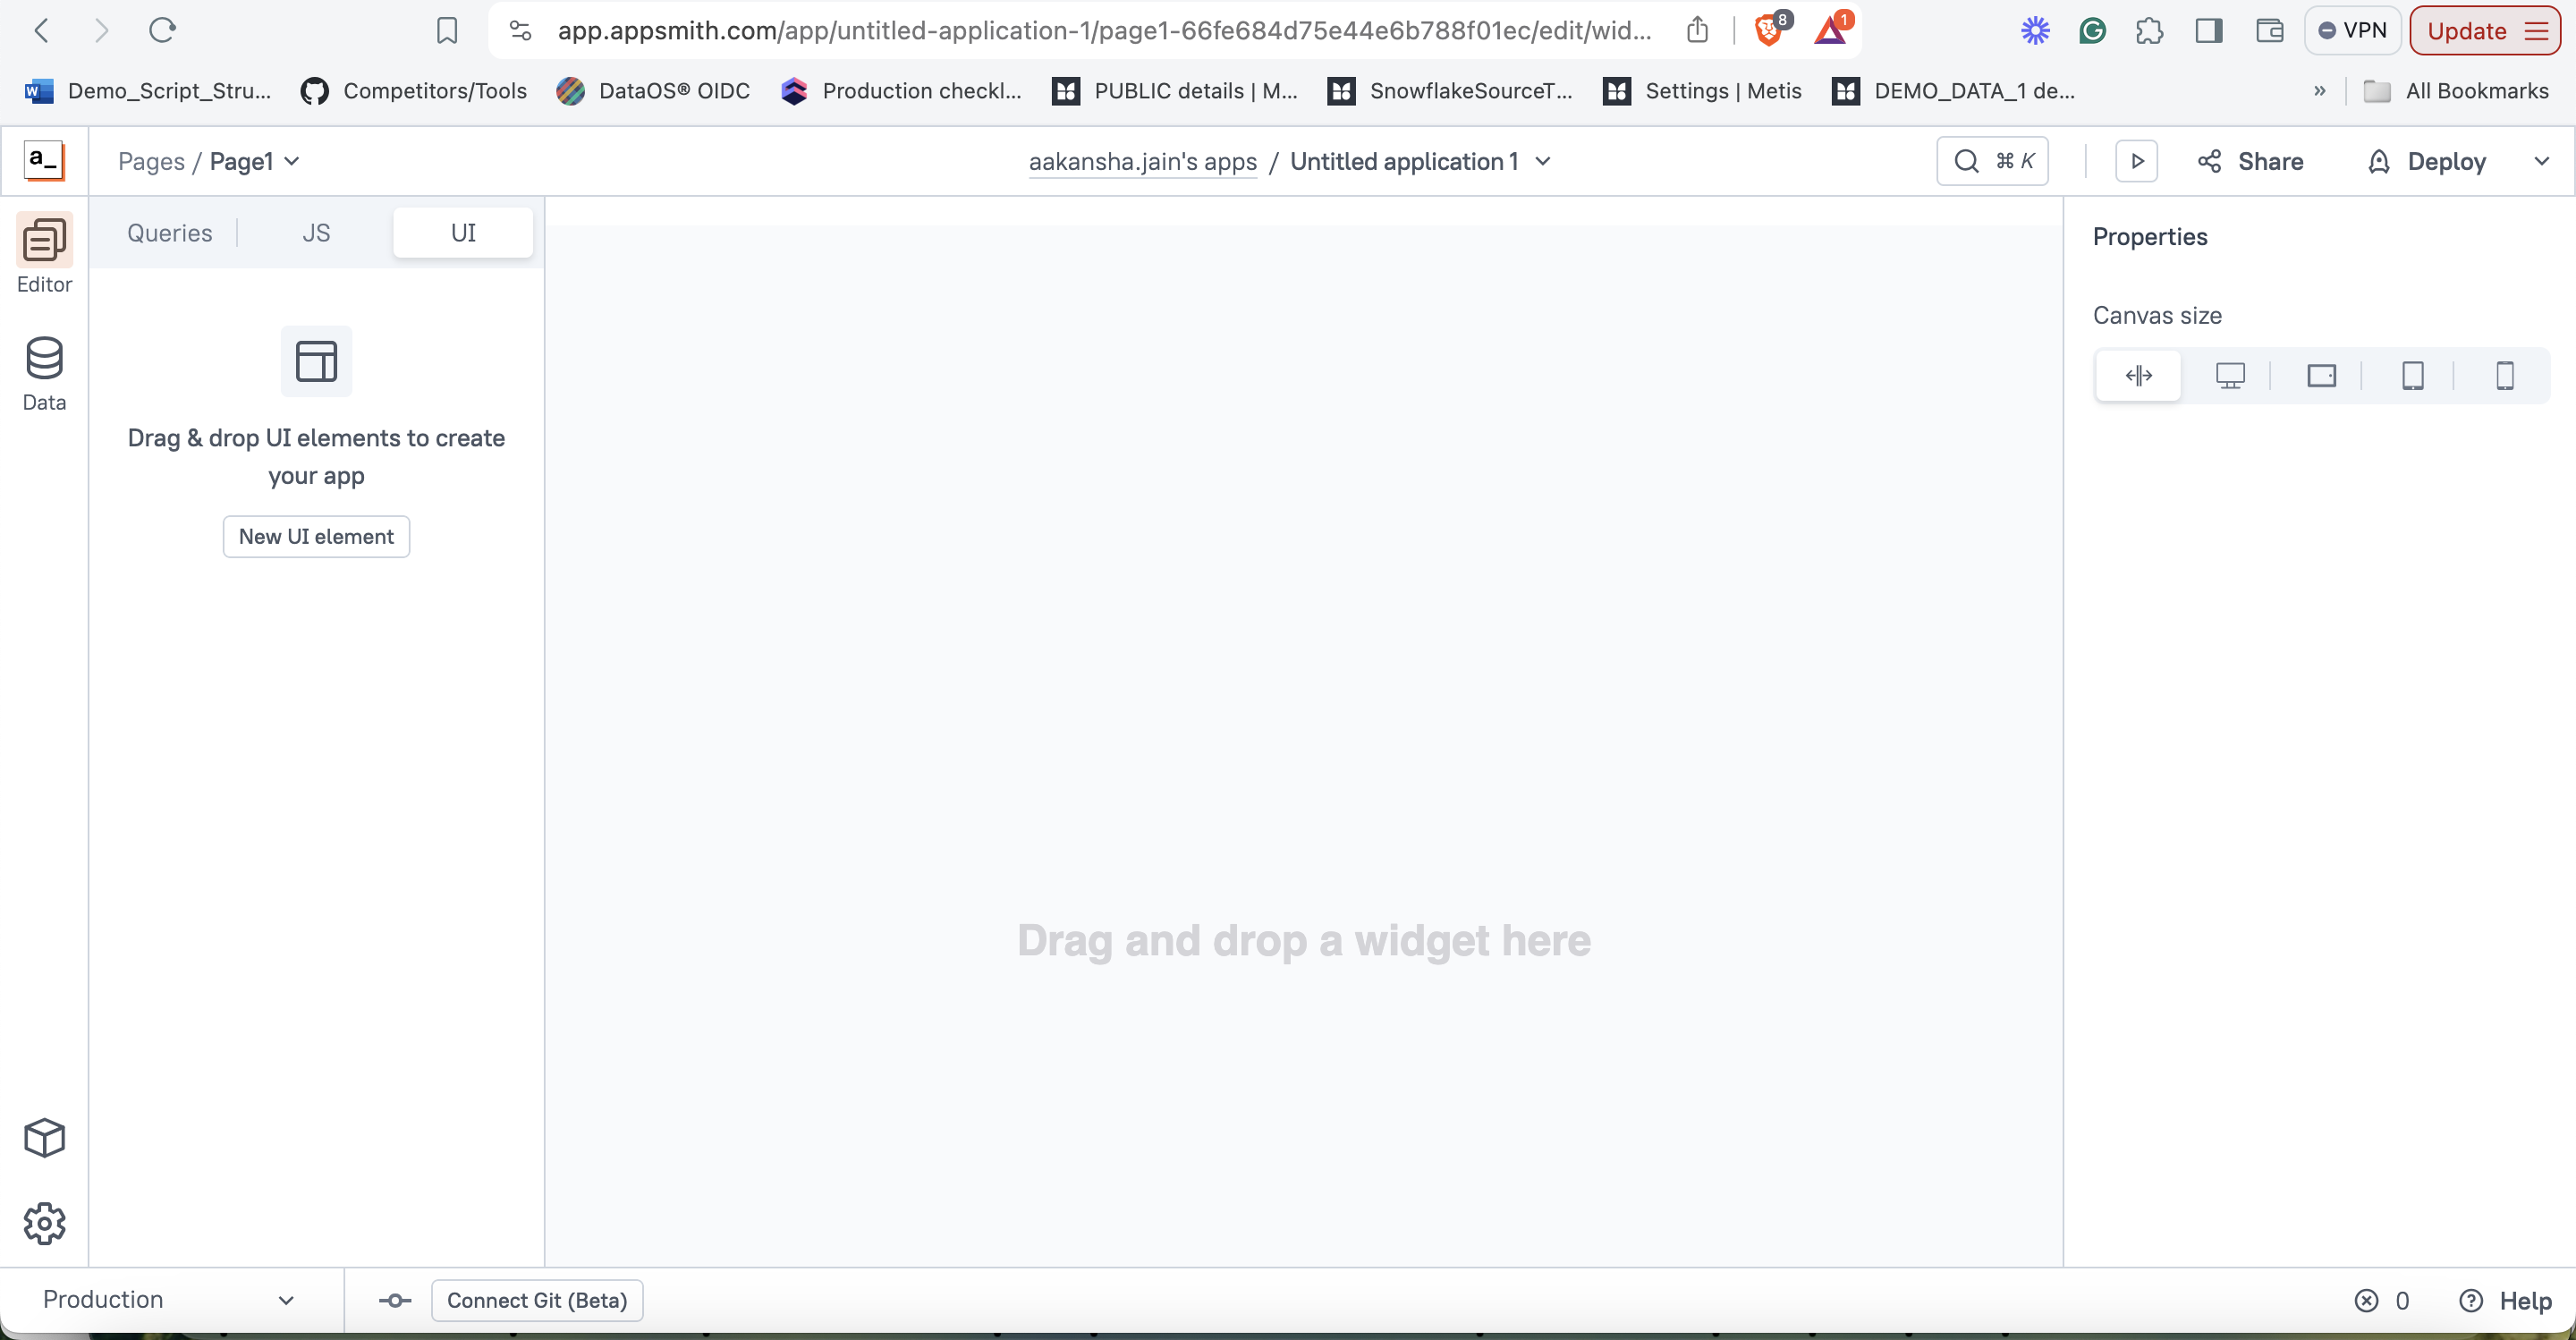
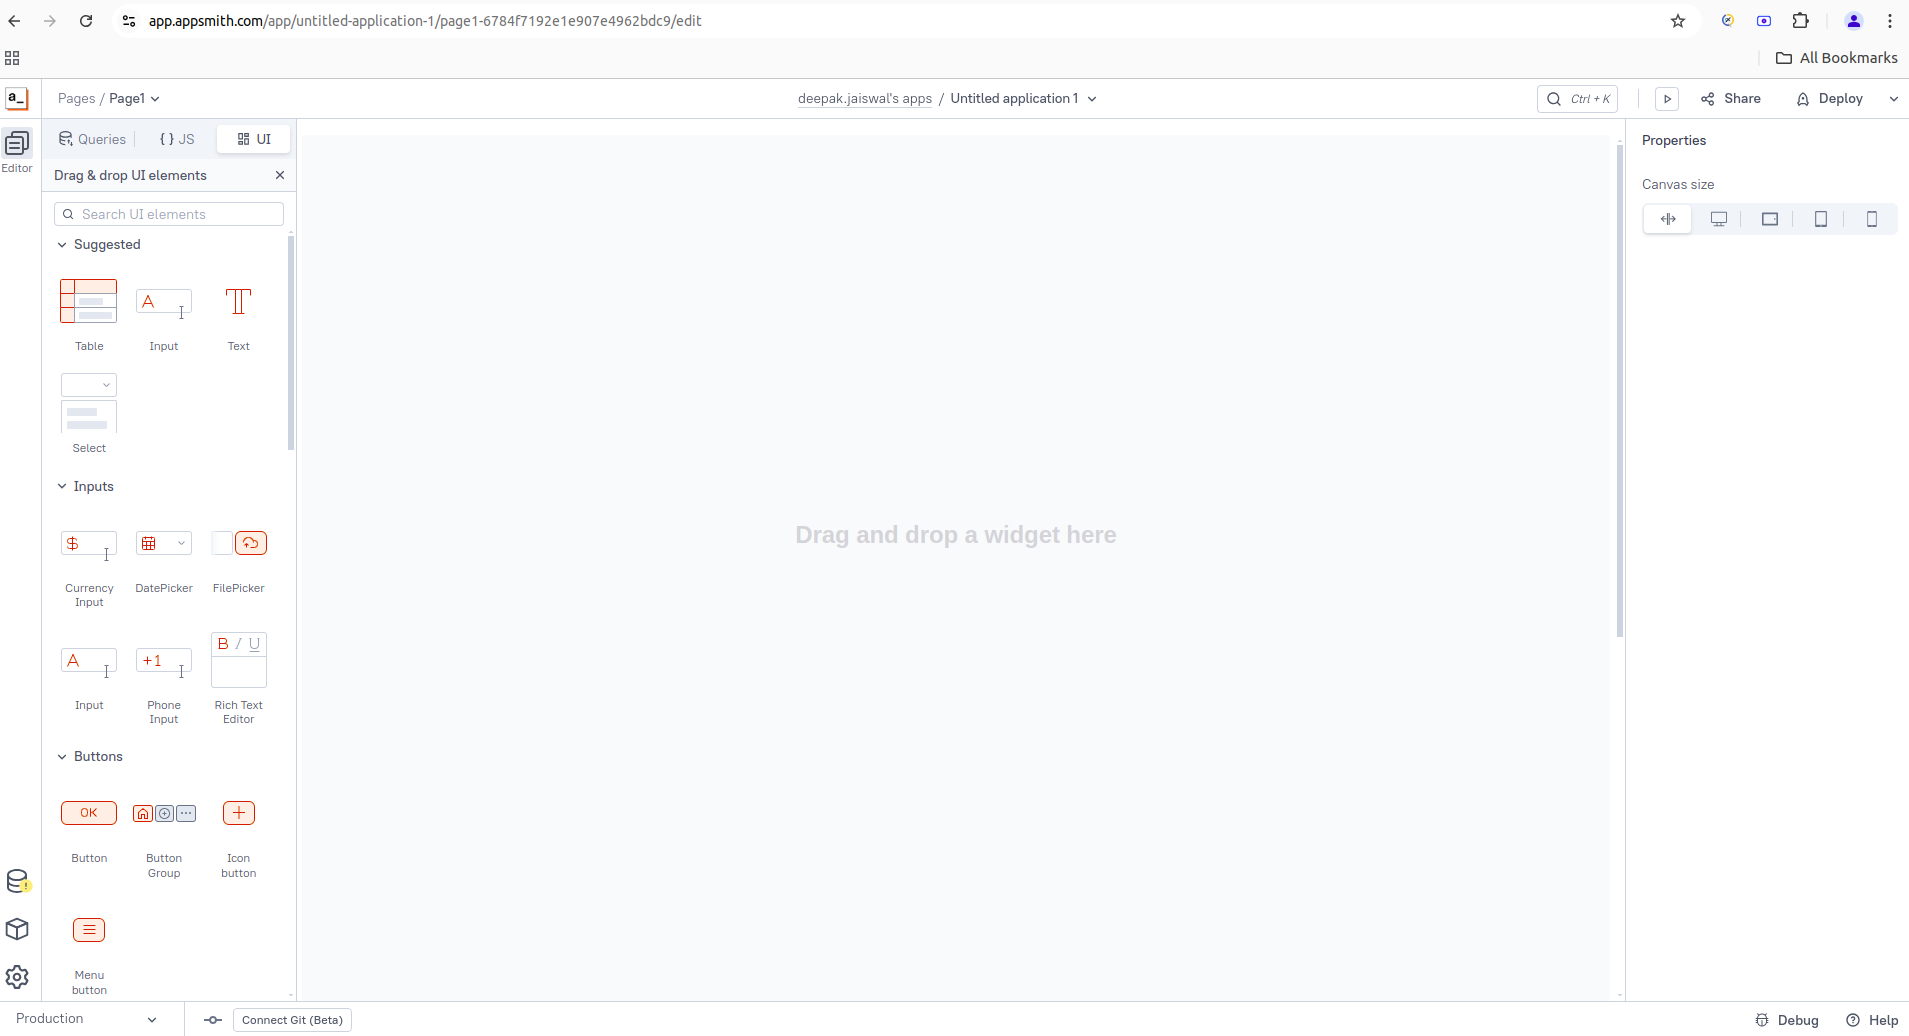
Switch to the UI tab and start designing your app by dragging and dropping UI elements (like charts, tables, etc.) onto the canvas.
-
Select widgets and configure them based on your visualization needs.
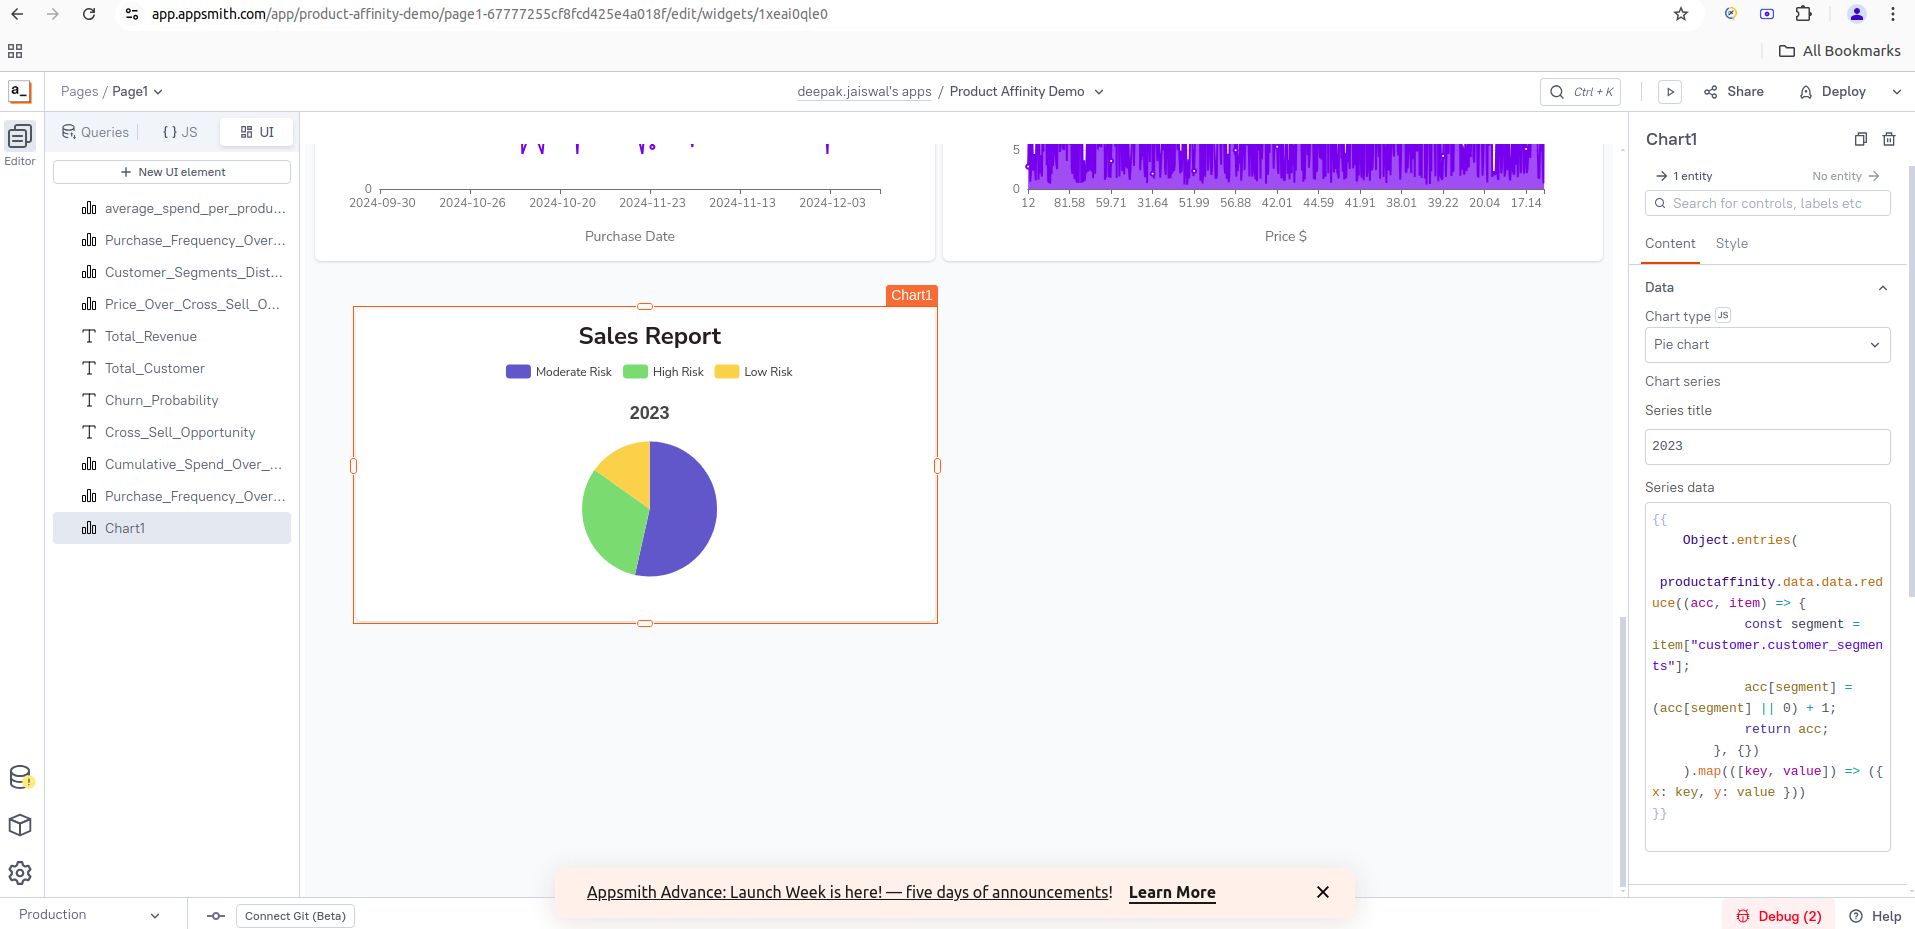
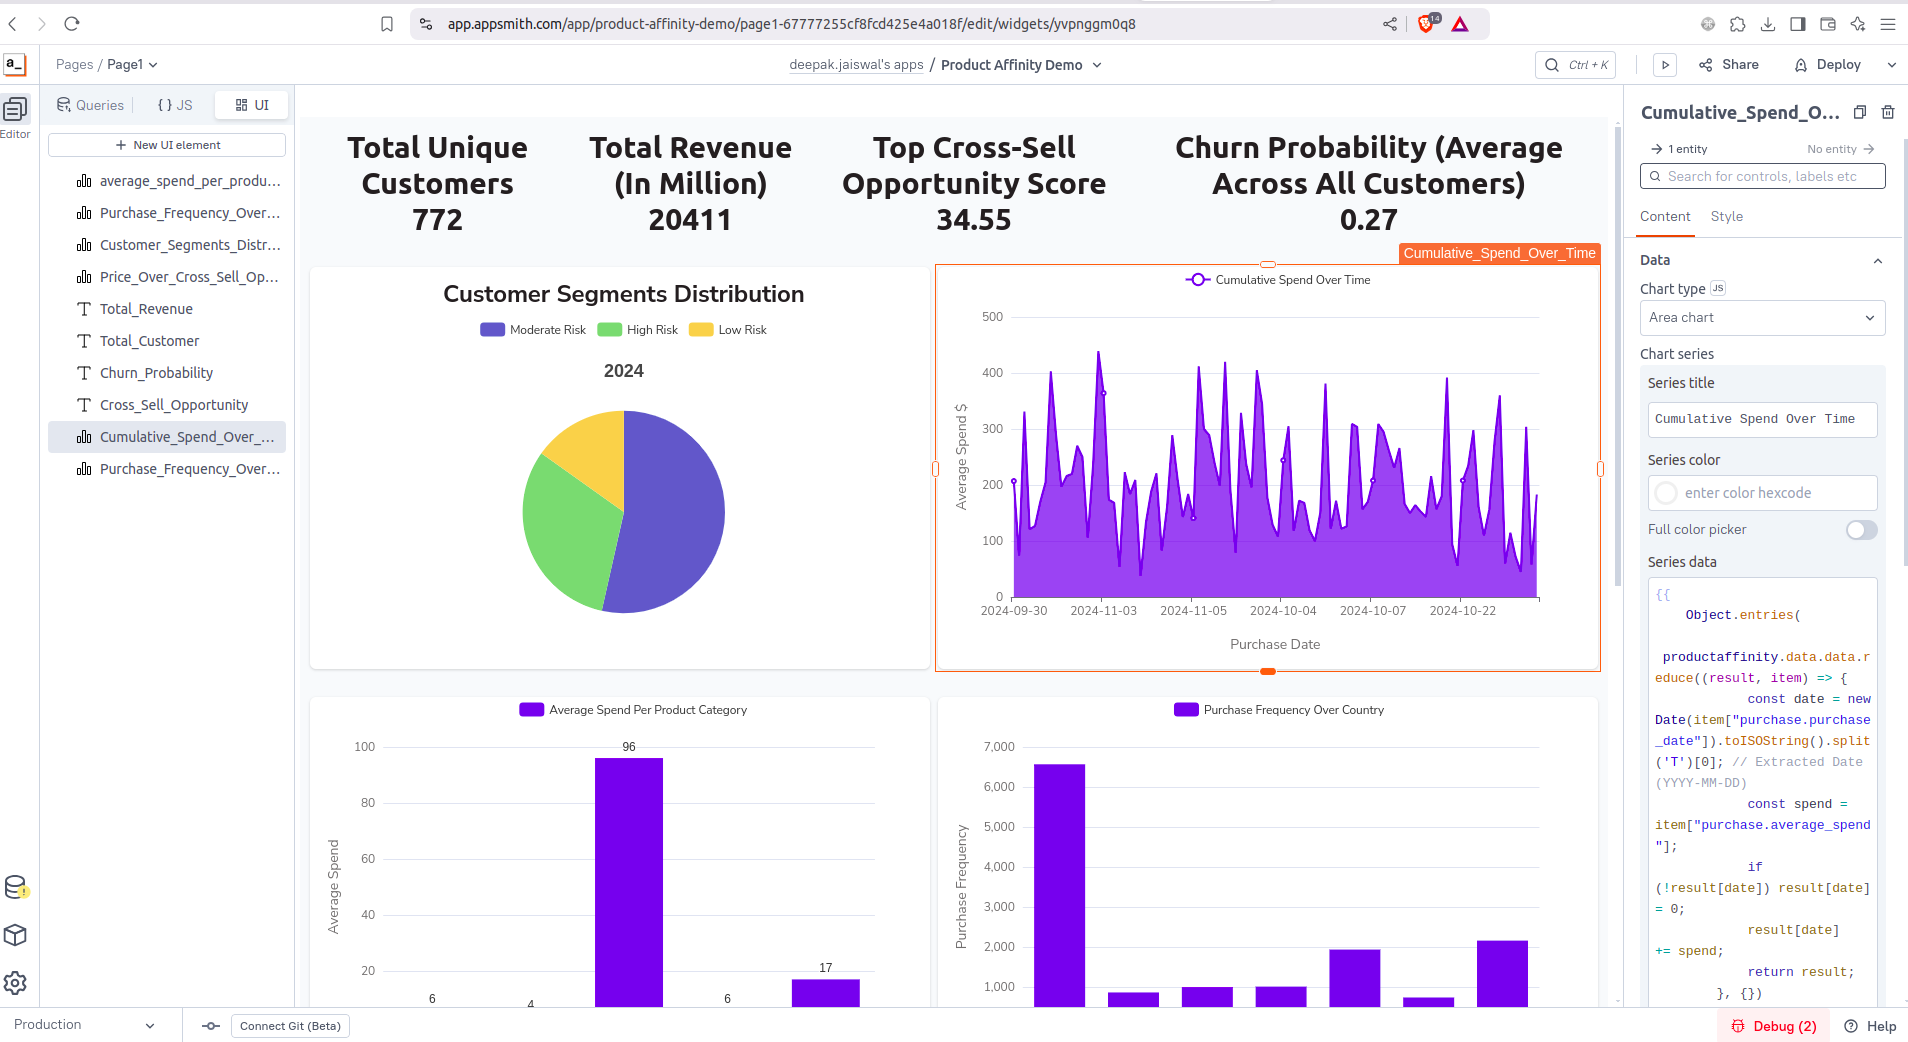
Step 5: Bind your data to the UI
- Connect your UI elements to the query you created earlier by selecting its name.
- Your data will populate the visualization in real time.
- A right-side panel will open where you can edit the JavaScript settings as needed
-
Add more visualizations as needed for your use case. Experiment with different types and use Appsmith’s features to enhance and refine your app.
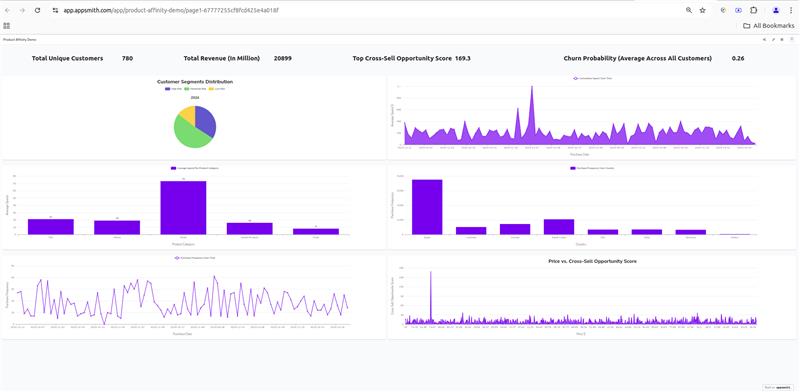
Step 6: Deploy your application
-
Once your application is complete, click the 'Deploy' button in the top-right corner.
-
Your deployed application will look something like this:
Querying via Postgres
Step 1: Log in and set up your workspace
Log in to Appsmith to access your home screen. You’ll find an existing workspace or create one if it’s your first time. In your workspace, click the 'Create New' button at the top right.
Step 2: Start creating your application
-
Select 'Application' to create a new application. You can either choose a template or start from scratch.
-
Once selected, you’ll land on the editor page where you’ll design and develop your application.
Step 3: Configure your source
-
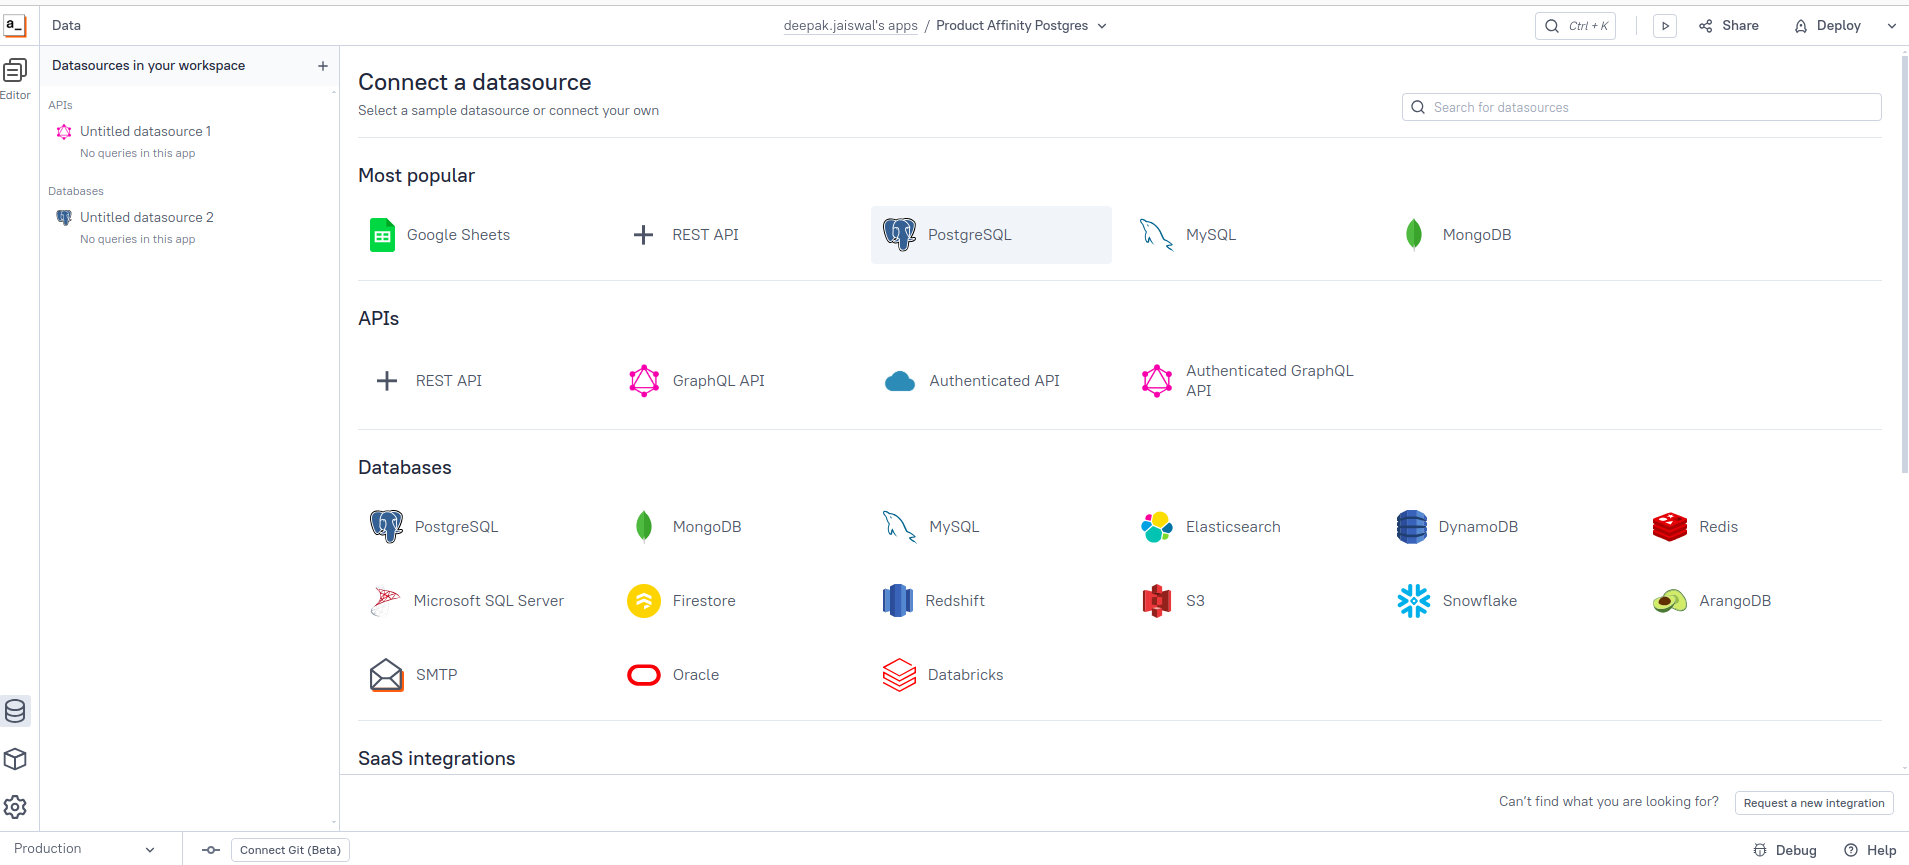
Navigate to the Query tab. Click on the + button to add a new data source.

-
Select PostgreSQL as your data source.
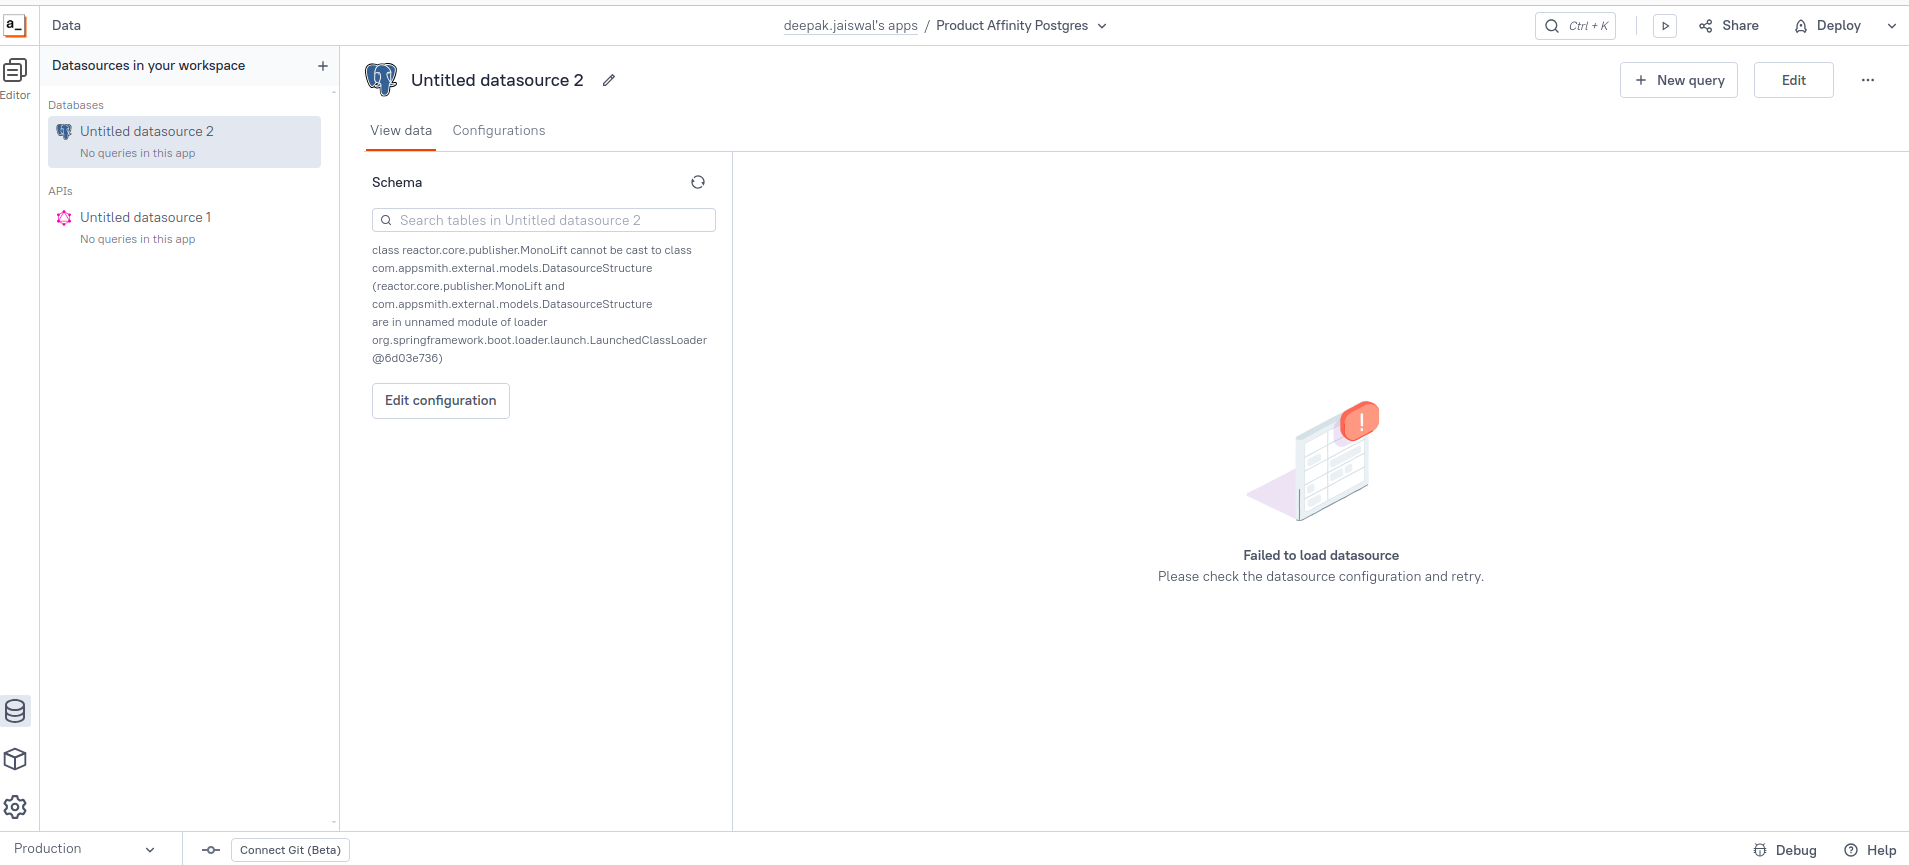
-
You will see the following screen. Click on ‘Edit Configurations’ to provide the datasource connection details.
-
Enter your credentials and click Save.
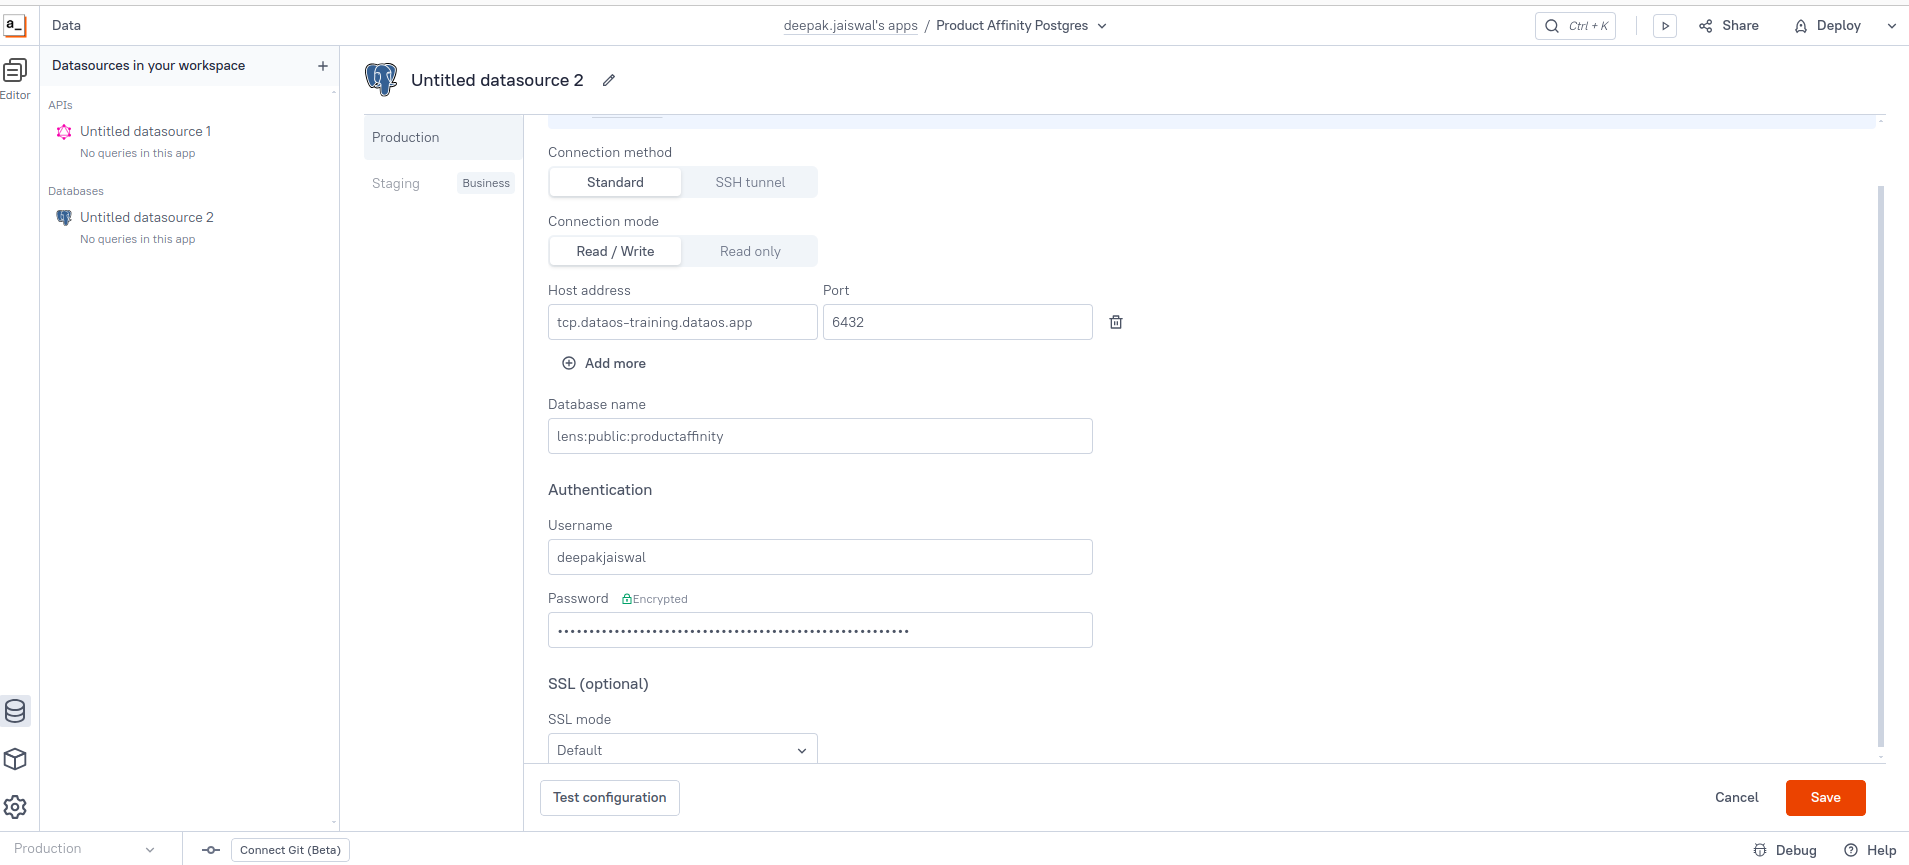
You can customize the data source name to better reflect its purpose or enhance clarity.
Step 4: Write your query to fetch data
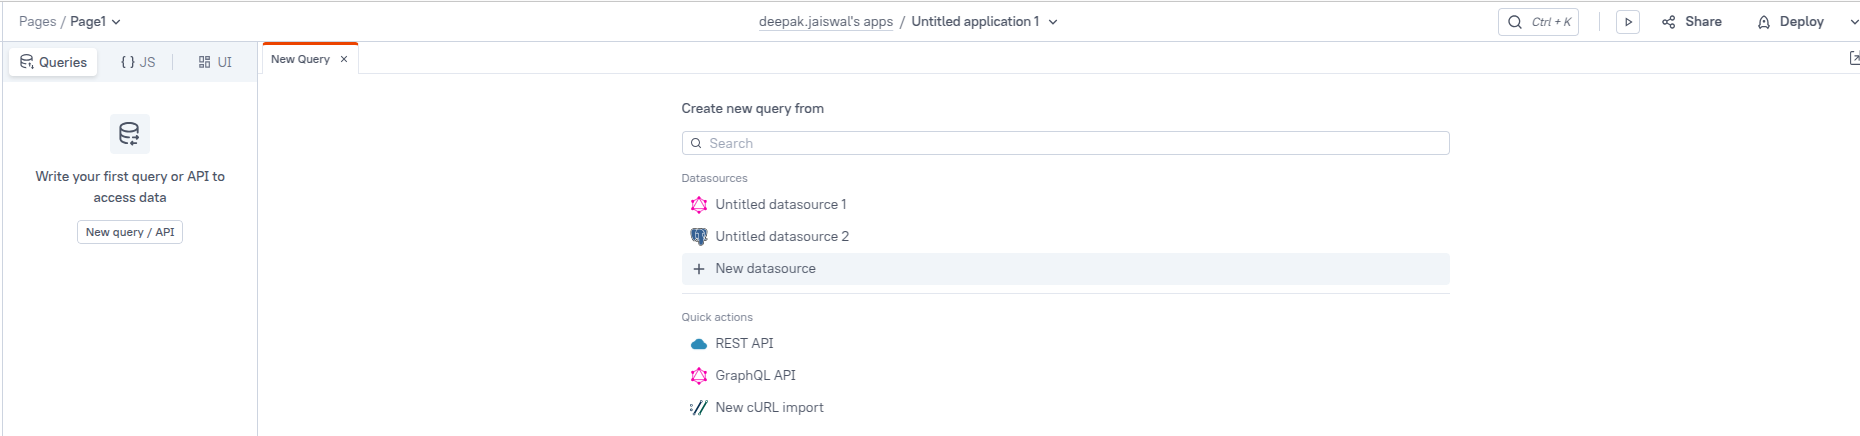
-
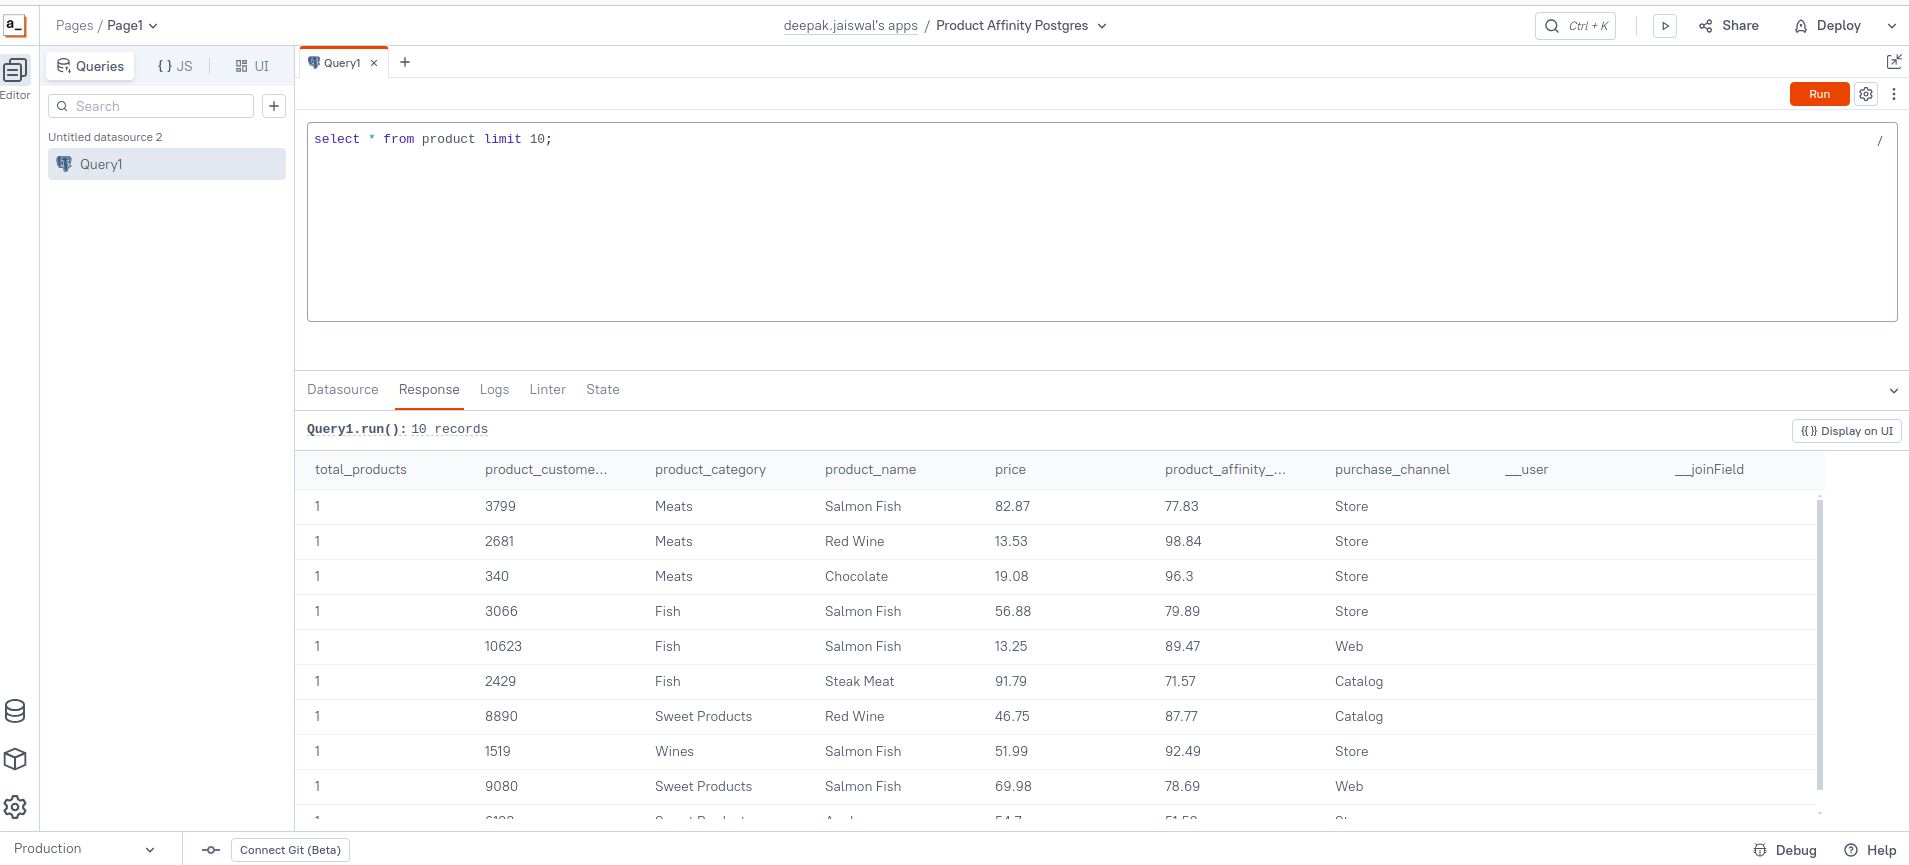
After the source is created, you'll see the screen below. Click on New Query to start building your query.
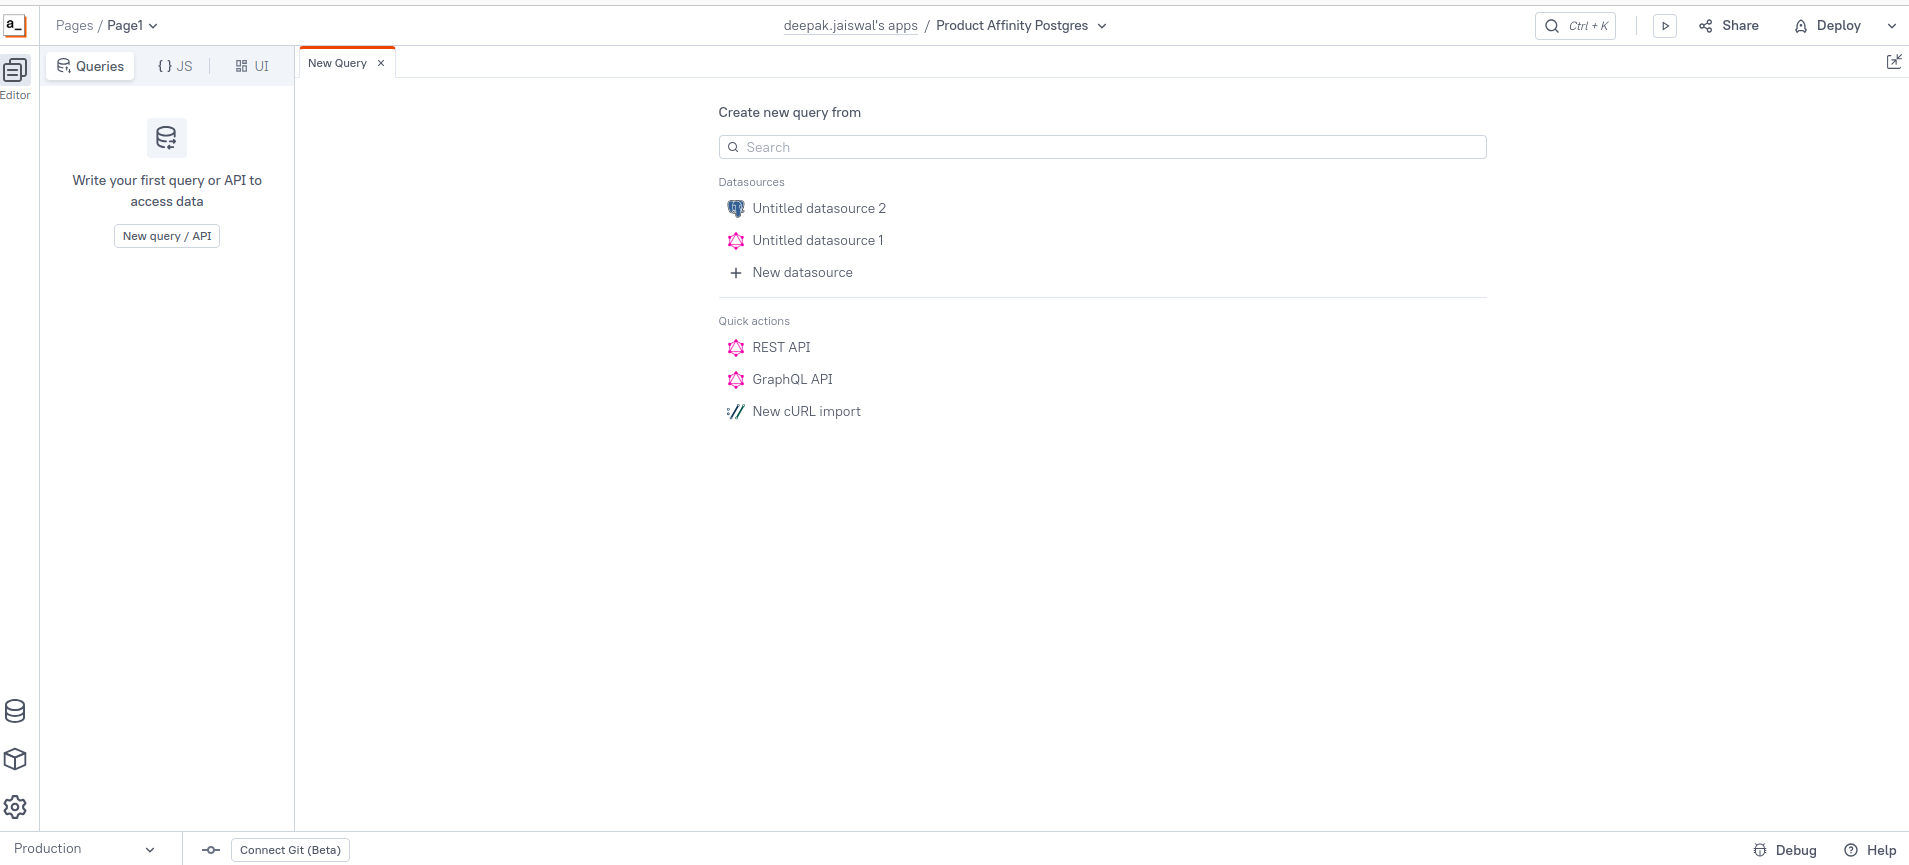
-
Add your query and run it. Make sure to rename it for future reference.
Step 5: Start designing your application
Once you are able to fetch your data, you can create visualizations and dashboards as per requirements.
Follow the steps 4-6 given in the Via Curl section.
Using GraphQL for queries
Step 1: Log in and set up your workspace
- Log in to Appsmith to access your home screen. You’ll find an existing workspace or create one if it’s your first time.
-
In your workspace, click the 'Create New' button at the top right.
Step 2: Start creating your application
-
Select 'Application' to create a new application. You can either choose a template or start from scratch.

-
Once selected, you’ll land on the editor page where you’ll design and develop your application.
Step 3: Navigate to the Queries tab
For adding GraphQL connection and building with GraphQL queries, go to the Queries tab in your application.
Step 4: Configure the GraphQL connection
- From the Quick Actions menu, select GraphQL API.
-
The next screen will appear. Click Authentication to proceed.
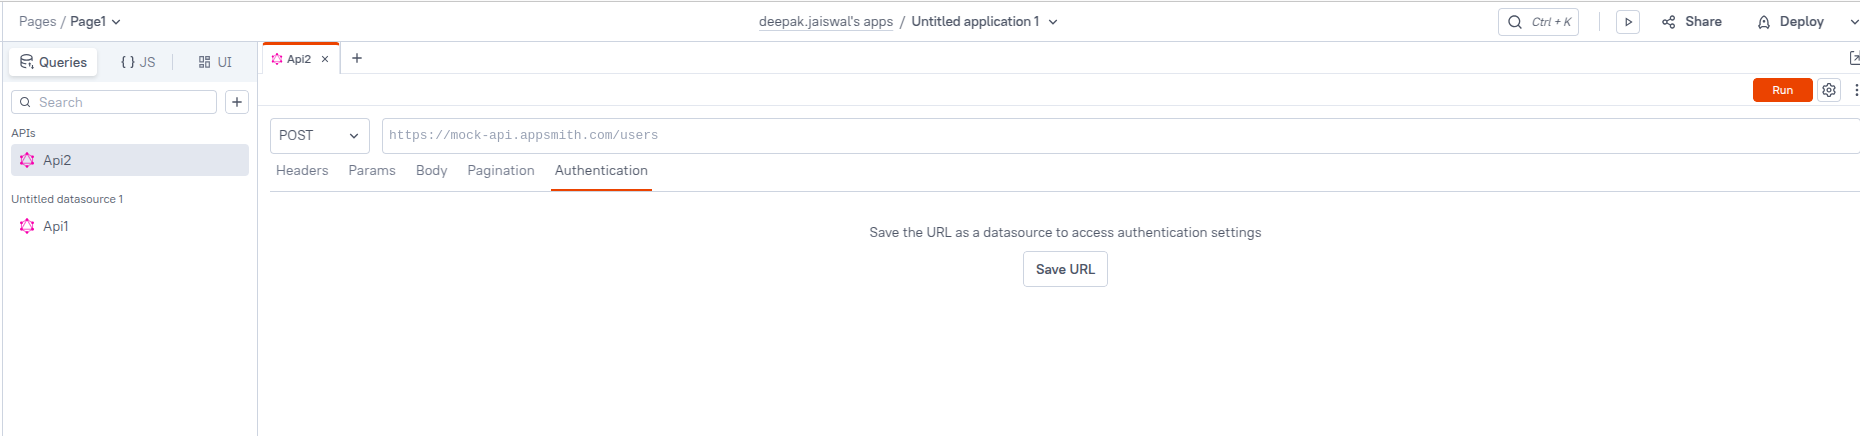
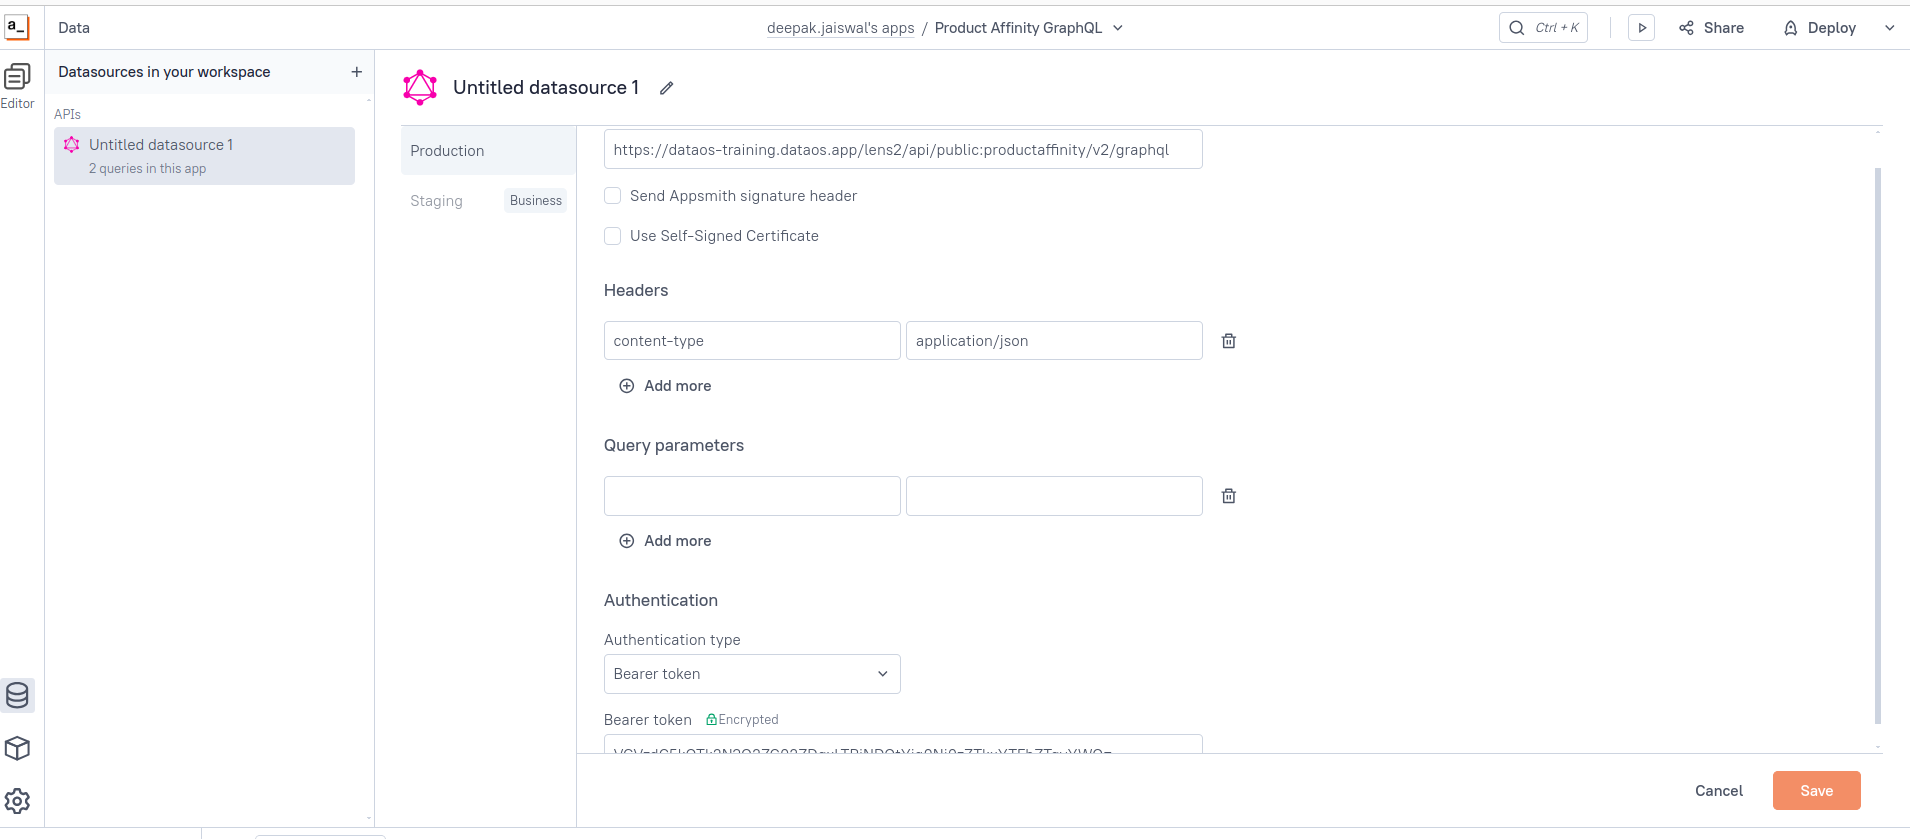
-
Add the GraphQL URL and click Save URL to access authentication settings. you will see the screen below. Select Bearer Token as the authentication type, and provide your API Key in the Bearer Token field. Click Save to confirm.
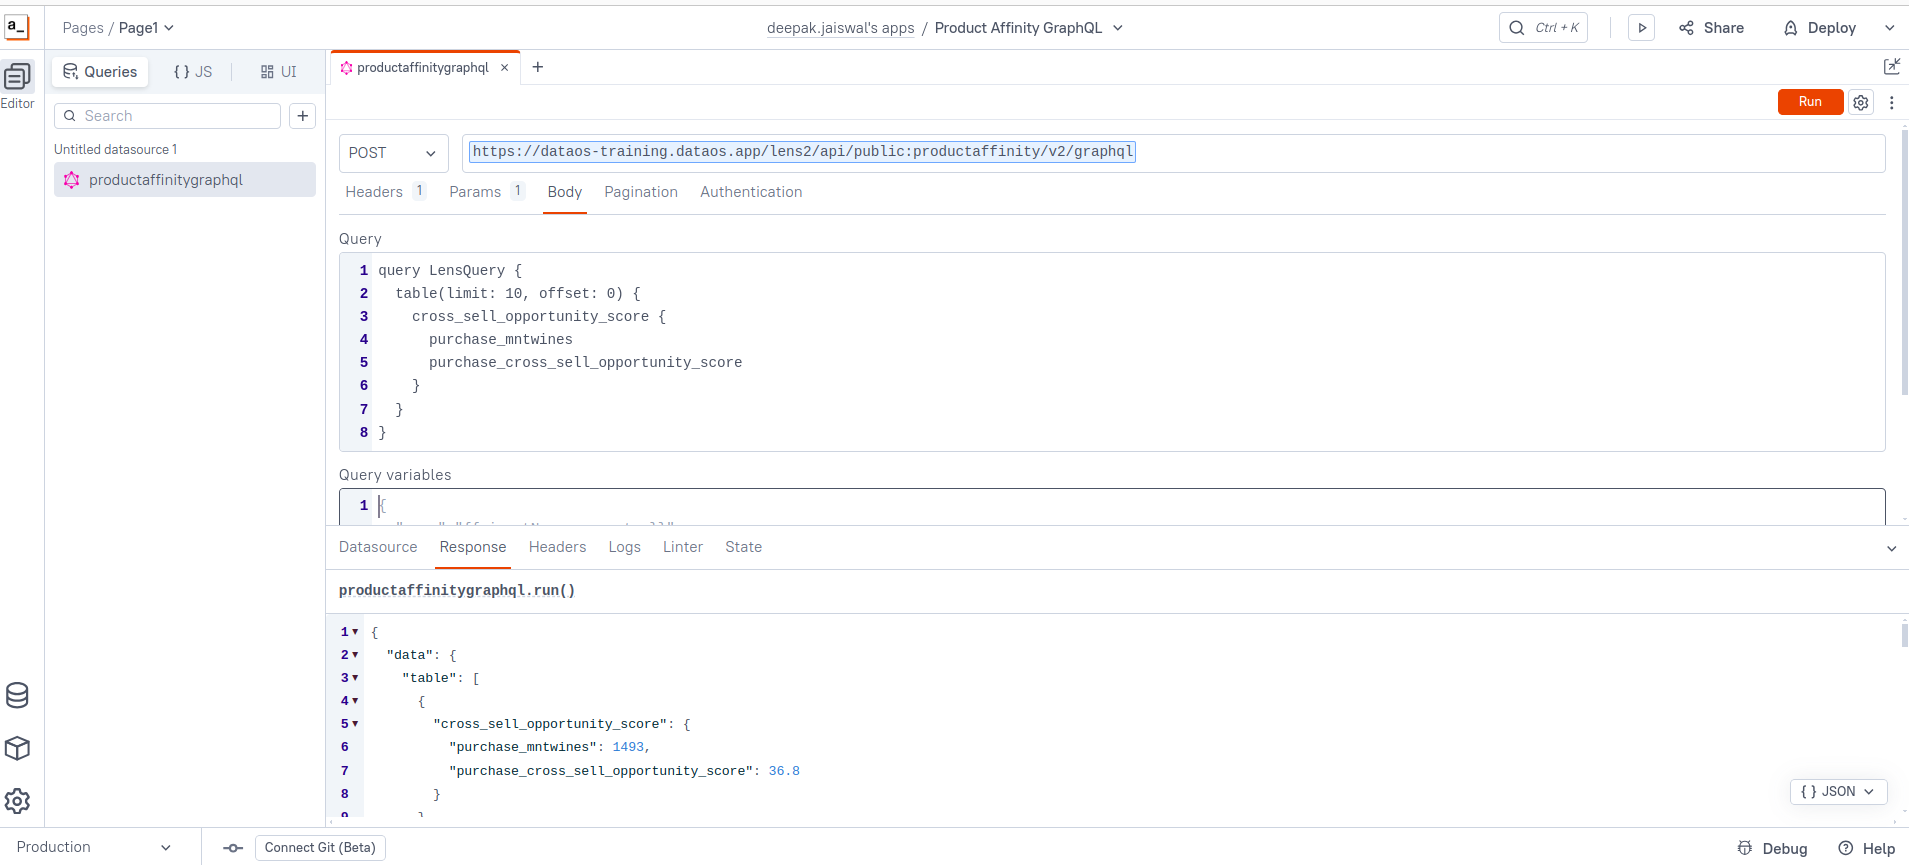
Step 5: Add your GraphQL query
You will see the screen below.
- Navigate to the Body section and enter your GraphQL query.
- Click Run to validate the response.
-
Once validated, give the query a memorable name for future reference.
Step 6: Start designing your application
Once you are able to fetch your data, you can create visualizations and dashboards as per requirements.
Follow the steps 4-6 given in the Via Curl section.