Steps to create Kafka Depot
To create a Kafka Depot you must have the following details:
Pre-requisites specific to Depot creation
-
Tags: A developer must possess the following tags, which can be obtained from a DataOS operator.
-
Use cases: Alternatively, instead of assigning tags, a developer can create a Depot if an operator grants them the "Manage All Instance-level Resources of DataOS in the user layer" use case through Bifrost Governance.
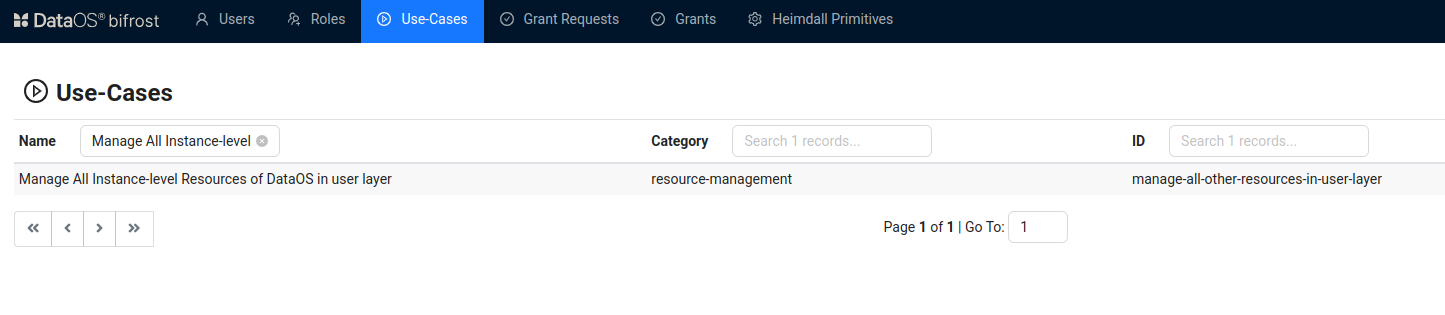
Bifrost Governance
Pre-requisites specific to the source system
-
KAFKA Broker List: A comma-separated list of broker addresses in the Kafka cluster (e.g.,
broker1:9092,broker2:9092). The broker list allows the connection to discover all topics and partitions in the cluster. This information can be obtained from the Kafka admin or the cluster configuration file, usually found in theserver.propertiesfile. -
Schema Registry URL: The URL of the Schema Registry associated with your Kafka cluster, which stores the schemas for the data being produced and consumed. This is required if your Kafka topics use Avro or other schema-based serialization formats. You can obtain this URL from the Kafka admin or the configuration details of the Schema Registry setup.
Create a Kafka Depot
DataOS allows you to create a Depot of type 'KAFKA' to read live topic data. This Depot enables you to access and consume real-time streaming data from Kafka. To create a Depot of type 'KAFKA', follow the below steps:
Step 1: Create an Instance Secret for securing Kafka credentials
Begin by creating an Instance Secret Resource by following the Instance Secret document.
Step 2: Create a Kafka Depot manifest file
Begin by creating a manifest file to hold the configuration details for your Kafka Depot.
name: ${{depot-name}}
version: v1
type: depot
description: {{description}}
tags:
  - ${{tag1}}
owner: ${{owner-name}}
layer: user
depot:
  type: KAFKA
  kafka:
    brokers:
      -  {{broker1}}
  secret:
    - name: ${{kafka-instance-secret-name}}-r
      allkeys: true
Step 3: Apply the Depot manifest file
Once you have the manifest file ready in your code editor, simply copy the path of the manifest file and apply it through the DataOS CLI by pasting the path in the placeholder, using the command given below:
Verify the Depot creation
To ensure that your Depot has been successfully created, you can verify it in two ways:
-
Check the name of the newly created Depot in the list of Depots where you are named as the owner:
-
Additionally, retrieve the list of all Depots created in your organization:
You can also access the details of any created Depot through the DataOS GUI in the Operations App and Metis UI.
Delete a Depot
If you need to delete a Depot, use the following command in the DataOS CLI:
By executing the above command, the specified Depot will be deleted from your DataOS environment.