Deploying your Data Product on DataOS
After setting up the essential YAML files — the Bundle YAML, Data Product Specification YAML, and Lens YAMLs — the final step is to deploy your data product on the Data Product Hub. Using the apply command in the DataOS CLI, you can seamlessly register your data product, making it available for users to discover and consume. This deployment process involves resource instantiation and metadata registration.
Scenario
Imagine you have built a comprehensive data product called Retail360, designed to provide insights into purchase behavior and customer trends. You have already created all the required configuration files, including the Bundle YAML (which defines various resources), the Data Product Specification YAML (which outlines the data product’s details), and the Lens YAMLs (which define semantic data models). Now, you want to deploy this data product to the Data Product Hub so that analysts, data scientists, and business users can easily access and explore it.
Deploying Data Product
-
Resource Instantiation: The command reads through your Bundle Resource and starts creating all defined resources (Workflows, Services, Secrets, etc.).
-
Data Product Registration: It registers the data product as per your Data Product Spec file, making it visible on the Data Product Hub.
-
Data Product Metadata registration: The Scanner Workflow registers the metadata of Data Product to Metis and Data Product Hub making it discoverable.
Step 1: Login to DataOS CLI.
DataOS CLI is a text-based interface that allows users to interact with the DataOS context via command prompts.
Step 2: Use the apply command on CLI to deploy your Data Product on Data Product Hub successfully.
-
Run the Bundle manifest file created in the previous topic.
-
Run the Data Product Spec file (YAML).
-
Run the Scanner YAML containing a valid reference to the Data Product. This step is important to make your data product discoverable in the Data Product Hub or Metis.
Step 3: Validating the creation of Data Product
To check if you have created a data product, run the following command. It lists all data products created by you:
Example Usage
dp_product360 git:(master) dataos-ctl product get
INFO[0000] 🔍 product get...
INFO[0000] 🔍 product get...complete

  TYPE | VERSION |          NAME          | STATUS |   OWNER
-------|---------|------------------------|--------|------------
  data | v1beta  | product360              | active | nandapage
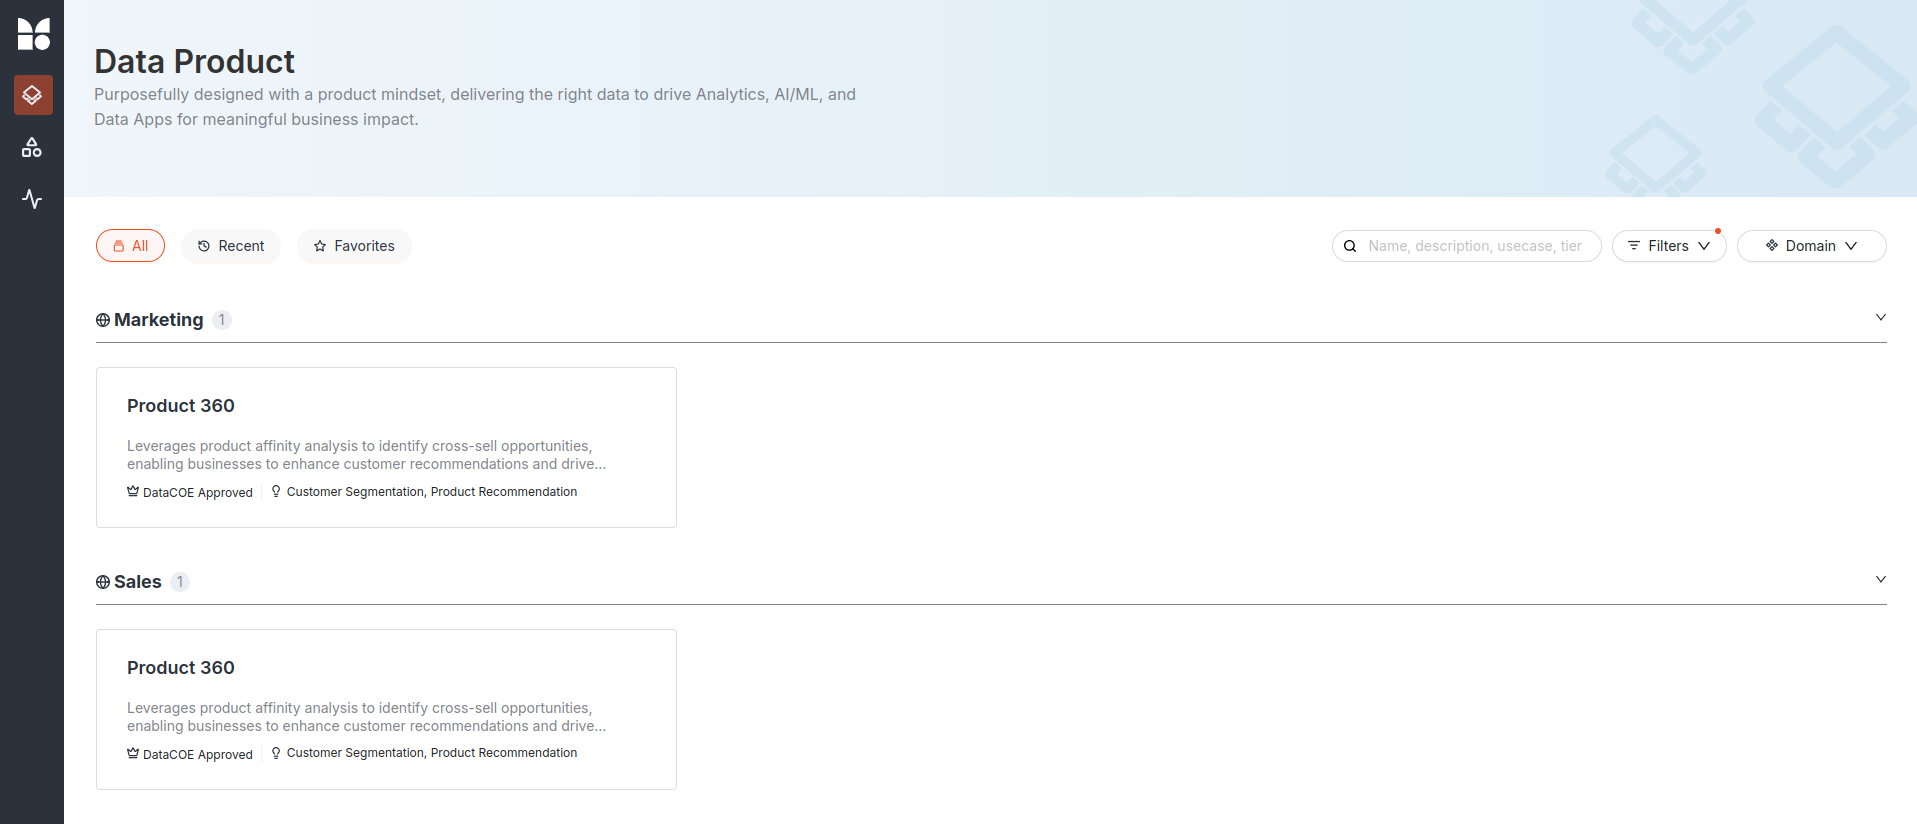
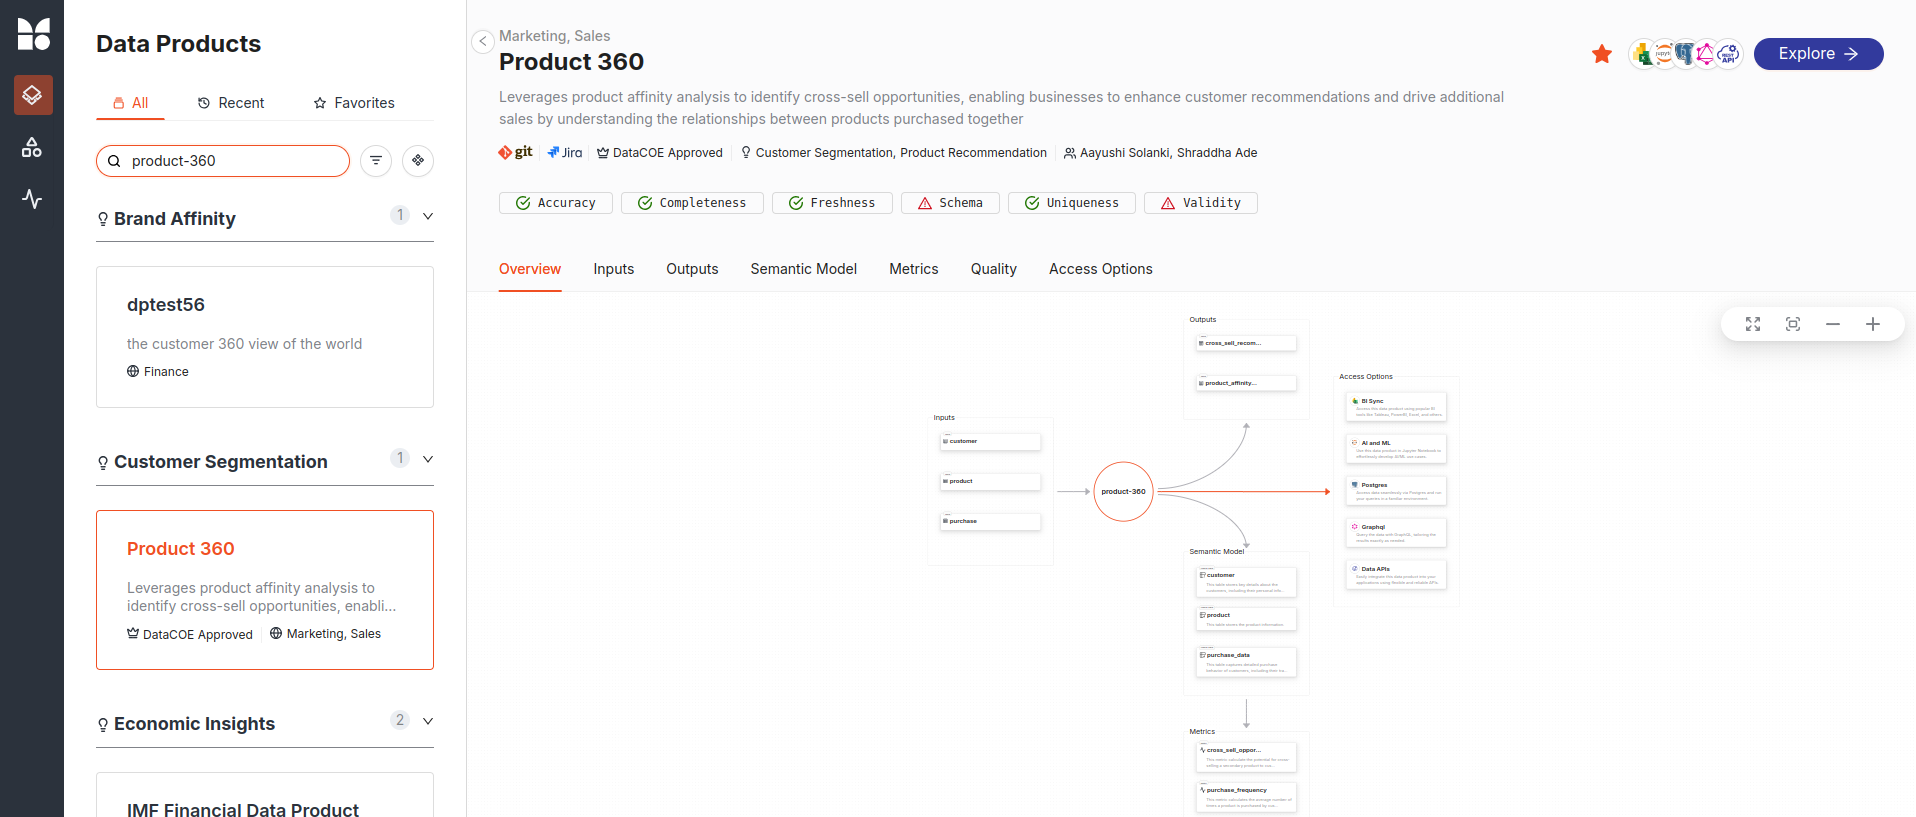
Step 4: Exploring Data Product on Data Product Hub
You can also check your data product on Data Product Hub.
-
Log in to the DataOS instance and Navigate to Data Product Hub.

-
Click on the data product to view its details.
