Write Your First Query
Information
DataOS Workbench is a web-based data exploration tool that allows you to run simple & complex queries on all sorts of relational databases, storage systems, and lakehouses. You can also run SQL queries on heterogeneous data sources simultaneously. This guide offers a quick introduction to using Workbench.
Key Steps
Follow the below steps:
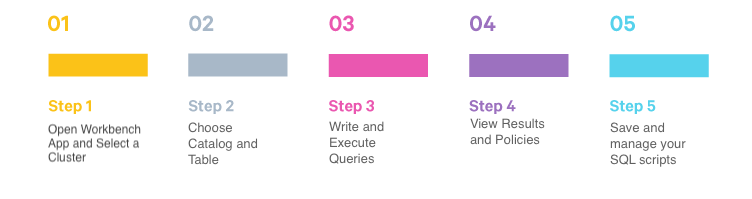
Step 1: Open Workbench App and Select a Cluster
Upon opening the Workbench app, the first step is to select a cluster you wish to use for your analytics workload. This cluster is committed to executing your SQL scripts, and its selection is based on the specific computing requirements. Before selecting a cluster, let's understand the query engines in Workbench.
Workbench uses two main query engines:
-
Minerva (based on Trino): ANSI SQL compliant, supports relational databases like Oracle, PostgreSQL, MySQL, and Redshift, as well as non-relational sources like Kafka and Cassandra, and object storages like Amazon S3 and Google Cloud Storage. It is ideal for analytical and exploratory workloads.
-
Themis (based on SparkSQL): An elastic SQL query engine optimized for fast, distributed querying of large datasets. It supports sources like Hive, HBase, HDFS, and Kafka. It is more versatile than Minerva due to its dynamic adaptability to workload demands.
Choose the appropriate cluster where you want to run your queries.
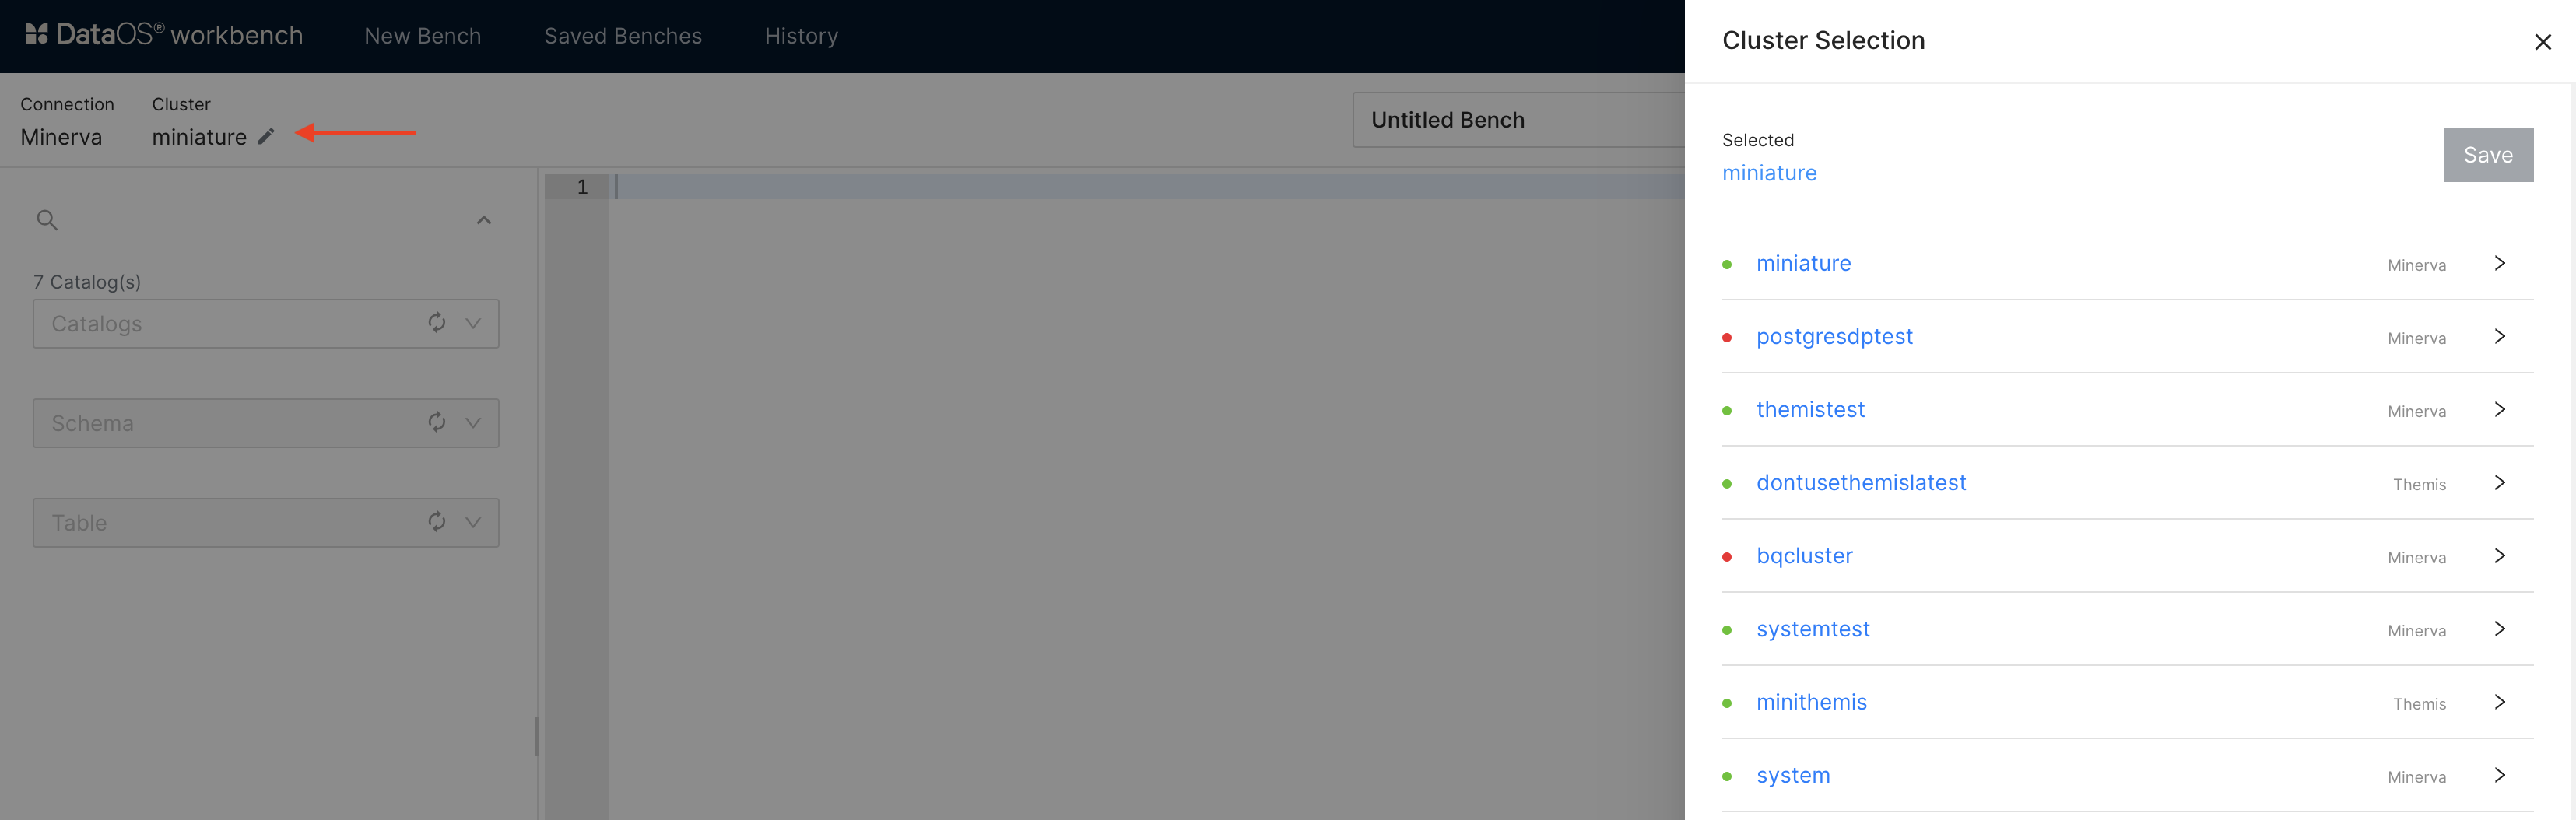
Step 2: Choose Catalog, Schema and Table
Select catalog, schema, and table.
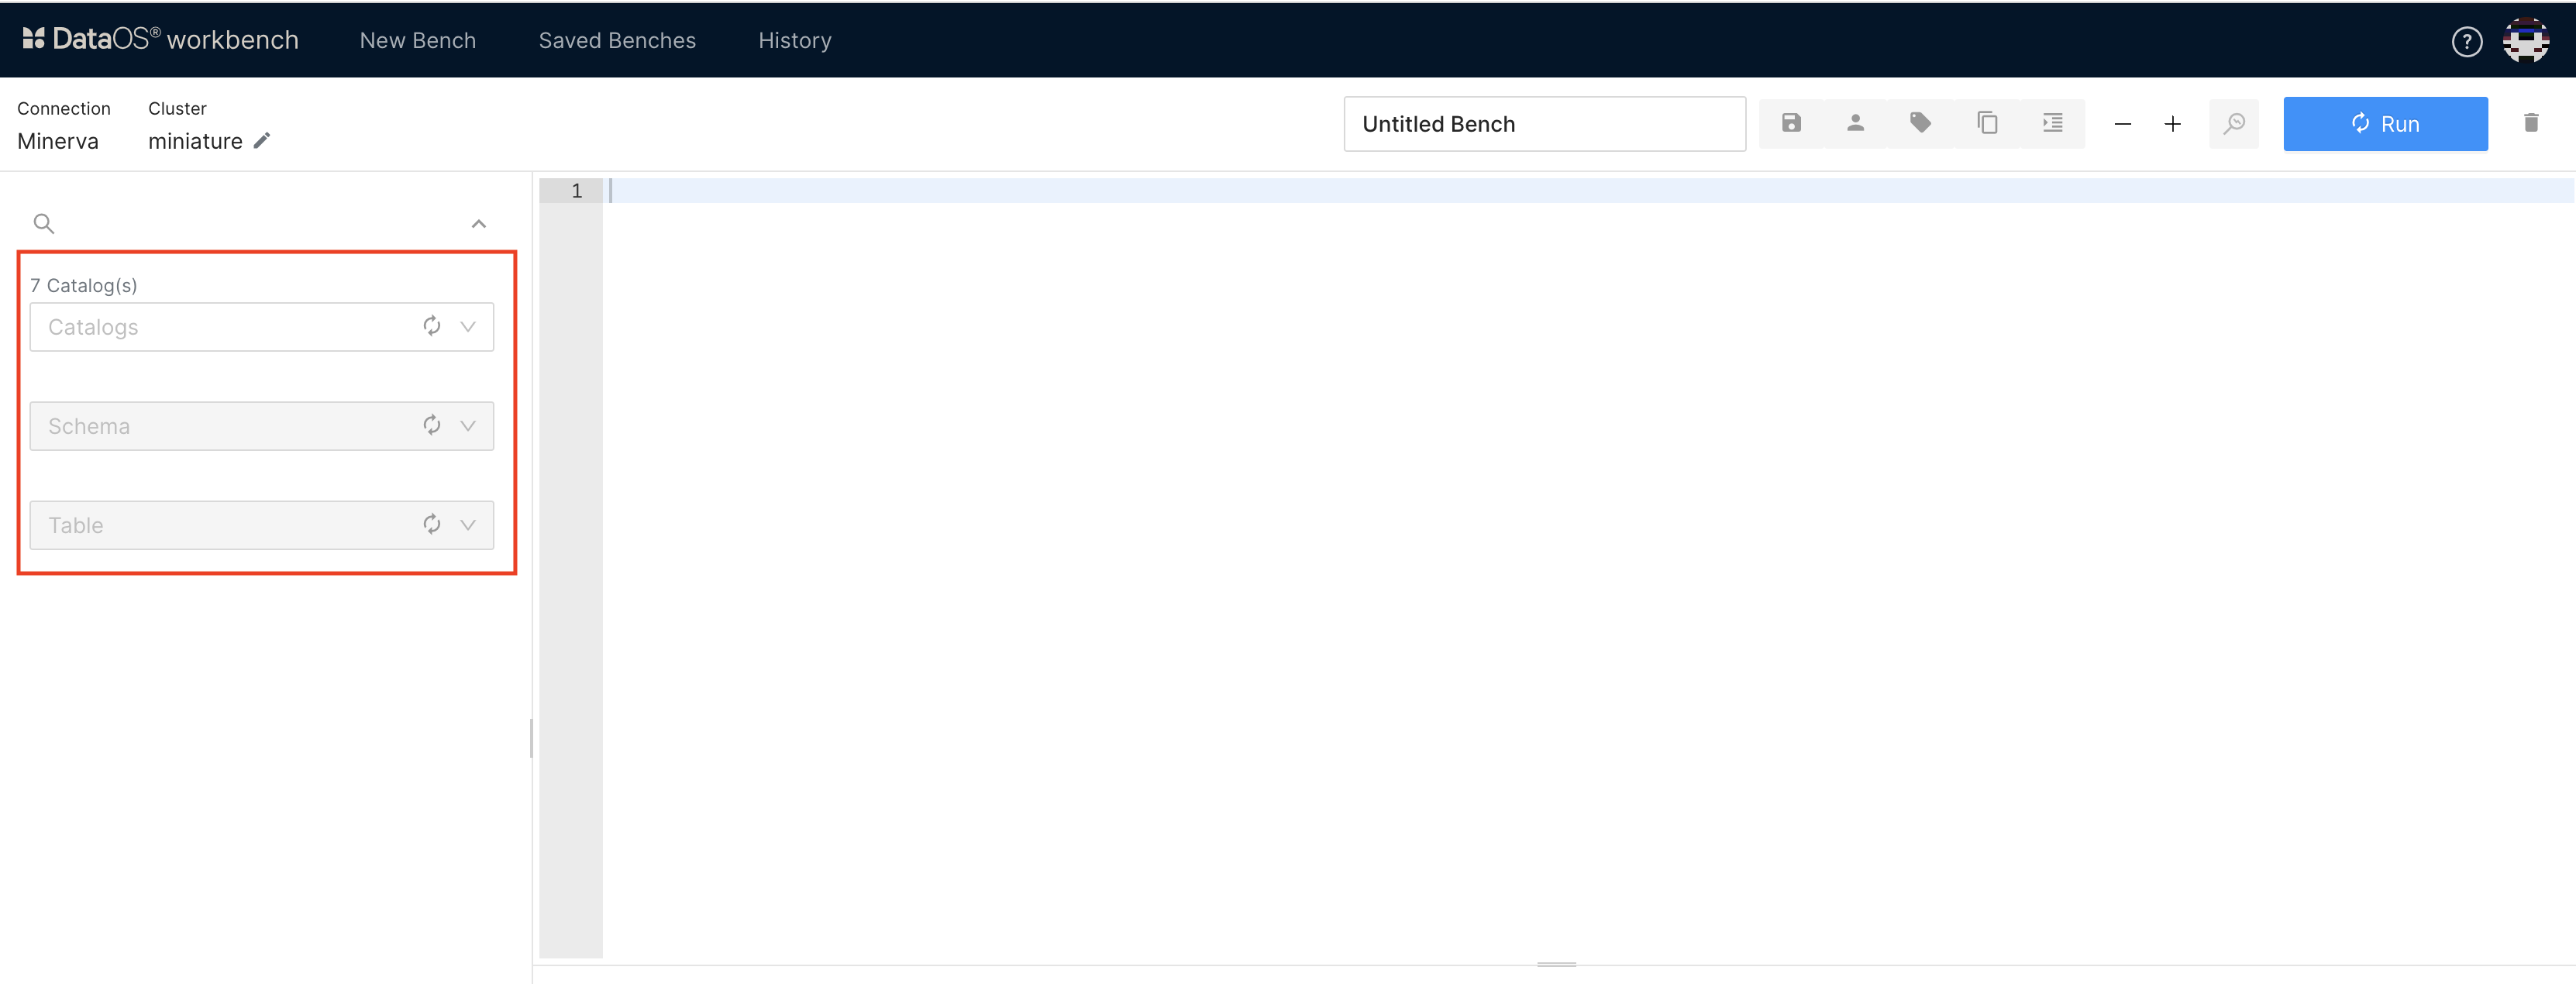
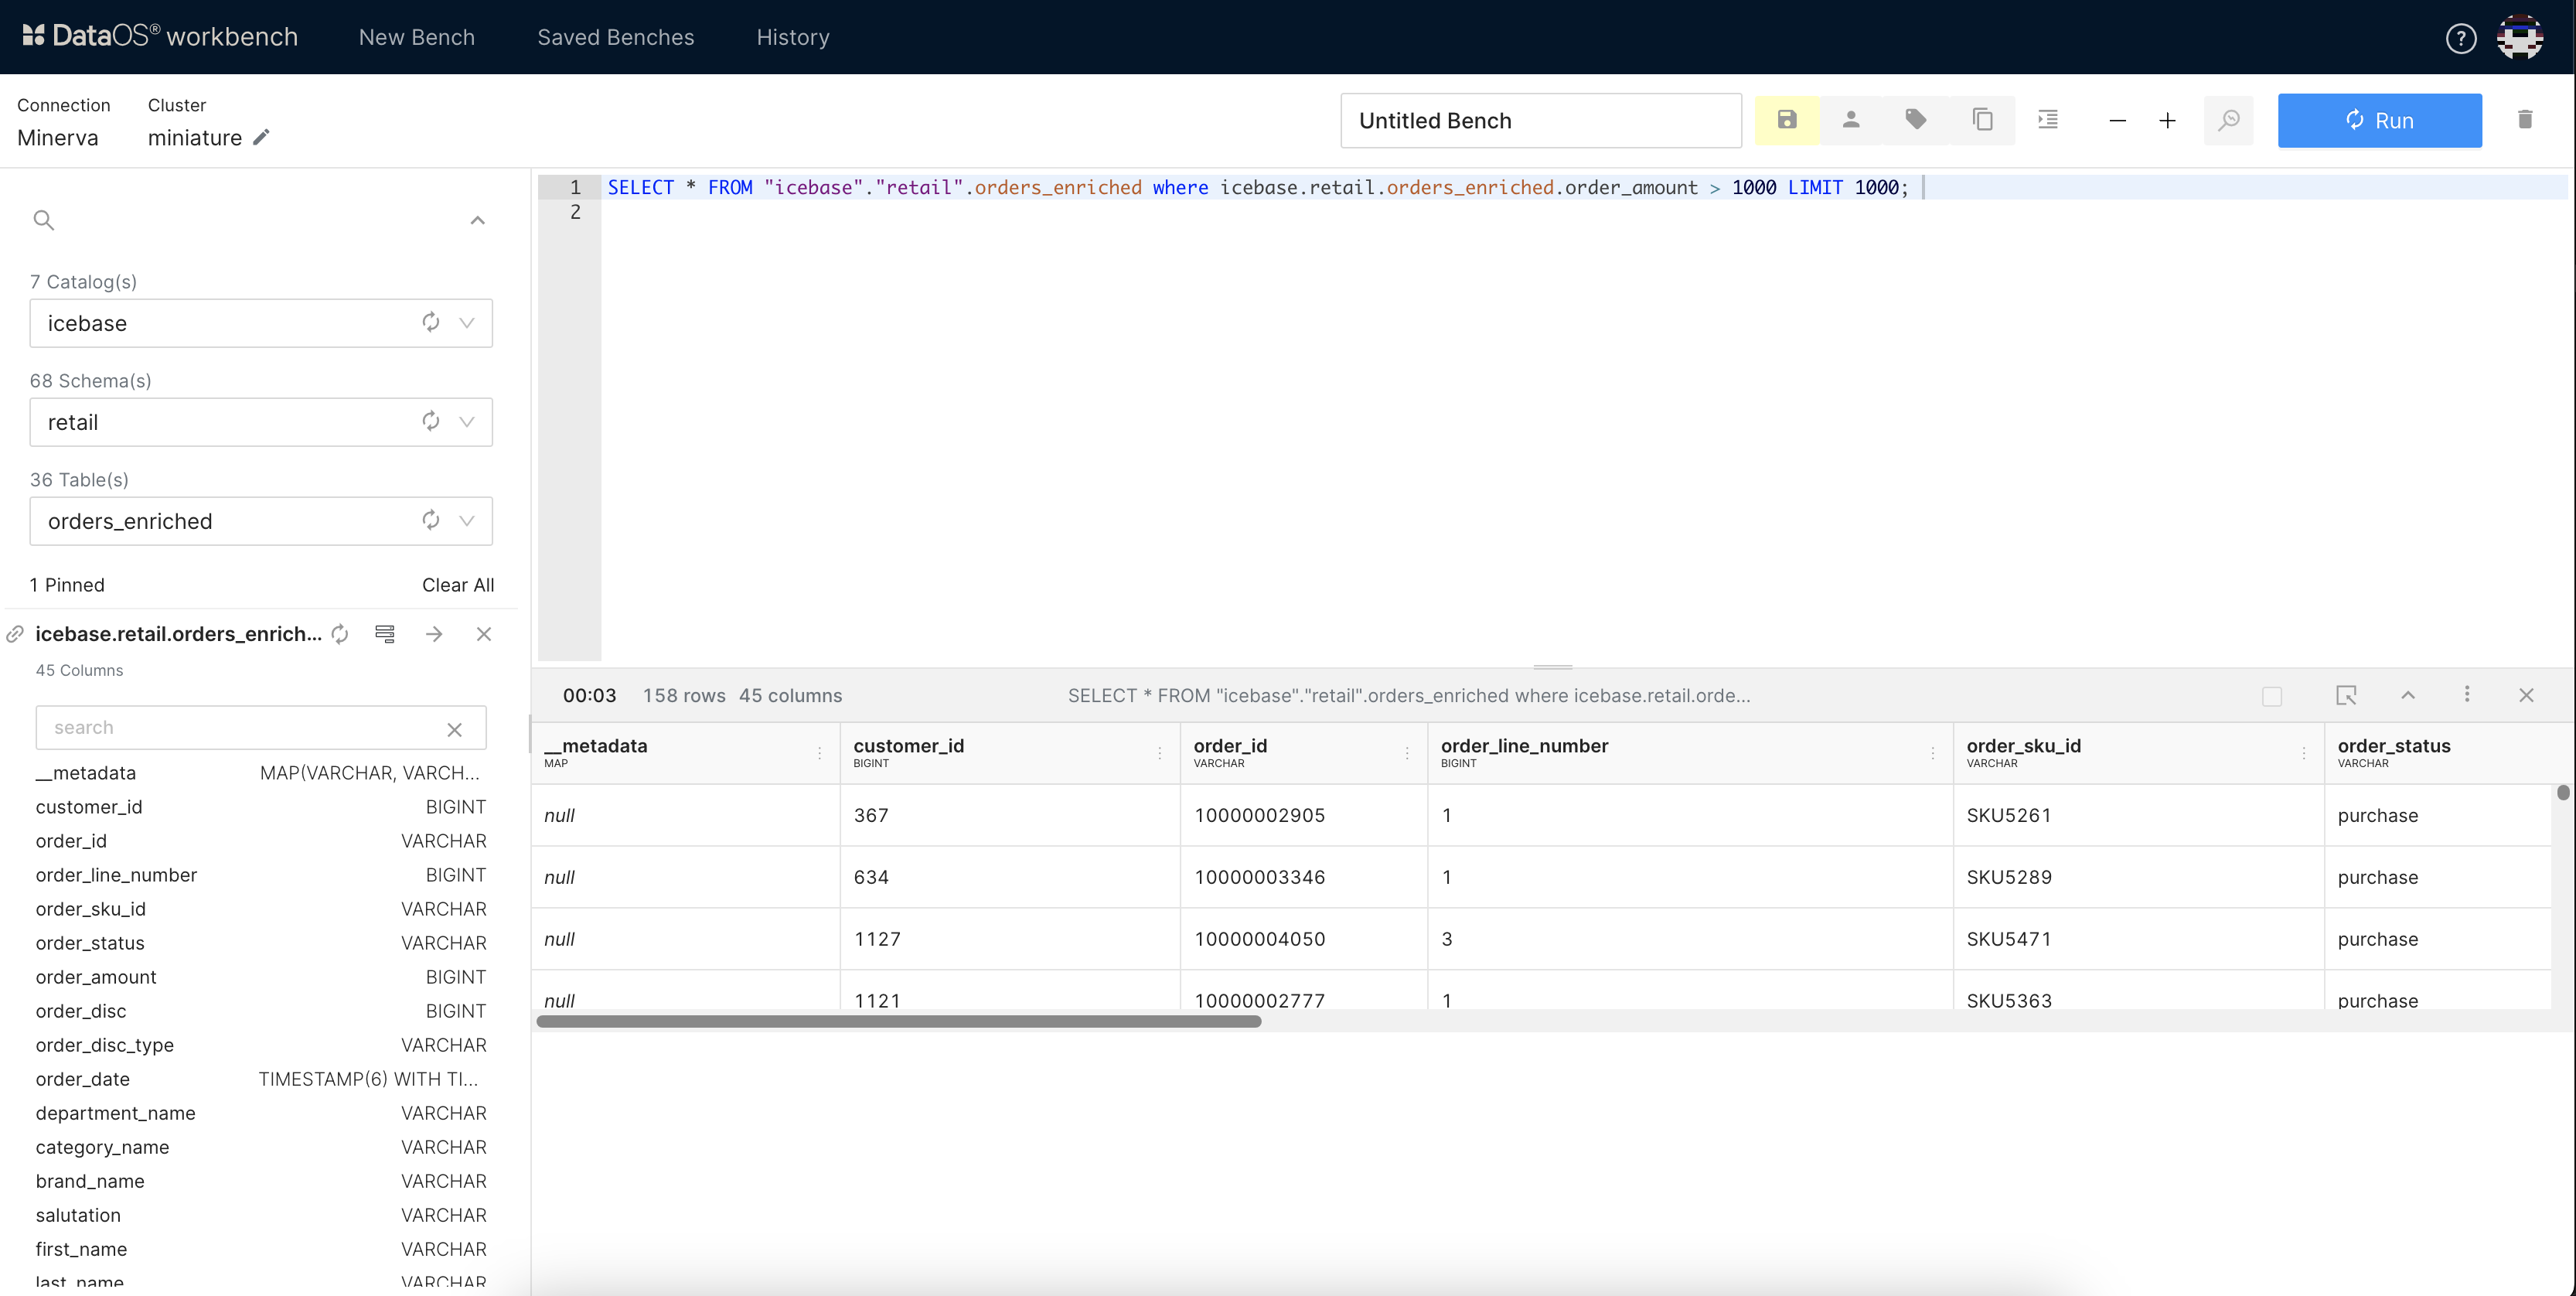
Step 3: Write and Execute Queries
Determine what information you need or what operation you want to perform. Use a query language, such as SQL, to write commands that process and return the data. This involves:
Selecting Data: Using SELECT statements to specify which columns and rows to retrieve.
Filtering Data: Applying WHERE clauses to filter results based on specific conditions.
Joining Tables: Combining data from multiple tables using JOIN operations.
Aggregating Data: Using functions like SUM, AVG, COUNT, MAX, and MIN to perform calculations on the data.
Sorting and Grouping: Sorting results with ORDER BY and grouping data with GROUP BY for summarization.
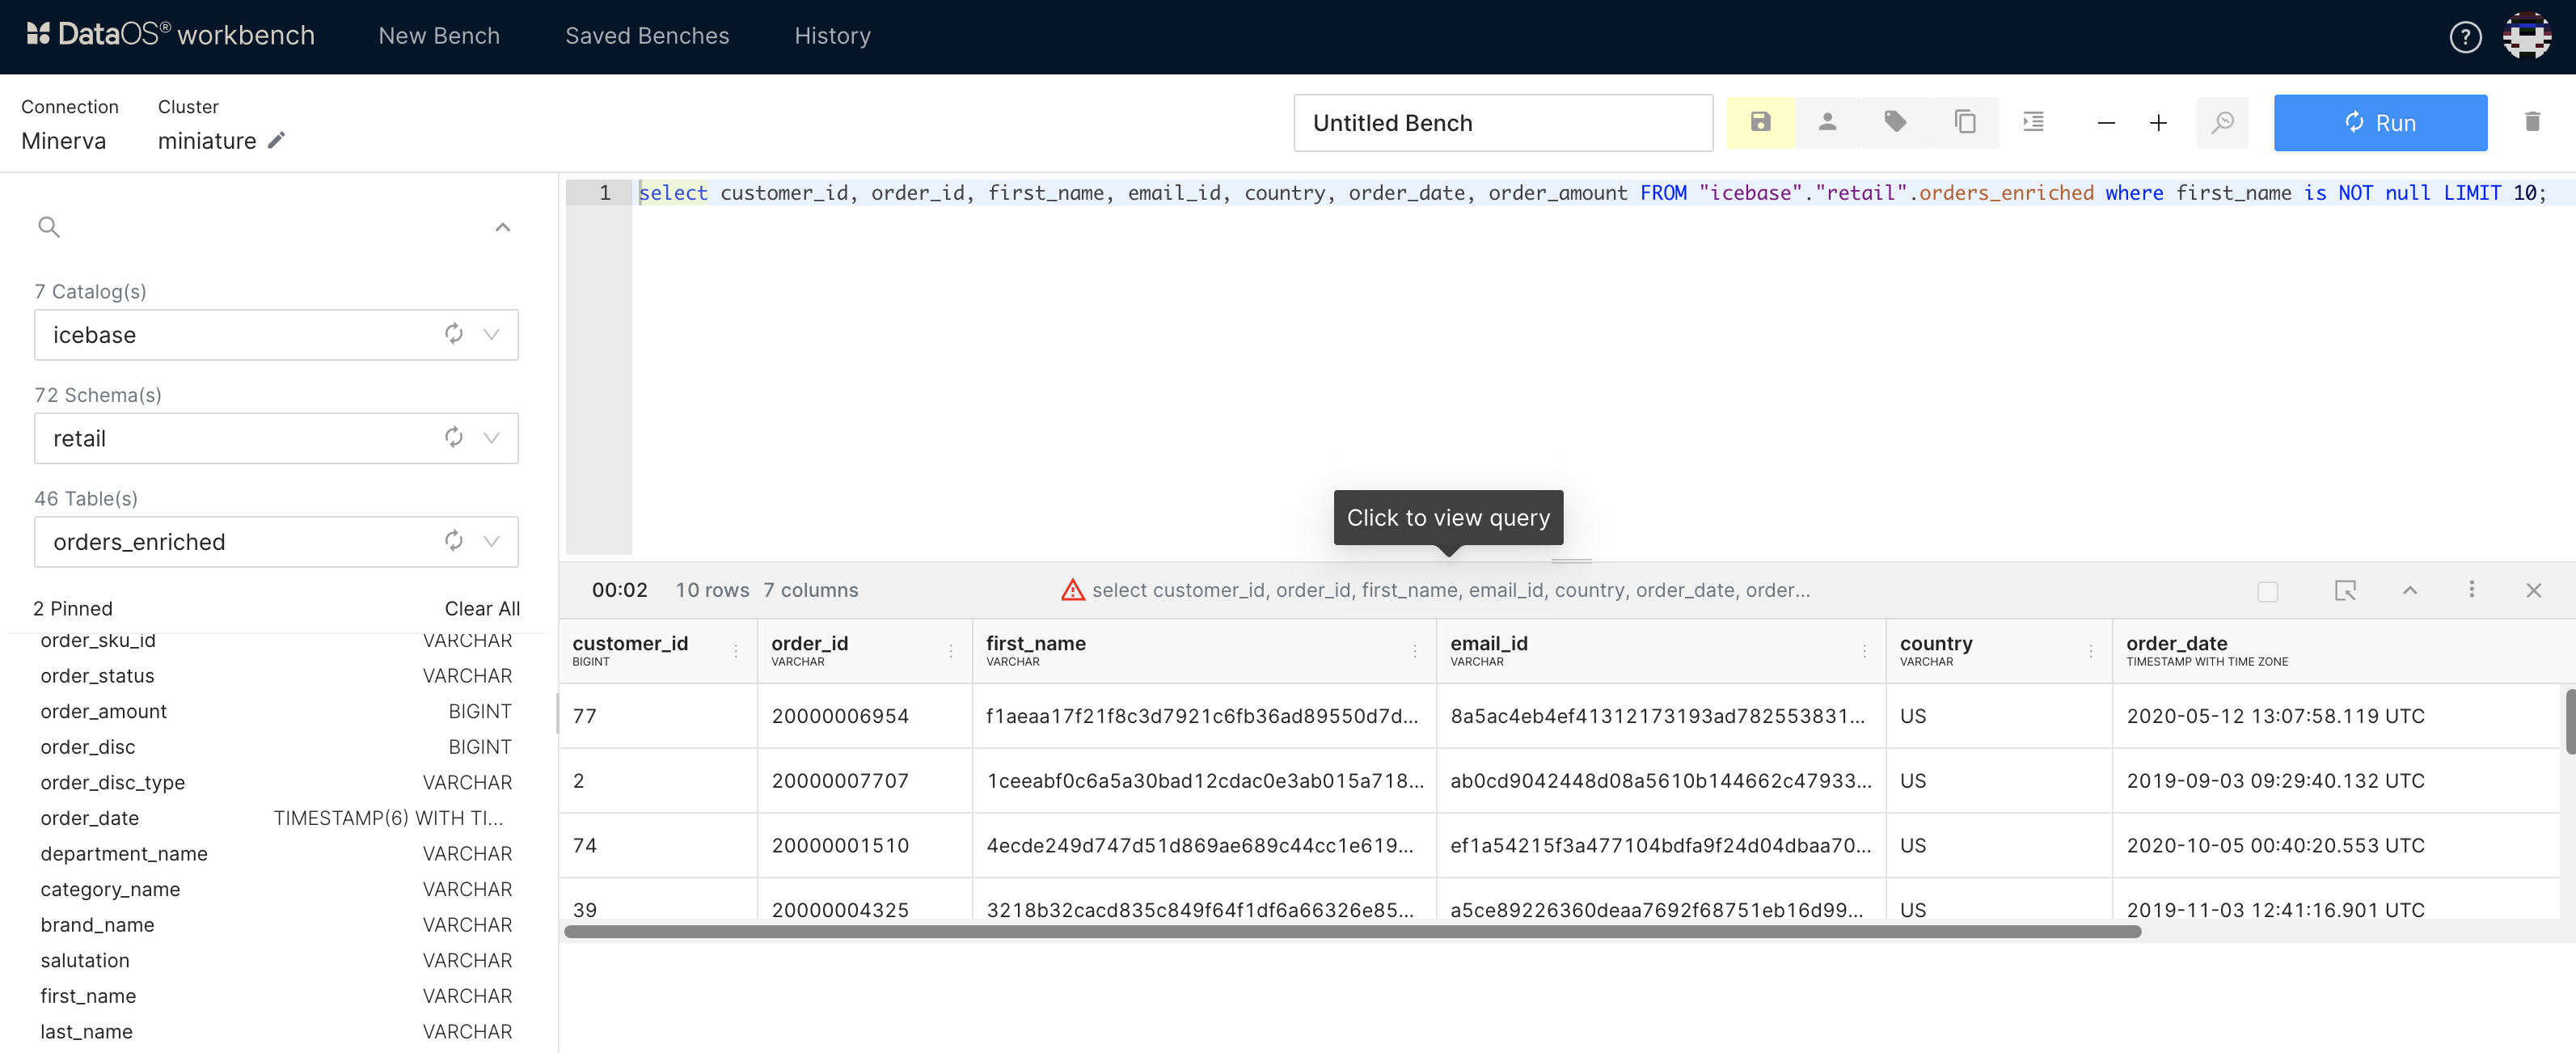
Write and run queries.
Workbench also provides a Studio feature. Whether you're a seasoned SQL pro or just getting started, Studio's intuitive interface will help you craft powerful SQL statements with ease.
Step 4: View Results and Policies
Check the results of your query and review any applied governance policies.
-
The details of the query can be seen after it has run. If a governance policy has been applied to the table being queried, the cautionary triangle will appear in the result bar of the result pane.
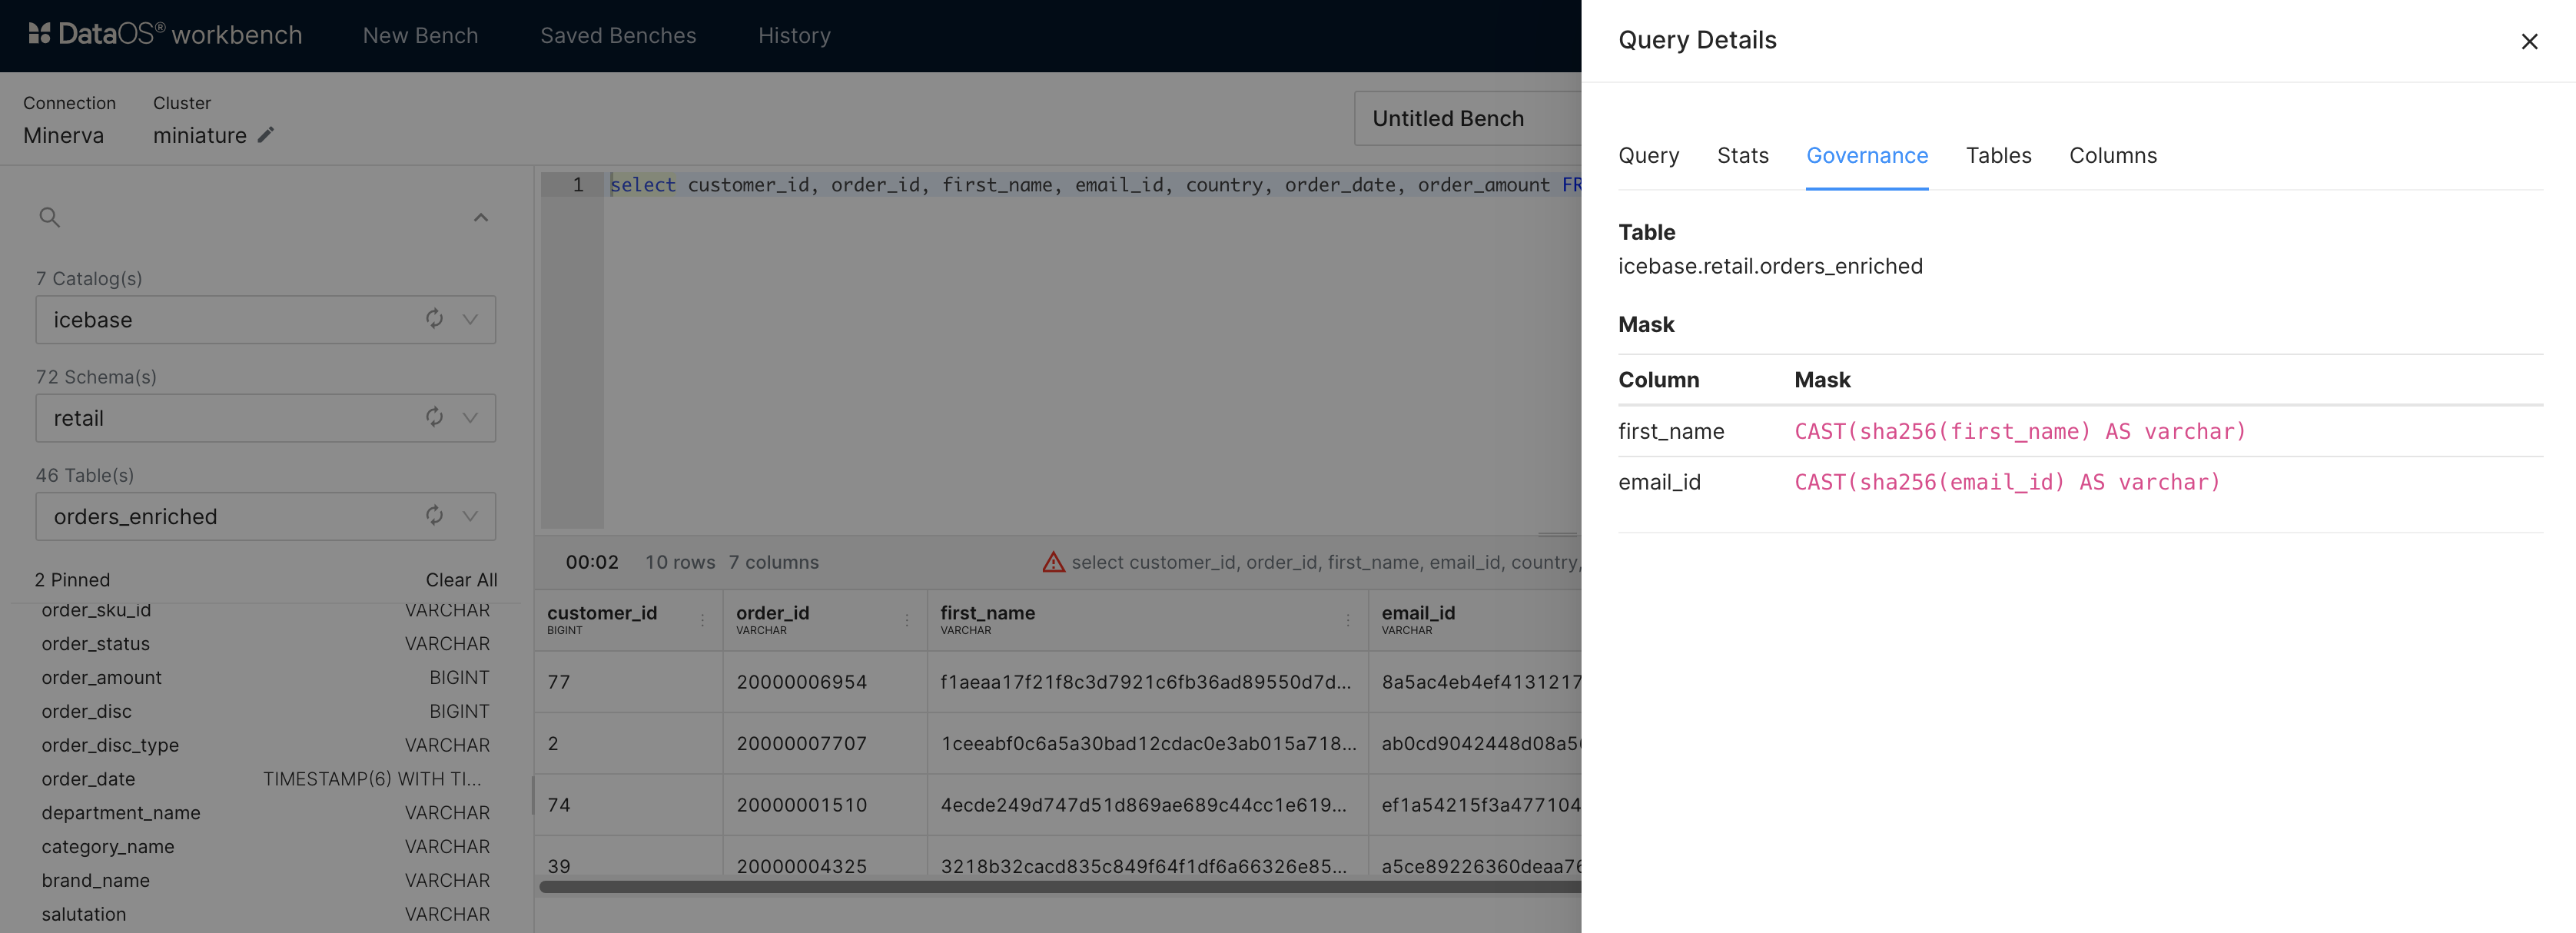
-
Click on the query to see the details of the policies applied. Due to the applied policies, you can see the column data masked. You can get more information, such as Stats, which gives you the status of the query, query ID, CPU time, processed rows, and splits, among other things.
Step 5: Save and manage your SQL scripts as needed.
-
The SQL statements you executed in the last four weeks are stored as history. The saved SQL scripts appear in the Saved Benches list.

-
SQL statements that you save are available to you only. You can choose to share your SQL statements with other members of your enterprise. Save the bench and share it with other users.