Depot Creation with DataOS CLI
Information
Depot is a DataOS Resource that simplifies connectivity to different data sources by abstracting the complexities of the underlying systems. This guide provides step-by-step instructions for creating a Depot using CLI.
Depot registers where data is located so DataOS can access it. The Depot service gives each source a unique address called a Uniform Data Link (UDL). This address simplifies working with the data, saving time by not having to enter credentials repeatedly. You can use this link anywhere in DataOS to access the data.
The UDL looks like this:
dataos://[depot]:[collection]/[dataset]
Key Steps
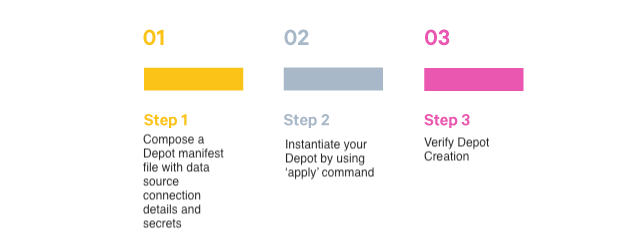
The creation of a Depot involves three simple steps:
Prerequisites
Before proceeding with the Depot creation steps, you must ensure that you possess the required authorization. Make sure you have the following tags:
roles:id:user, roles:id:data-dev, and roles:id:system-dev. To confirm, execute the following commands in the CLI:
dataos-ctl user get
# Expected Output
INFO[0000] 😃 user get...
INFO[0000] 😃 user get...complete

      NAME     │     ID      │  TYPE  │        EMAIL         │              TAGS
───────────────┼─────────────┼────────┼──────────────────────┼────────────────────
  IamGroot     │ iamgroot    │ person │ iamgroot@tmdc.io     │ roles:id:data-dev,
               │             │        │                      │ roles:id:operator,
               │             │        │                      │ roles:id:system-dev,
               │             │        │                      │ roles:id:user,
               │             │        │                      │ users:id:iamgroot
To create a Depot in DataOS, you need to compose a manifest configuration file and apply it using the DataOS Command Line Interface (CLI). Ensure the CLI is installed beforehand.
Step 1: Compose a Depot Manifest File
Create a YAML configuration file with essential details such as Depot attributes, Connection Secrets, and Specifications. This YAML file consists of four main sections: Resource, Depot-specific details, Connection Secrets, and Specifications. Each section has a specific purpose and contains relevant attributes.
Resource Section
This section contains attributes common to all resource types. Key-value properties such as name, version, type, description, owner, and layer are defined here.
name: ${{mydepot}}
version: v1
type: depot
tags:
  - tag1
  - tag2
description: ${{This is a sample depot YAML configuration}}
owner: ${{owner}}
layer: user
For more details, visit the Resource Section link.
Depot-specific Section
Attributes specific to the Depot type being created are defined here. These include type, description, external, source, compute, connectionSecrets, and specs.
The following YAML snippet illustrates the key-value pairs to be declared in this section:
depot:
  type: ${{depot-type}}     # Depends on data source
  description: ${{description}}
  external: ${{true}}
  source: ${{sourcename-for-metadata}}
  compute: ${{runnable-default}}
  connectionSecrets:
    {}
  specs:
    {}
Refer to the Depot-specific Section link for details.
Connection Secrets Section
The configuration of connection secrets depends on the underlying data source. This section includes details such as credentials and authentication information, obtained from your enterprise or data source provider.
The following code snippet illustrates how you can declare connection secrets to create a Depot for AWS S3 storage:
connectionSecret:
  - acl: rw
    type: key-value-properties
    data:                           #credentials required to access aws
      awsaccesskeyid: ${{AWS_ACCESS_KEY_ID}}
      awsbucketname: ${{bucket-name}}
      awssecretaccesskey: ${{AWS_SECRET_ACCESS_KEY}}
Similarly, for JDBC Depot type, all you need is a username and password. Check it out below:
connectionSecret:
  - acl: rw
    type: key-value-properties
    data:                            #for JDBC, the credentials you get from the data source should have permission to read/write schemas of the database being accessed
      username: ${{username}}
      password: ${{password}}
Refer to the Depot templates for guidance on configuring the connection secrets for your specific data source.
Specifications Section
The spec section directs the Depot to the precise location of your data and provides the hierarchical structure of the data source. It establishes a mapping between the data and the hierarchy followed within DataOS ie. Depot→Collection→Dataset.
For the postgresql example, the spec section will look like the following:
spec:
    subprotocol: {{subprotocol}}
    host: ${{host}}
    port: ${{port}}
    database: ${{database-name}}
    params:
      {{"key1": "value1"}}
      {{"key2": "value2"}}
Refer to Specifications Section for detailed examples and explanations.
PostgreSQL Connection YAML
name: testdepotpg
version: v1
type: depot
tags:
  - postgre
owner: iamgroot
layer: user
depot:
  type: POSTGRESQL
  description: test depot for postgres
  external: true
  connectionSecret:
    - acl: rw
      type: key-value-properties
      data:
        username: ${{username}}
        password: ${{password}}
  spec:
    host: ${{host}}
    port: 5432
    database: ${{database}}
Step 2: Apply Depot YAML
Once you have the YAML file ready in your code editor, simply copy the path of the YAML file and apply it through the DataOS CLI to instantiate your Depot. Use the command given below:
➜  ~ dataos-ctl apply -f /Users/Recipes/Yaml/depotwithisecret.yaml
INFO[0000] 🛠 apply...
INFO[0000] 🔧 applying testdepotpg:v1:depot...
INFO[0003] 🔧 applying testdepotpg:v1:depot...created
INFO[0003] 🛠 apply...complete
Step 3: Verify Depot Creation
To ensure that your depot has been successfully created, you can verify it with the following DataOS CLI command:
➜  ~ dataos-ctl get -t depot
INFO[0000] 🔍 get...
INFO[0001] 🔍 get...complete

               NAME               | VERSION | TYPE  | WORKSPACE | STATUS | RUNTIME |   OWNER
----------------------------------|---------|-------|-----------|--------|---------|------------
  testdepotpg                     | v1      | depot |           | active |         | nandapage
Alternative Method: Using instance-Secret Resource
In DataOS, Secrets serve as a Resource designed for securely storing sensitive information, such as usernames and passwords. By integrating Secrets with Depots, you can effectively decouple confidential data from Depot. To illustrate this concept, let's consider the example of connecting to a postgreSQL data source using Secret Resource for Depot creation:
Step 1: Create Instance Secret
-
Create an Instance-Secret YAML file.
# postgresql Read Instance-secret Manifest

name: mypostgresdepot-r # Unique identifier for Resource, replace ${postgres-depot-name} with depot name
version: v1 # Manifest version
type: instance-secret # Type of the Resource
description: testing # Purpose of the Instance-secret
layer: user # DataOS layer
instance-secret:
  type: key-value-properties # Secret type
  acl: r # Access control: 'r' for read-only
  data:
    username: ${{username}} # replace with postgres username
    password: ${{password}} # replace with postgres password
To learn more, refer to Instance Secret documentation.
-
Apply the YAML file to create the Instance Secret Resource.
On successful creation, details of Instance Secret can be seen on Metis.➜ ~ dataos-ctl apply -f /Users/Recipes/Yaml/postgretrialis.yaml INFO[0000] 🛠 apply... INFO[0000] 🔧 applying mypostgresdepot-r:v1:instance-secret... INFO[0002] 🔧 applying mypostgresdepot-r:v1:instance-secret...created INFO[0002] 🛠 apply...complete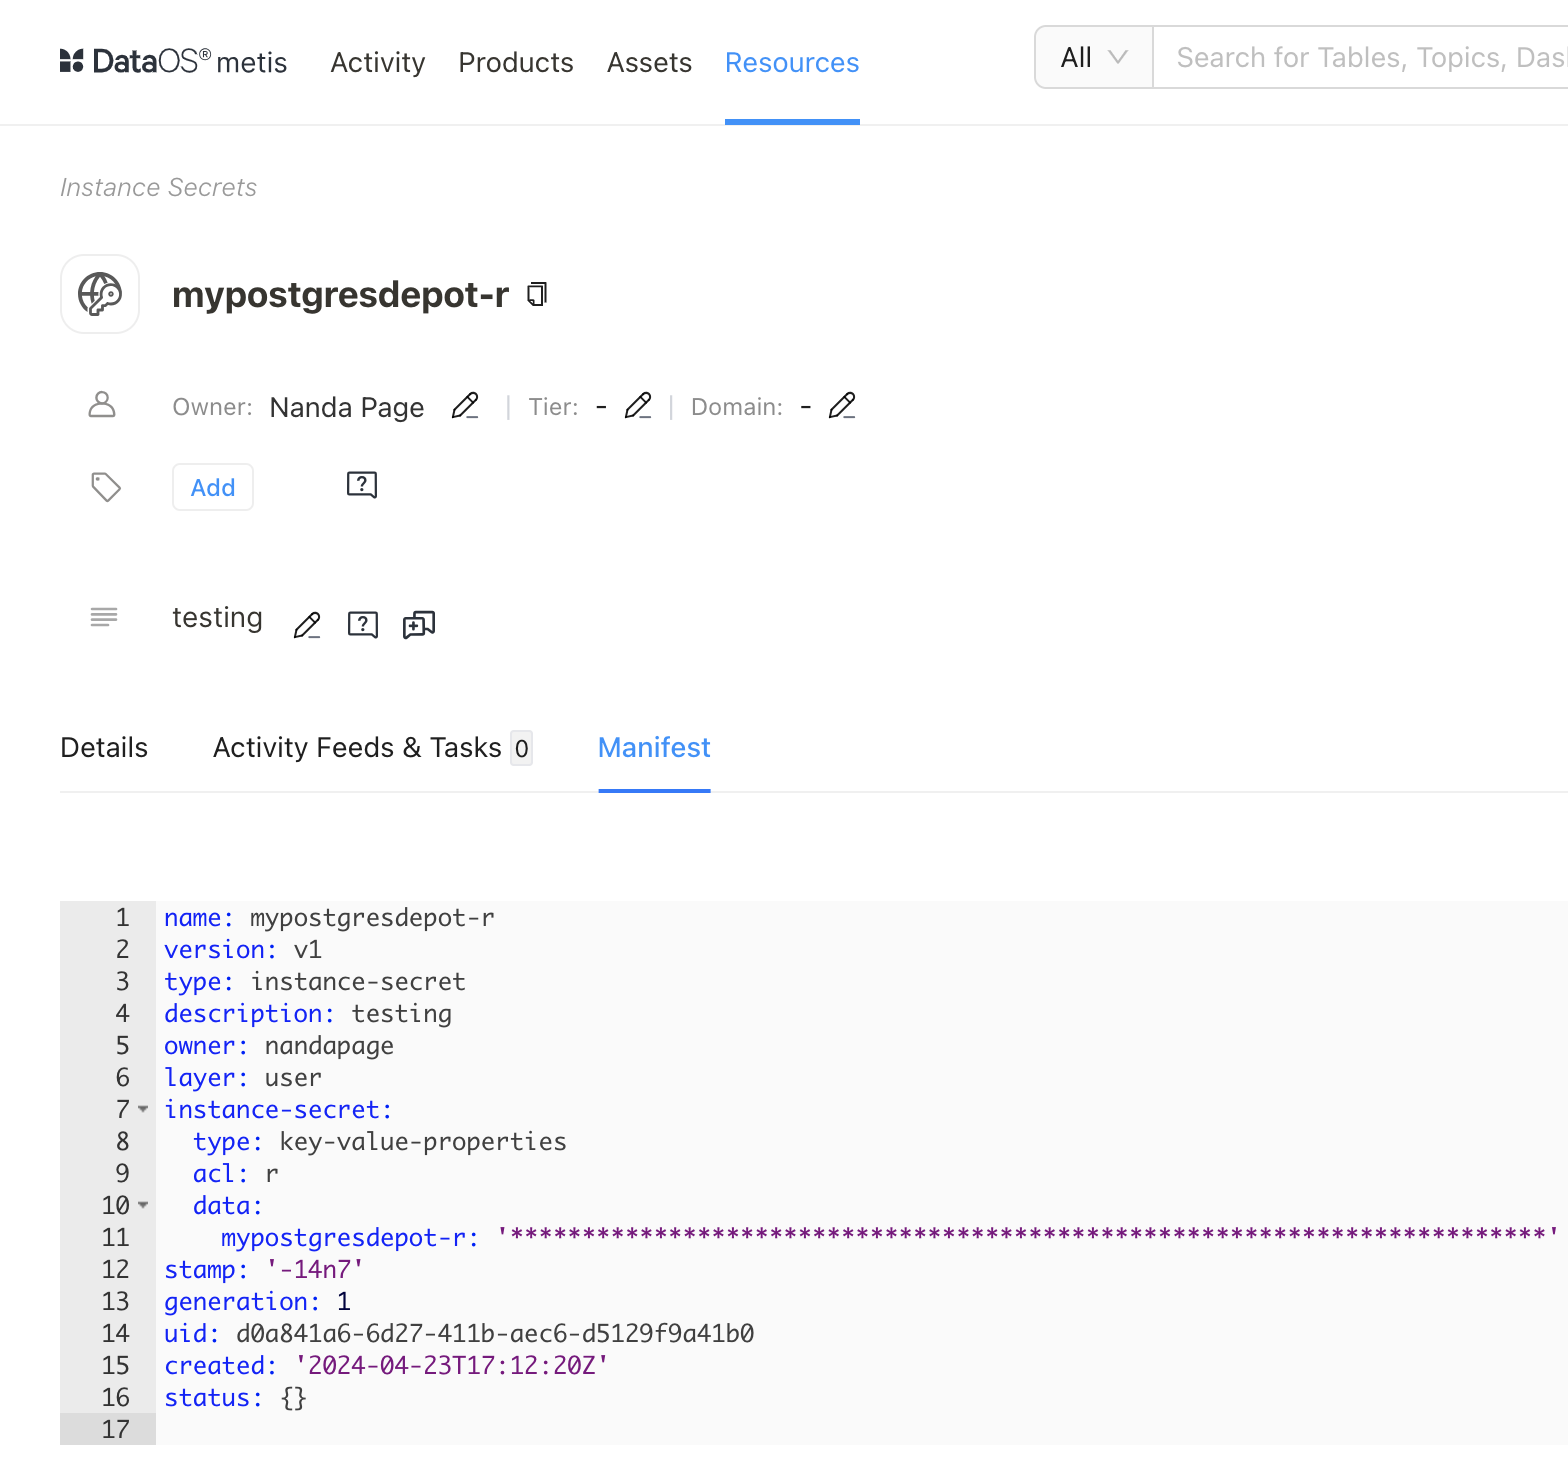
Step 2: Instance Secret Referred in Depot YAML
-
Refer the Instance-Secret Resource in Depot YAML.
name: postgresdepotwithinstancesecret version: v2alpha type: depot layer: user depot: type: POSTGRESQL description: To write data to postgresql database external: true secrets: - name: mypostgresdepot-r # name of the Instance Secret resource allkeys: true postgresql: host: ${{host}} subprotocol: ${{subprotocol}} database: ${{database}} -
Once you have the YAML file ready in your code editor, copy the path of the YAML file and apply it through the DataOS CLI to instantiate your Depot. Use the command given below:
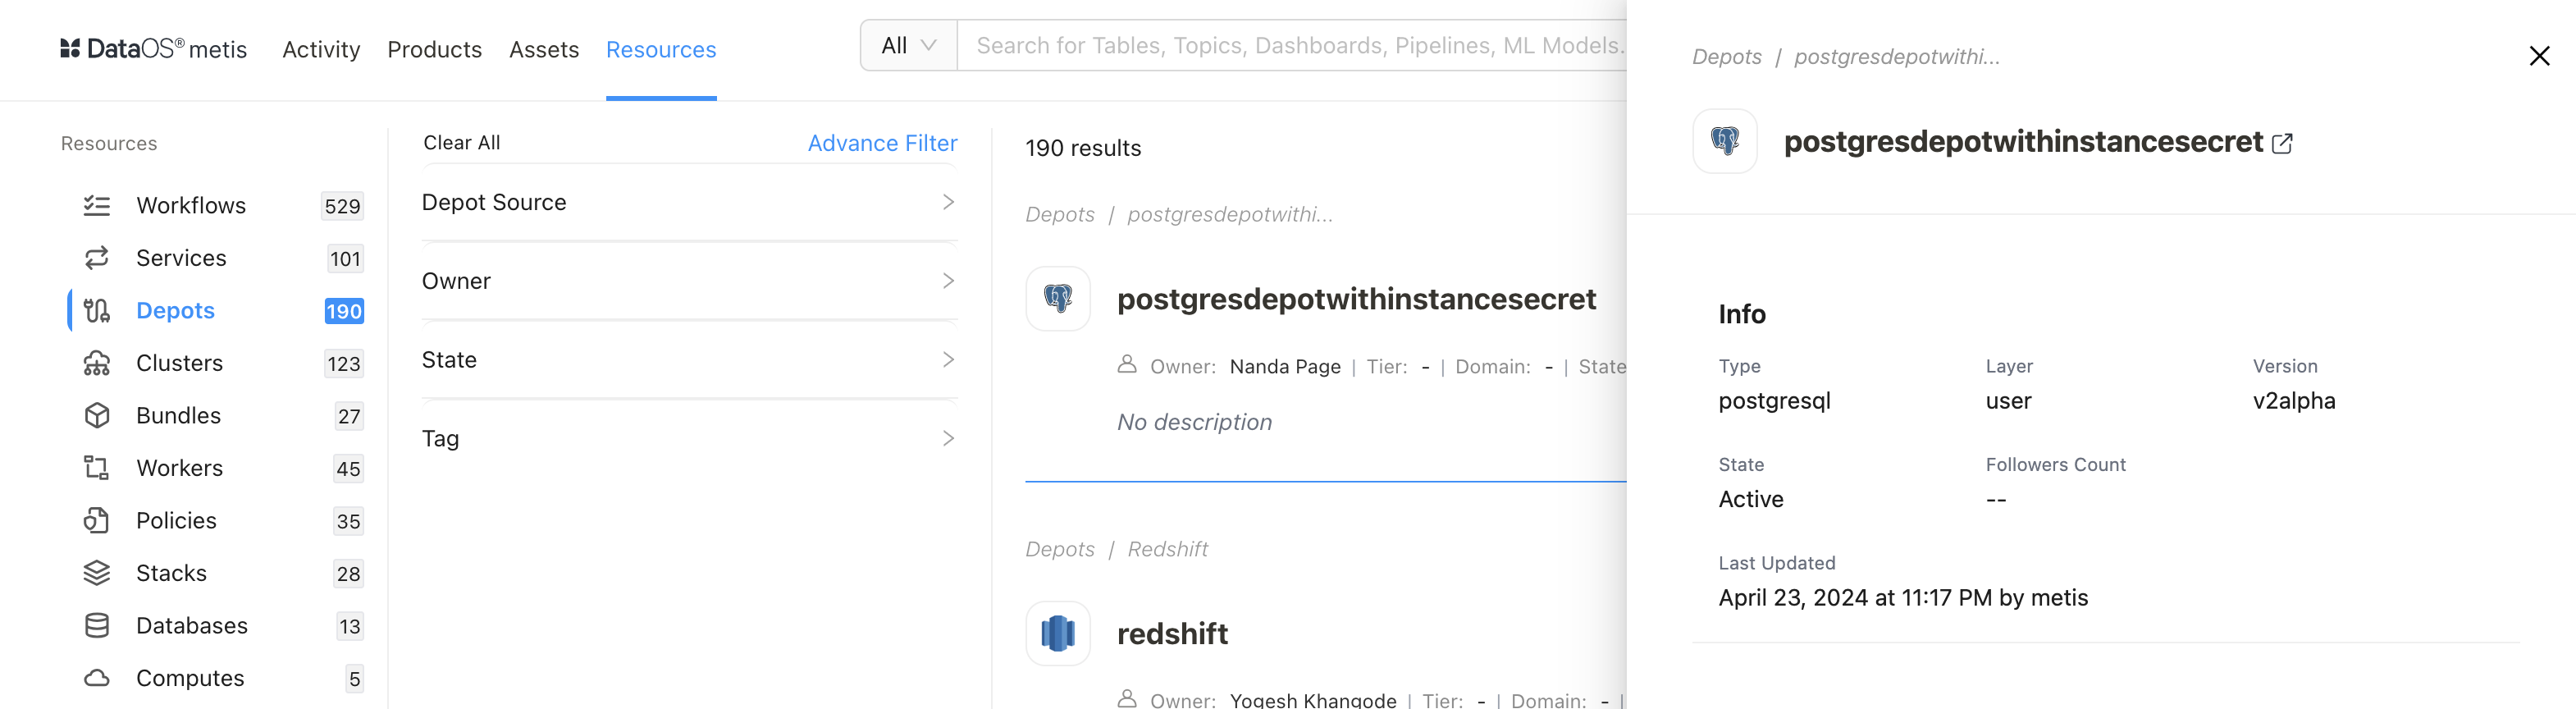
Step 3: Verify Depot Creation
To ensure that your depot has been successfully created, you can verify it with the following DataOS CLI command:
➜  ~ dataos-ctl get -t depot
INFO[0000] 🔍 get...
INFO[0001] 🔍 get...complete

               NAME                 | VERSION | TYPE  | WORKSPACE | STATUS | RUNTIME |   OWNER
------------------------------------|---------|-------|-----------|--------|---------|------------
  postgresdepotwithinstancesecret   | v2alpha | depot |           | active |         | nandapage