Deploying Data Applications on DataOS
Information
This guide provides step-by-step instructions for deploying your data app—built with Streamlit, Django, Flask, or any tool—on DataOS using the Container Stack.
To illustrate the process, we'll create a simple Streamlit application. Streamlit is a powerful Python library that facilitates the quick development of interactive web applications.
Step 1: Create a Data Application
-
Write Your Application Code
Create a Python file named
appname.pyfor your Streamlit application. -
Run the application locally
Run the application on your machine. When you run this application locally, it will be launched in your default web browser.
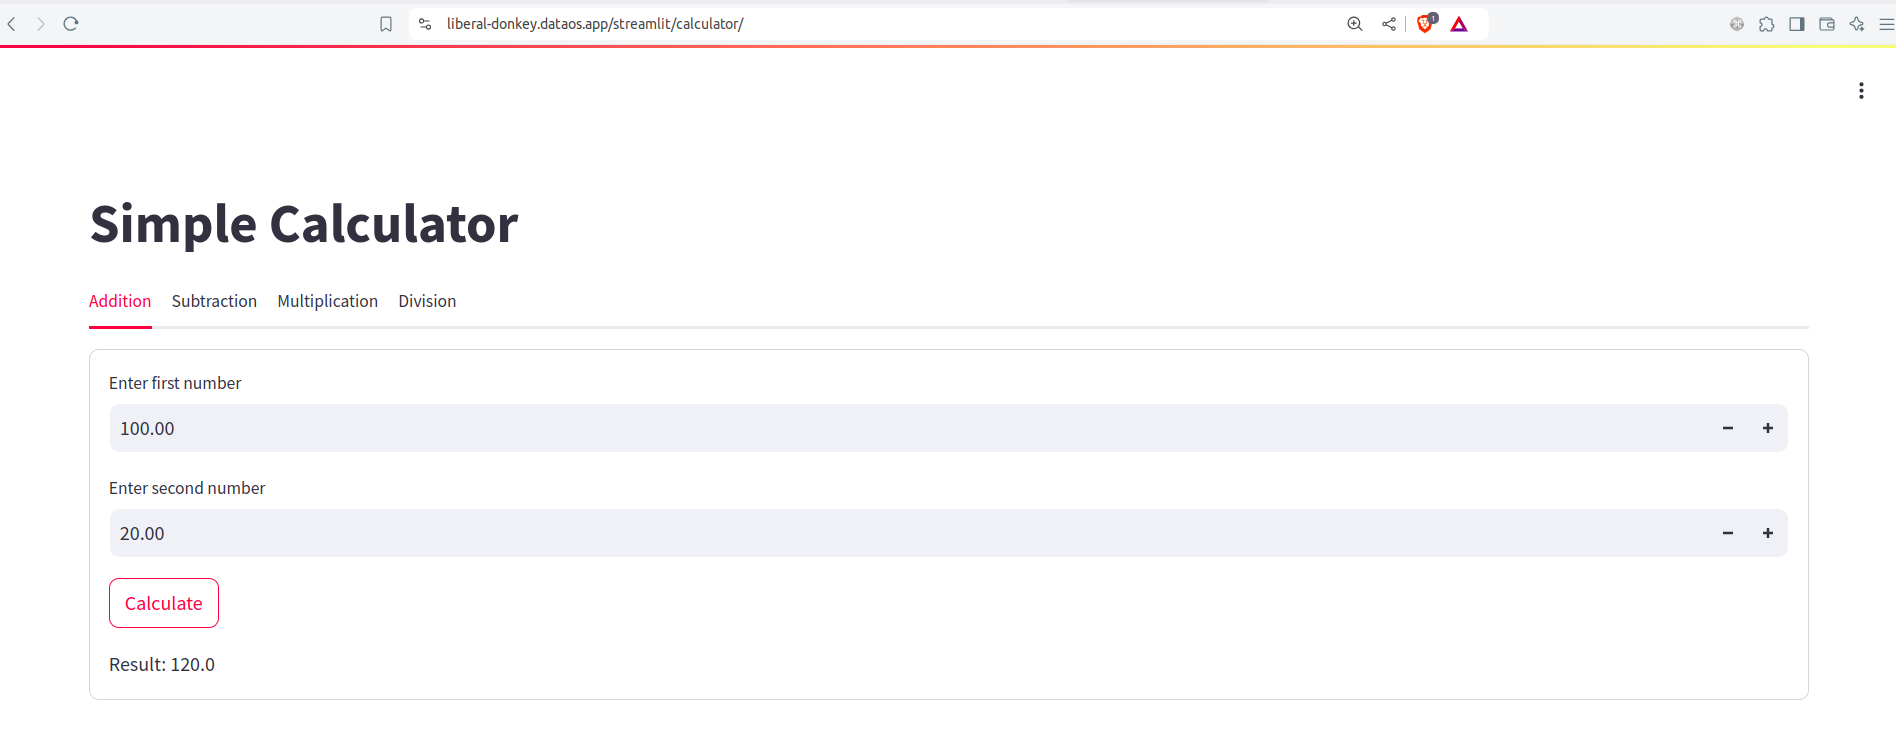
Here's a simple example of Calculator app designed for basic arithmetic operations.
import streamlit as st

# Streamlit page configurations
st.set_page_config(layout='wide', page_title='Simple Calculator')

# Setting Session State Variables
if 'page' not in st.session_state:
    st.session_state.page = 0

def addition_tab():
    '''This function handles the addition operation'''
    with st.form("addition_form"):
        num1 = st.number_input("Enter first number", value=0.0, key="addition_num1")
        num2 = st.number_input("Enter second number", value=0.0, key="addition_num2")
        submitted = st.form_submit_button("Calculate")
        if submitted:
            result = num1 + num2
            st.write(f"Result: {result}")

def subtraction_tab():
    '''This function handles the subtraction operation'''
    with st.form("subtraction_form"):
        num1 = st.number_input("Enter first number", value=0.0, key="subtraction_num1")
        num2 = st.number_input("Enter second number", value=0.0, key="subtraction_num2")
        submitted = st.form_submit_button("Calculate")
        if submitted:
            result = num1 - num2
            st.write(f"Result: {result}")

def multiplication_tab():
    '''This function handles the multiplication operation'''
    with st.form("multiplication_form"):
        num1 = st.number_input("Enter first number", value=0.0, key="multiplication_num1")
        num2 = st.number_input("Enter second number", value=0.0, key="multiplication_num2")
        submitted = st.form_submit_button("Calculate")
        if submitted:
            result = num1 * num2
            st.write(f"Result: {result}")

def division_tab():
    '''This function handles the division operation'''
    with st.form("division_form"):
        num1 = st.number_input("Enter first number", value=0.0, key="division_num1")
        num2 = st.number_input("Enter second number", value=0.0, key="division_num2")
        submitted = st.form_submit_button("Calculate")
        if submitted:
            if num2 != 0:
                result = num1 / num2
            else:
                result = "Error! Division by zero."
            st.write(f"Result: {result}")

def app():
    '''Main app code for the calculator'''
    st.title("Simple Calculator")
    tabs = st.tabs(["Addition", "Subtraction", "Multiplication", "Division"])

    with tabs[0]:
        addition_tab()
    with tabs[1]:
        subtraction_tab()
    with tabs[2]:
        multiplication_tab()
    with tabs[3]:
        division_tab()

def main():
    '''Main function to start the app'''
    app()

if __name__ == "__main__":
    main()
Step 2: Create a Docker Image
Now we'll package our application into a Docker image. Docker simplifies deploying applications by encapsulating them with all their dependencies.
-
Create Your Dockerfile
Define your build process in a
Dockerfile.The following ‘Dockerfile’ begins by leveraging a lightweight Python 3.9 base image, proceeds to install Streamlit, configures the working directory to /app, transfers the
calculator.pyfile into the container, and establishes the command to execute the application.Here's a basic setup:
# Use the official Python 3.9 slim image FROM python:3.9-slim COPY ./app /app # Set the working directory WORKDIR /app # Install the dependencies RUN pip3 install streamlit # Expose port 8502 for the Streamlit app EXPOSE 8501 # Define the command to run the Streamlit app CMD ["streamlit", "run", "calculator.py", "--server.port=8501", "--server.address=0.0.0.0"] -
Build the Docker Image
Run the following command to build the Docker image:
This command builds an image named
calculator-appwith thenewtag.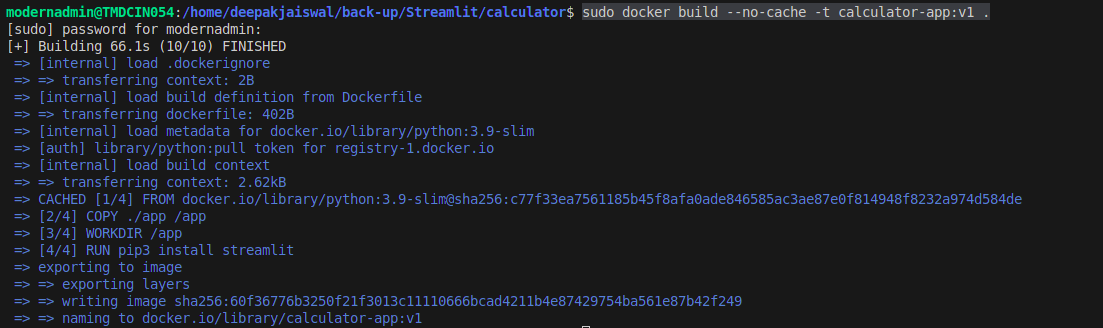
Step 3: Push the Docker Image to Container Registry**
We'll upload our Docker image to a container registry for storage and deployment. We'll use Docker Hub for this example, but you can use any preferred container registry.
-
Create a Docker Hub Account
If you don't already have one, sign up for a Docker Hub account and create a repository.
-
Log In to Docker Hub
Authenticate with Docker Hub. Replace
your-usernamewith your Docker Hub username , and input the password to log in.Replace your
usernamewith your Docker Hub username, and input the password to log in. -
Tag Your Docker Image
Tag the image to prepare it for upload:To push an image to Docker Hub, your image needs to be tagged.
-
Push the Docker Image
Upload the image to Docker Hub:

Step 4: Secrets to Pull Images from Private Container Registry
To securely pull an image from a private container registry, you’ll need to create a Secret Resource with authentication details. Follow these steps to generate the required Docker container registry Secret within the same Workspace:
-
Create the Secret Resource
- This resource will embed the authentication credentials for your container registry.
- Ensure the
typefield is set tocloud-kernel-image-pull.
Define a YAML configuration for the Secret Resource:
-
Apply the Secret Resource
Deploy the Secret to the desired workspace where the Container Service will be executed.
Step 5: Deploy the Data Application on the DataOS Environment
Finally, deploy your Streamlit application to the DataOS environment using Container Stack. Create a manifest file (service.yml) for your service deployment.
-
Define the YAML Configuration
- Specify service details like
version,name,type,replicas,service port, andimage repository: - Provide the Container Stack spec such as
command,arguments, andimage. -
Reference the Secret in Your Container Specification. Use the
imagePullSecretsproperty to reference the secret in the container YAML configuration.This YAML file configures your service, sets up the port, and specifies the ingress path for accessing your app.
version: v1
name: streamlit-calculator
type: service
service:
  replicas: 1
  servicePort: 8501
  ingress:
    enabled: true
    noAuthentication: true
    path: /streamlit/calculator
    stripPath: true
  stack: container
  compute: runnable-default
  resources:
    requests:
      cpu: 100m
      memory: 100Mi
    limits:
      cpu: 250m
      memory: 250Mi
  stackSpec:
    image: deep2407/calculator-app:v1
    imagePullSecret: docker-secrets
    command:
      - streamlit
    arguments:
      - run
      - main.py
      - --server.port=8501
      - --server.address=0.0.0.0
- Specify service details like
-
Bundle the Service YAML File
Now, we will deploy the Streamlit application service using the DataOS Bundle Resource. Create a Bundle Resource YAML file providing the Service details.
version: v1beta name: ta-bundle-test type: bundle tags: - streamlit description: The Streamlit application is deployed using bundle resources layer: user bundle: workspaces: - name: public description: "This workspace runs dataos bundle-based resources" tags: - bundleJob - bundleResource labels: name : bundle layer: user resources: - id: create-streamlit-services file: /home/streamlit_docs/service.yml workspace: public -
Deploy the Bundle Resource.
Execute the deployment command to deploy the service specified in the Bundle YAML file. The exact command may vary depending on the CLI tool and configuration, but typically, it might look something like this:
Step 6: Provide Read Access to the Users
-
Create a Policy Resource allowing users to read data.
name: access-policy-workspace-apipaths version: v1 type: policy description: Policy allowing users to read data tags: - data product - dataos:workspace:curriculum - calculatorapp layer: user policy: access: subjects: tags: - - users:** - - roles:** predicates: - "read" - "get" objects: paths: - /streamlit/calculator/** allow: true -
Apply the read Policy YAML.
Step 7: Access the Application
Access the deployed Streamlit application on the web browser with the following URL:
- URL:
https://<dataos-context>/<path>
Provide the required inputs and click on the 'Calculate' button.