How to Create a Data Product Template using cookie-cutter?
This section outlines the steps to create a foundational template for a data product using a cookie-cutter approach using the Bit Bucket. This template can be customized to initiate the development of various data products efficiently.
Prerequisites
-
It is assumed that you possess a basic understanding of Bitbucket.
-
Before proceeding, ensure you have access to the repository template and the necessary tags or use cases.
Steps to Create the Data Product Template
Follow these steps to create the Data Product template:
-
Create a Virtual Environment:
-
Open your terminal and create a virtual environment using the command:
-
Activate the virtual environment:
-
-
Install Cookiecutter:
-
Install Cookiecutter using pip in the activated environment:
-
-
Clone the Repository:
- Open the repository link in your browser.
-
Click on "Clone" and select
HTTPS. Copy the provided link.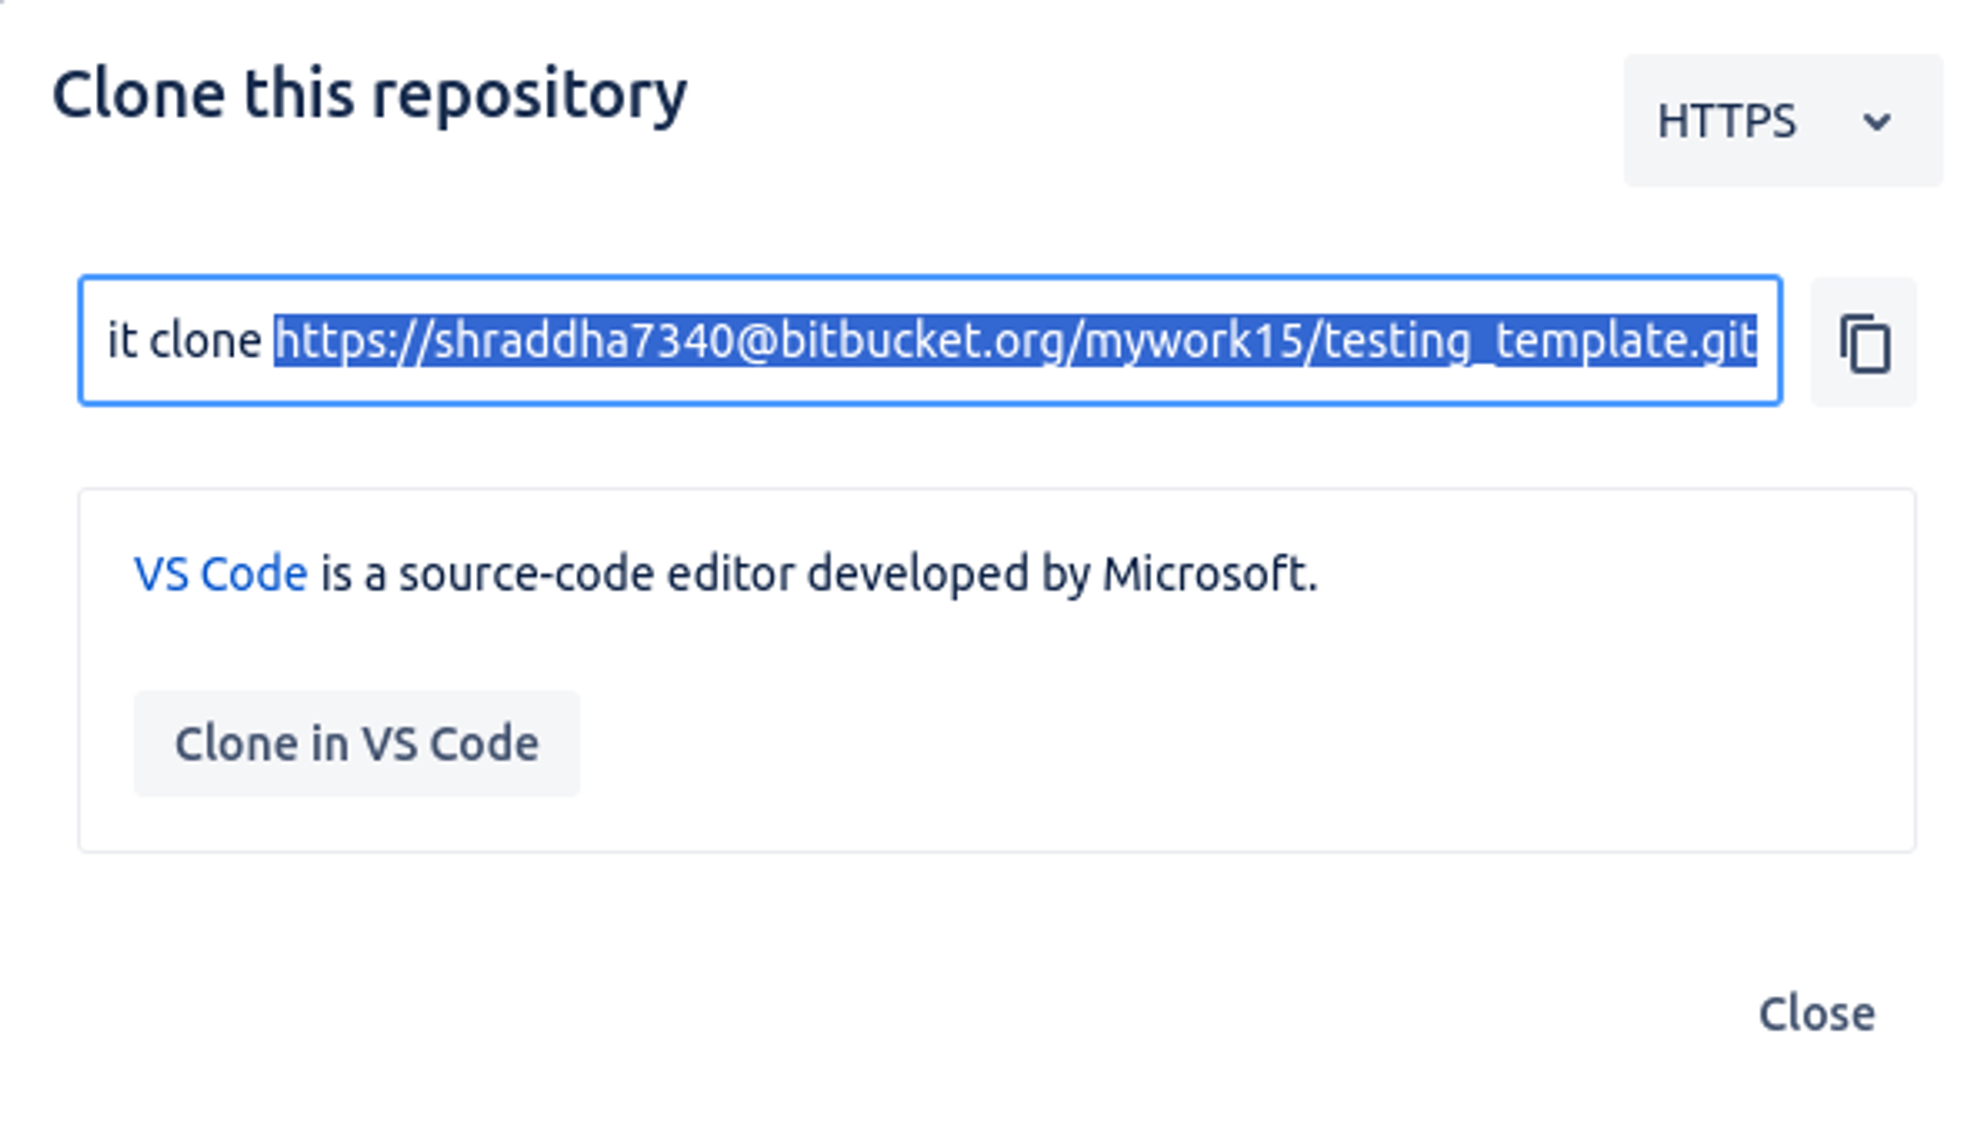
-
Run Cookiecutter:
-
In your terminal, run the following command, replacing
<bitbucket-username>with your Bitbucket username and<repository-link>with the copied link: -
Follow the prompts and provide the required details to create the data product template. Prompt will include the following keys:
- data_product_name (Customer Overview)
- directory_name (fs-dp-testing_dp)
- table_name (testing_dp_dp)
- table_name_raw (testing_dp_raw)
- dataset_context (testing_dp)
- blob_relative_path (finance_service)
- source_depot (twdepot)
- destination_depot (lakehousetw)
- incremental_context (table1_context)
- primary_key (cust_id)
- After successfully executing the above step, in your local system, a new directory will be created by the name you provided during the prompt.
-
-
Create a New Repository:
- Create a new repository on Bitbucket with a README file.
- Copy the HTTP link of the newly created repository.
-
Clone the Repository:
-
In any directory on your local system, run the following command, replacing
<repository-link>with the copied link:
-
-
Open Directories in Code Editor:
- Open both directories (the previously cloned directory and the newly created directory) in your preferred code editor (e.g., VS Code) within the same workspace.
-
Move Files:
- Move all the files from the previously cloned directory to your newly created directory.
-
Push Changes:
- Push the changes to your new repository in Bitbucket.
-
Verify Changes:
- Verify that all changes are reflected in your Bitbucket repository.
By following these steps, you'll have a successfully created Data Product template in your Bitbucket repository. This template can now be customized and further developed according to the requirements and can be deployed using the CI/CD pipeline.