Adding user in Keycloak
Managing user access is a key aspect of system administration in Keycloak. This guide explains how to create and manage users within the Keycloak Admin Console, ensuring seamless user onboarding.
Scenario
You’re responsible for onboarding a new team member to your organization’s system. To provide them secure access, you need to create their user profile in Keycloak. With administrative access, you navigate to the Users section in Keycloak Admin Console. Using the 'Create User' option, you set up user profile to access the system confidently and securely.
Prerequisite
Before proceeding, ensure that you meet the following requirements:
- Administrator Access to Keycloak: You must have administrative access to the Keycloak Admin Console to create and manage users.
Steps
Follow the steps below to add a user in Keycloak:
-
In the left-hand navigation menu of the Keycloak Admin Console, click on Users. This will bring up the user management screen.
-
Click on the 'Create User' button at the top-right corner of the user list. This will direct you to a form where you can enter the new user's details.
-
Provide the following information in the user creation form for the new user:
-
Required user actions: Specify any actions the user must complete before logging in. Once a required action is completed, the user will not need to perform it again in the future. For example, the Update Password action requires the user to change their password upon the first login.
-
Email: The user's email address (this is a required field).
- First Name: The user's first name.
- Last Name: The user's last name.

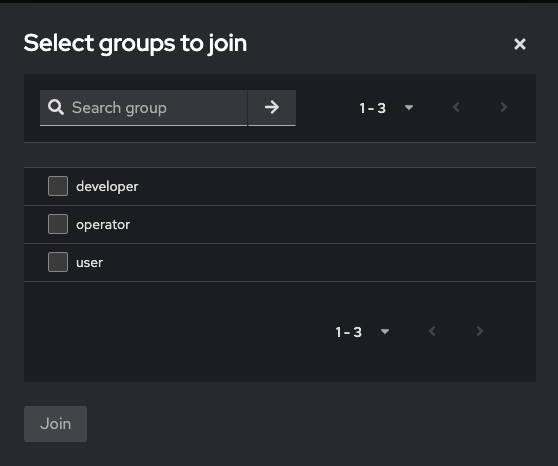
- Groups: You can add the user to an existing group. Click on the Join Group button, select the appropriate group(s), and then click Join Group to associate the user with those groups.

-
-
After filling in the details (email, first name, last name, required actions, and groups), click the Create button. The user will be created, and the newly created user will appear in the Users list in Keycloak.