Depot Creation with DataOS GUI
Information
This guide provides a step-by-step walkthrough, enabling you to quickly establish Depots and harness the power of DataOS for your organization's data management needs.
DataOS simplifies the creation of Depots with an intuitive interface. Specifying the type of Depot you need opens a form tailored to your data source, containing the necessary fields for seamless connection.
Key Steps
Here are the essential steps to create a Depot.
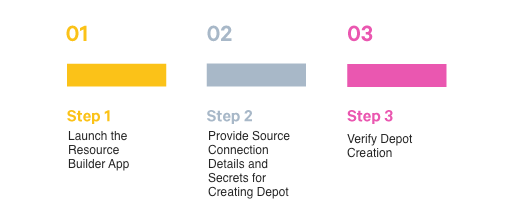
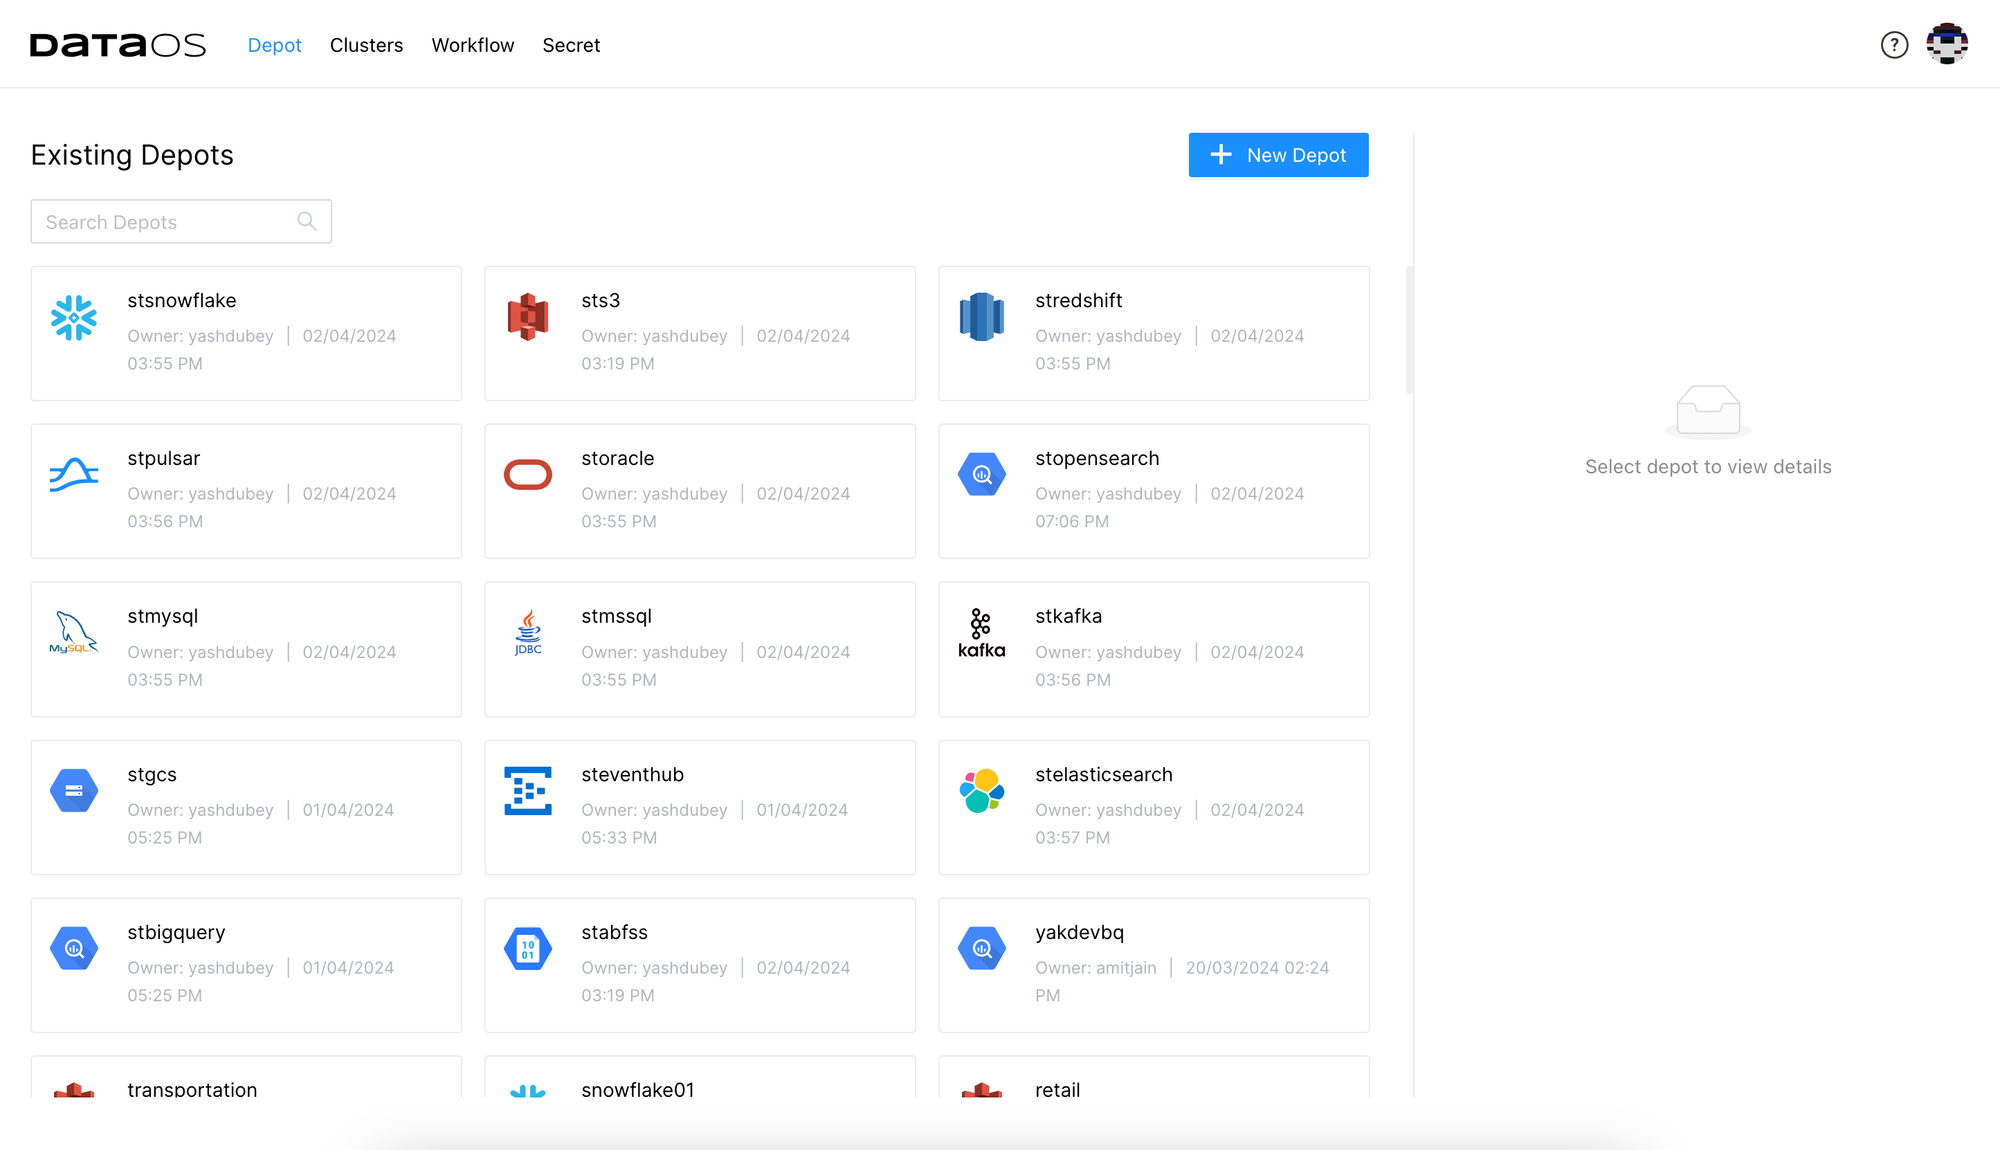
Step 1: Launch the Resource Builder App
-
Open the Resource Builder app from the DataOS homepage.
-
On the Resource Builder landing page, you can view the existing Depots.
-
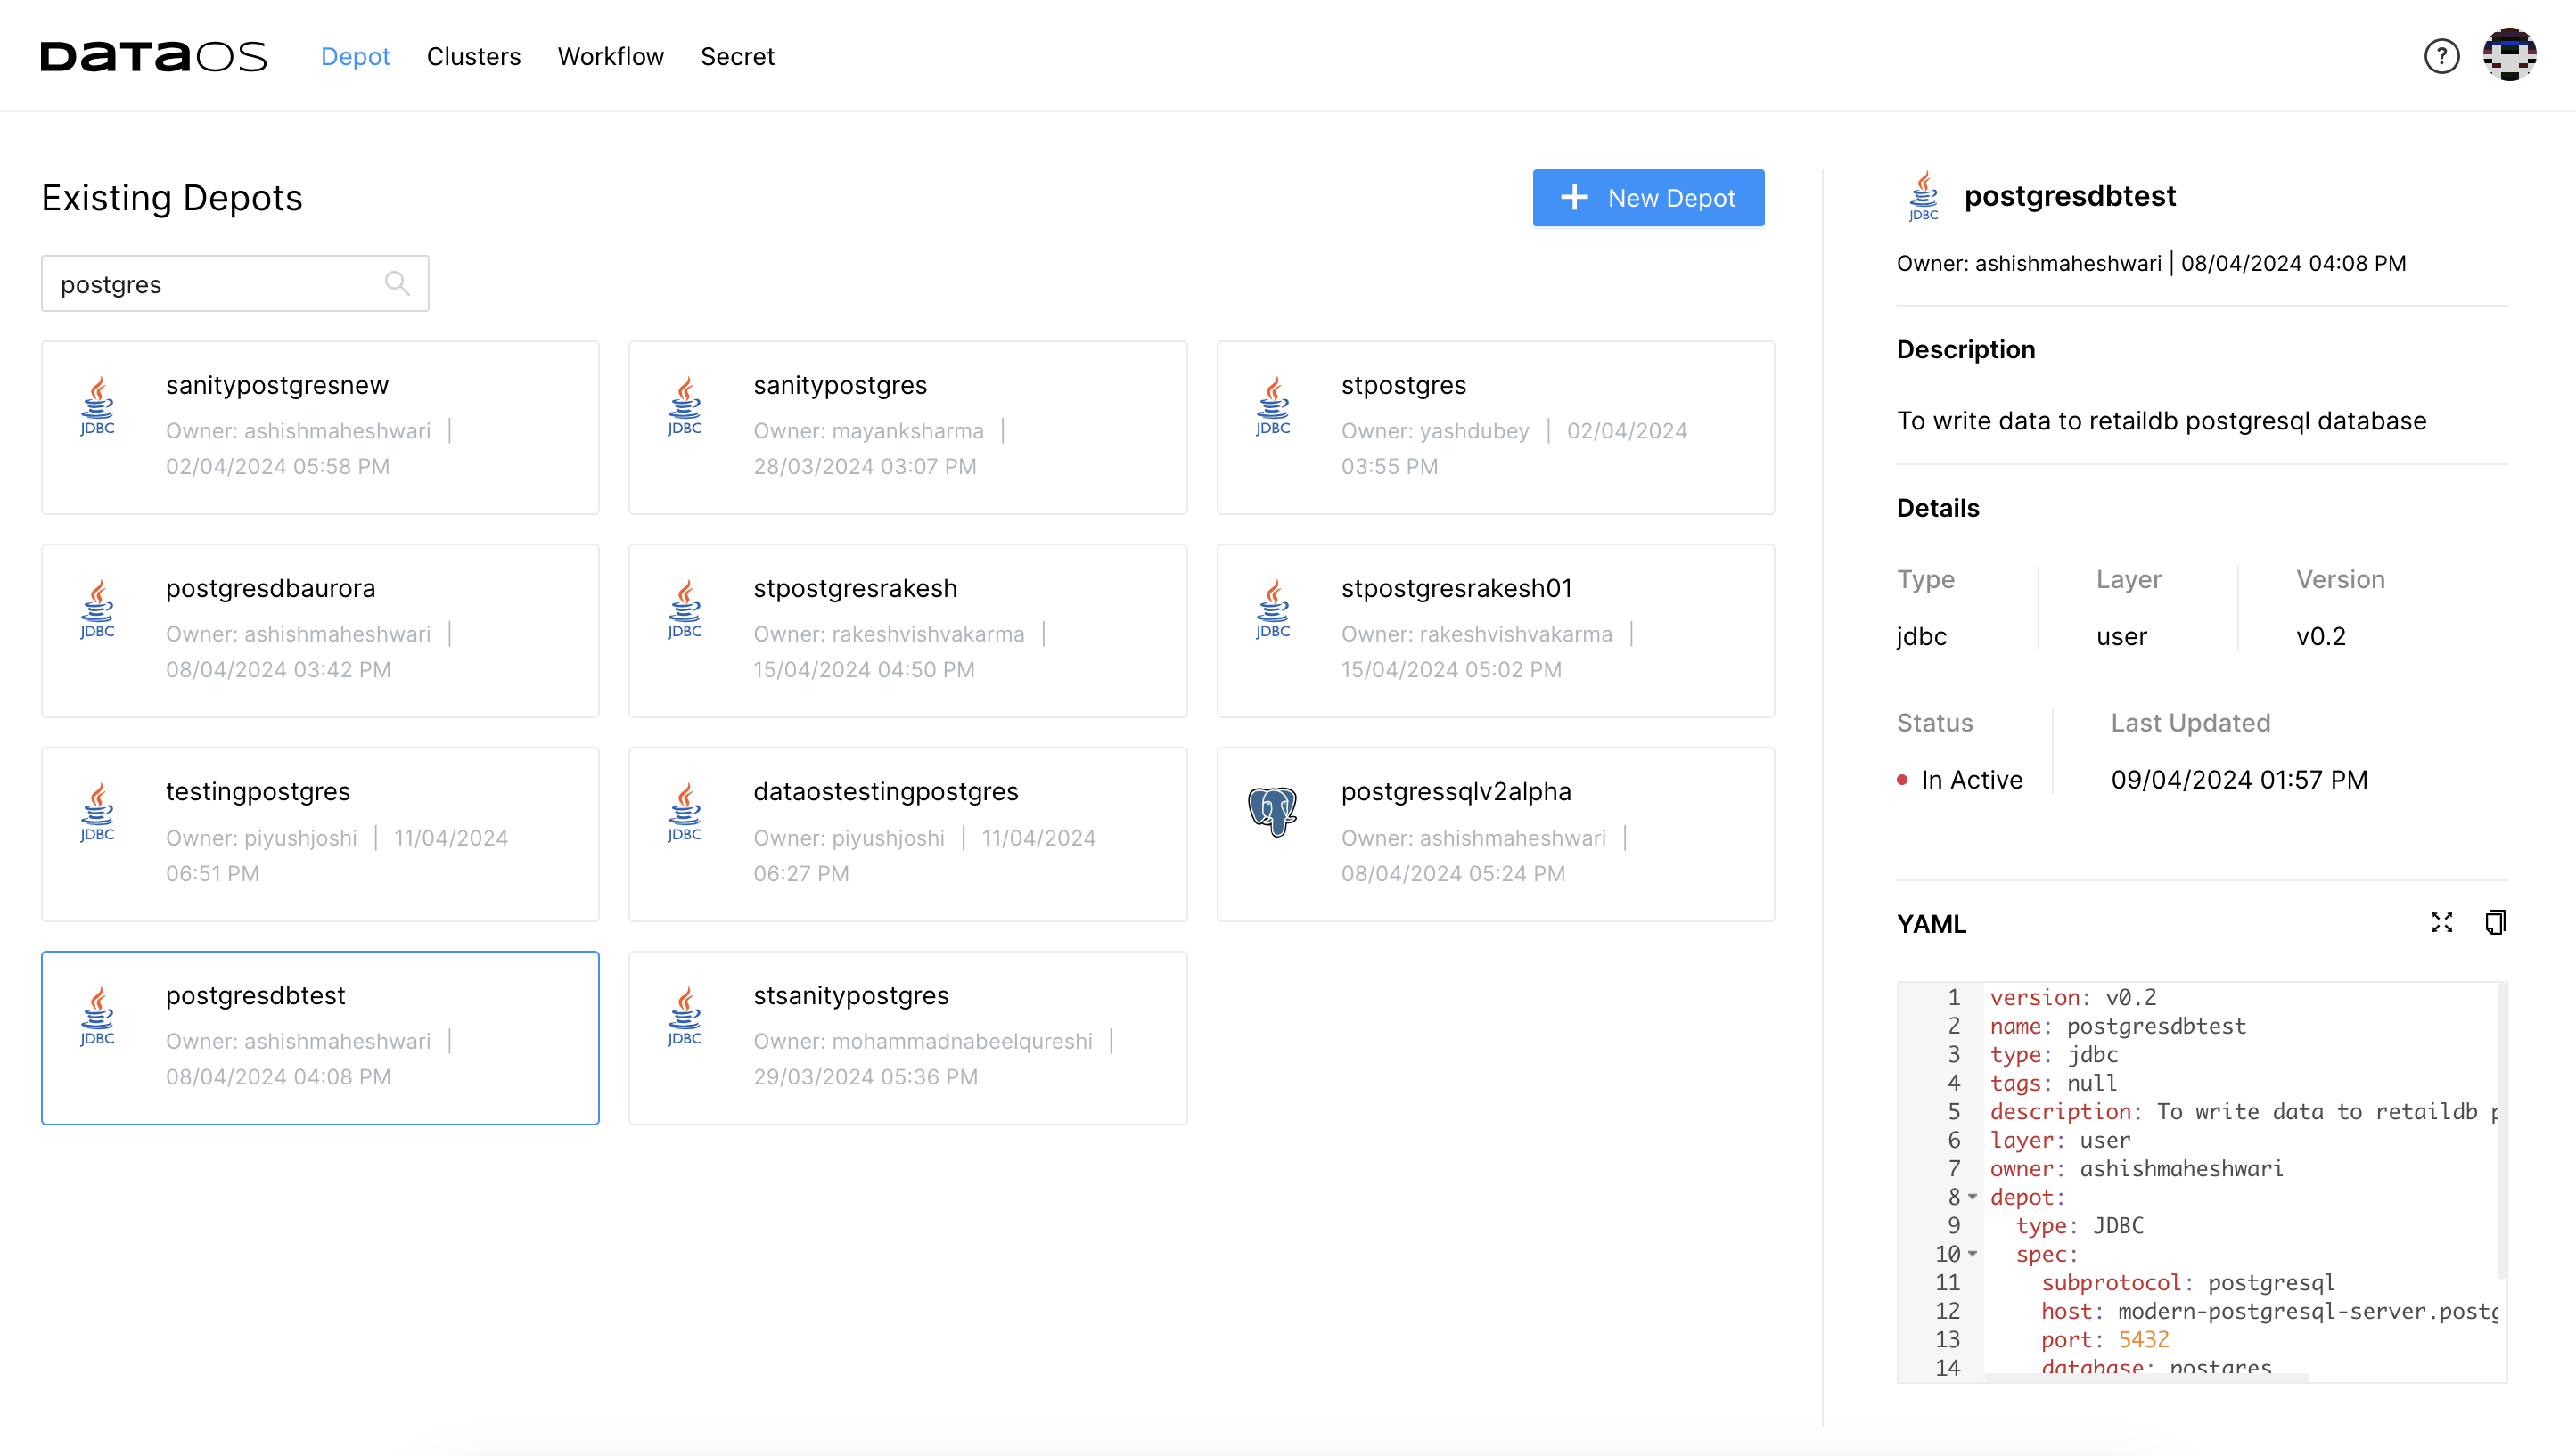
In the side pane, select a Depot to view its configuration details. Use the search feature to find the specific Depot of interest.
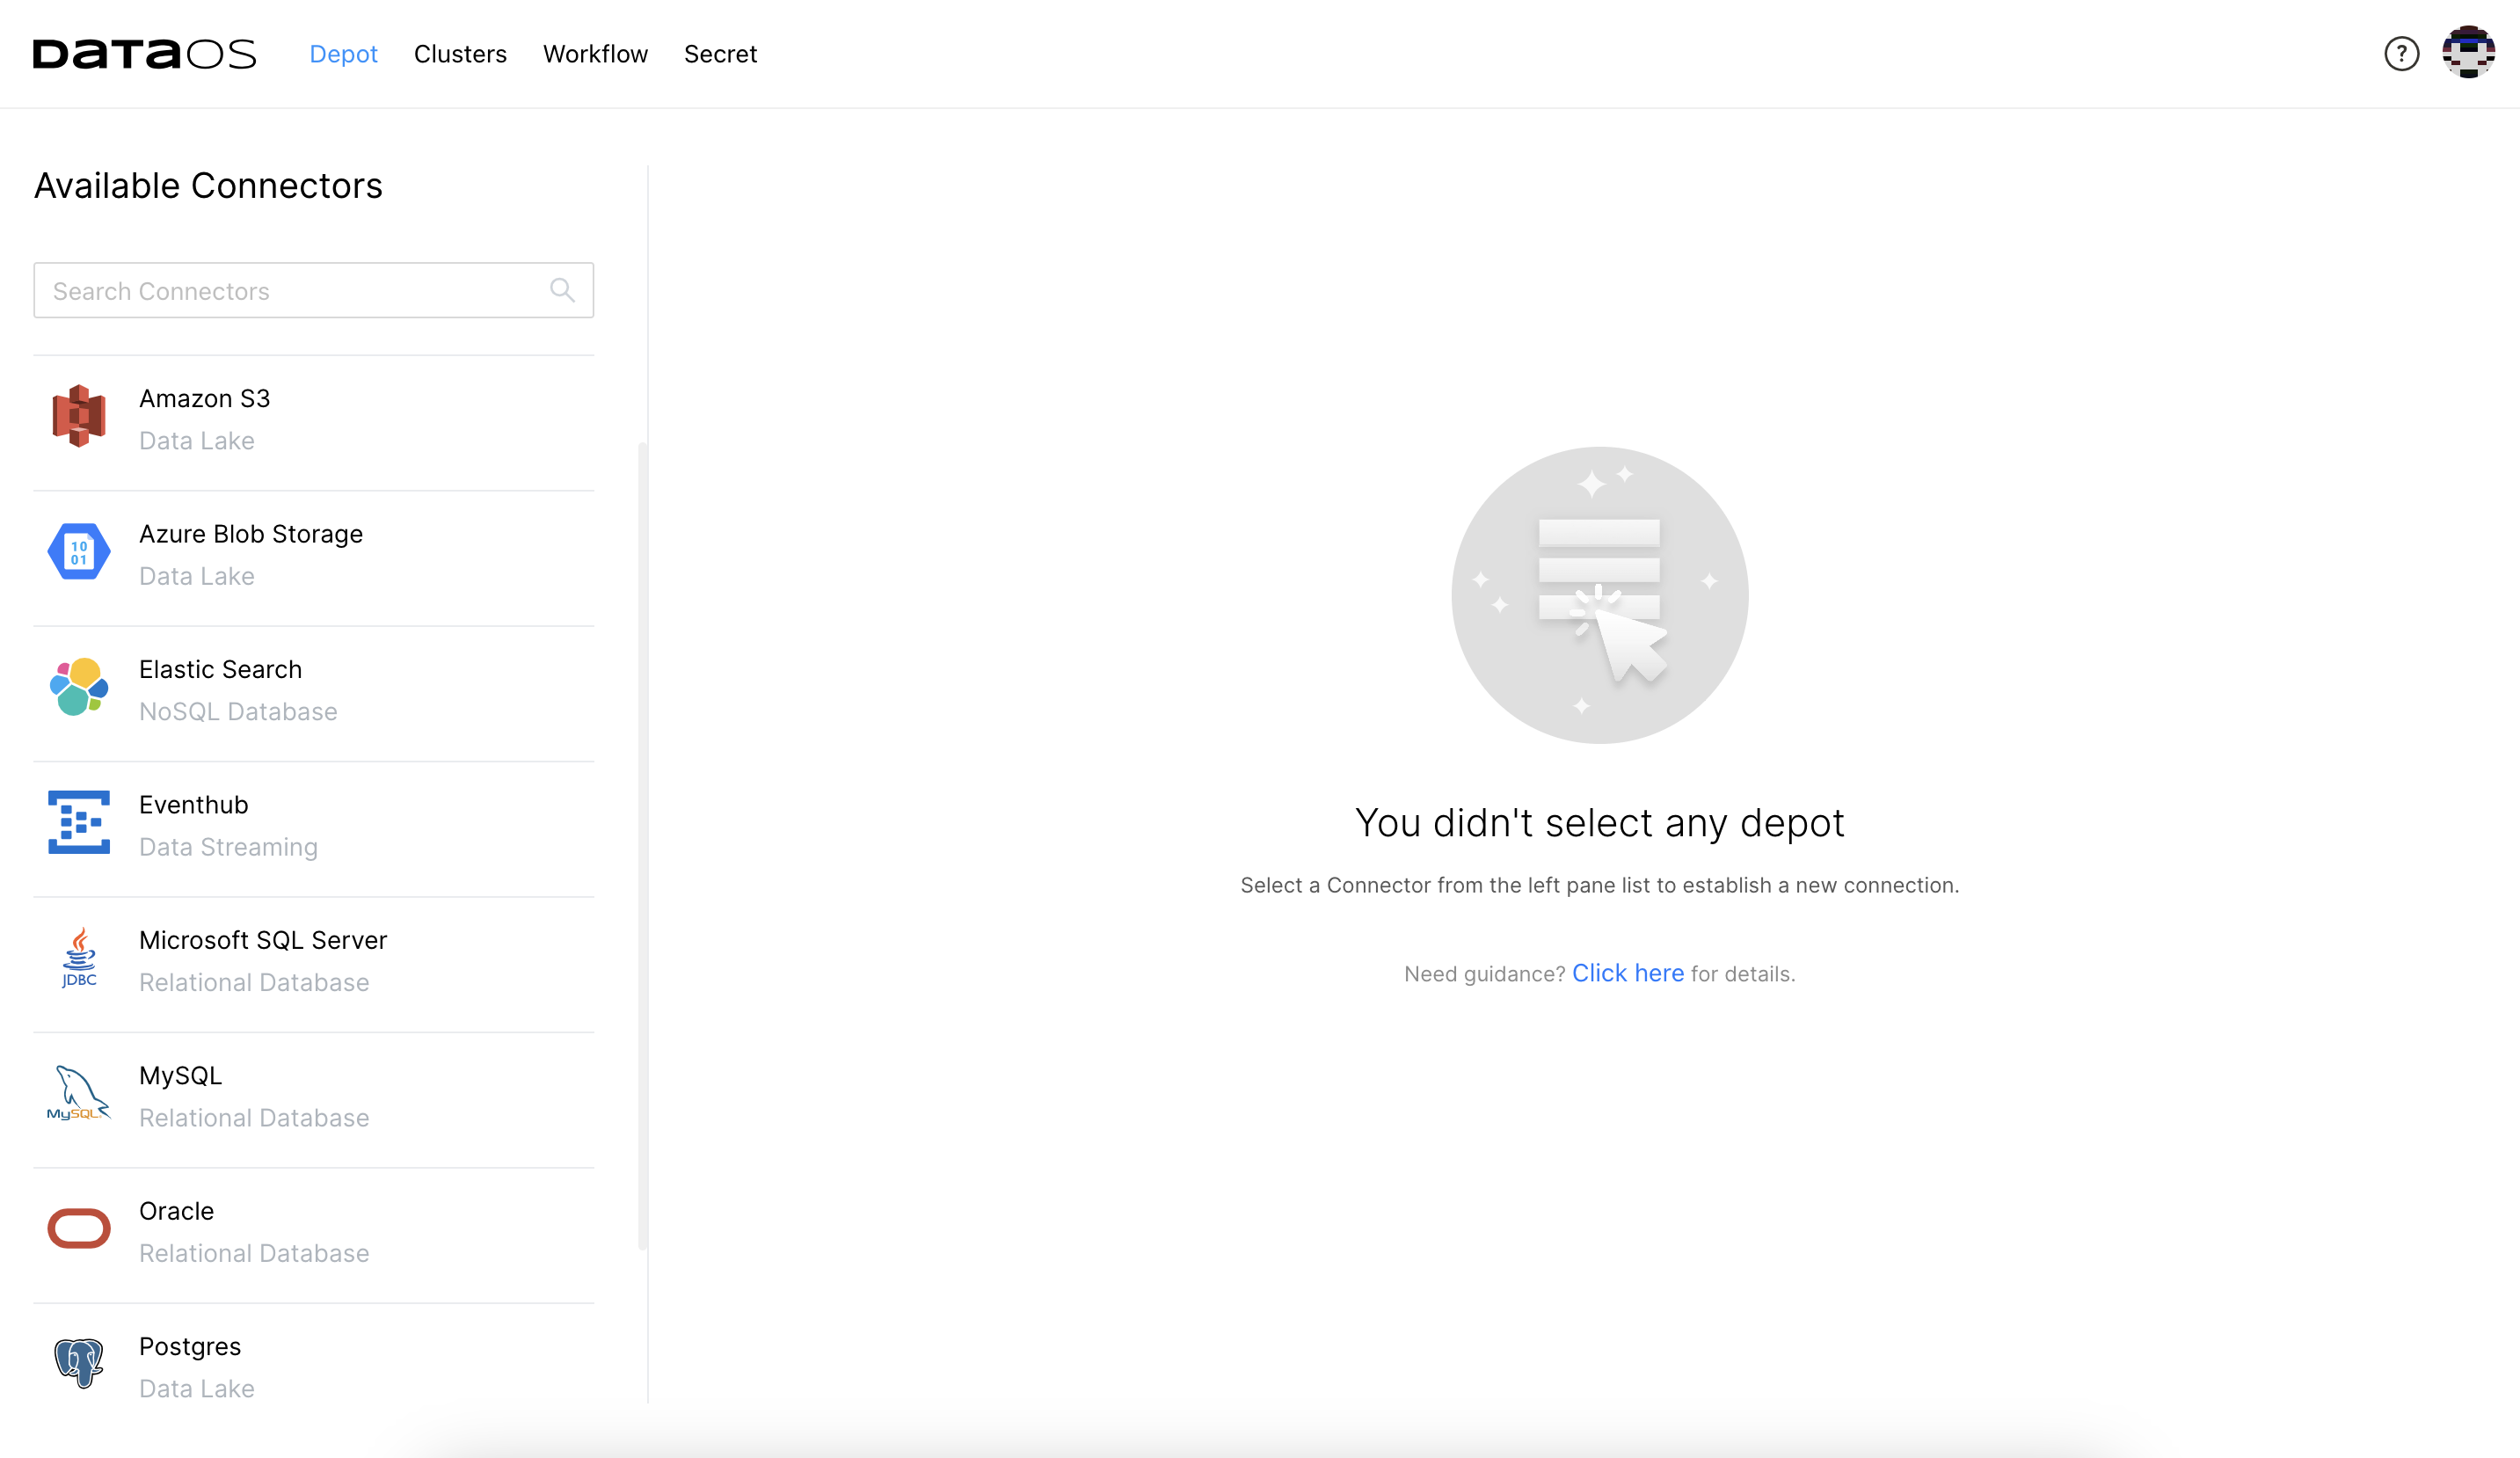
Step 2: Provide Source Connection Details and Secrets for Creating Depot
-
Click on the + New Depot button. The following screen will appear.
-
Choose the desired data source from the list. Enter the required details, such as metadata for the Depot resource, secrets, and data source connection information.
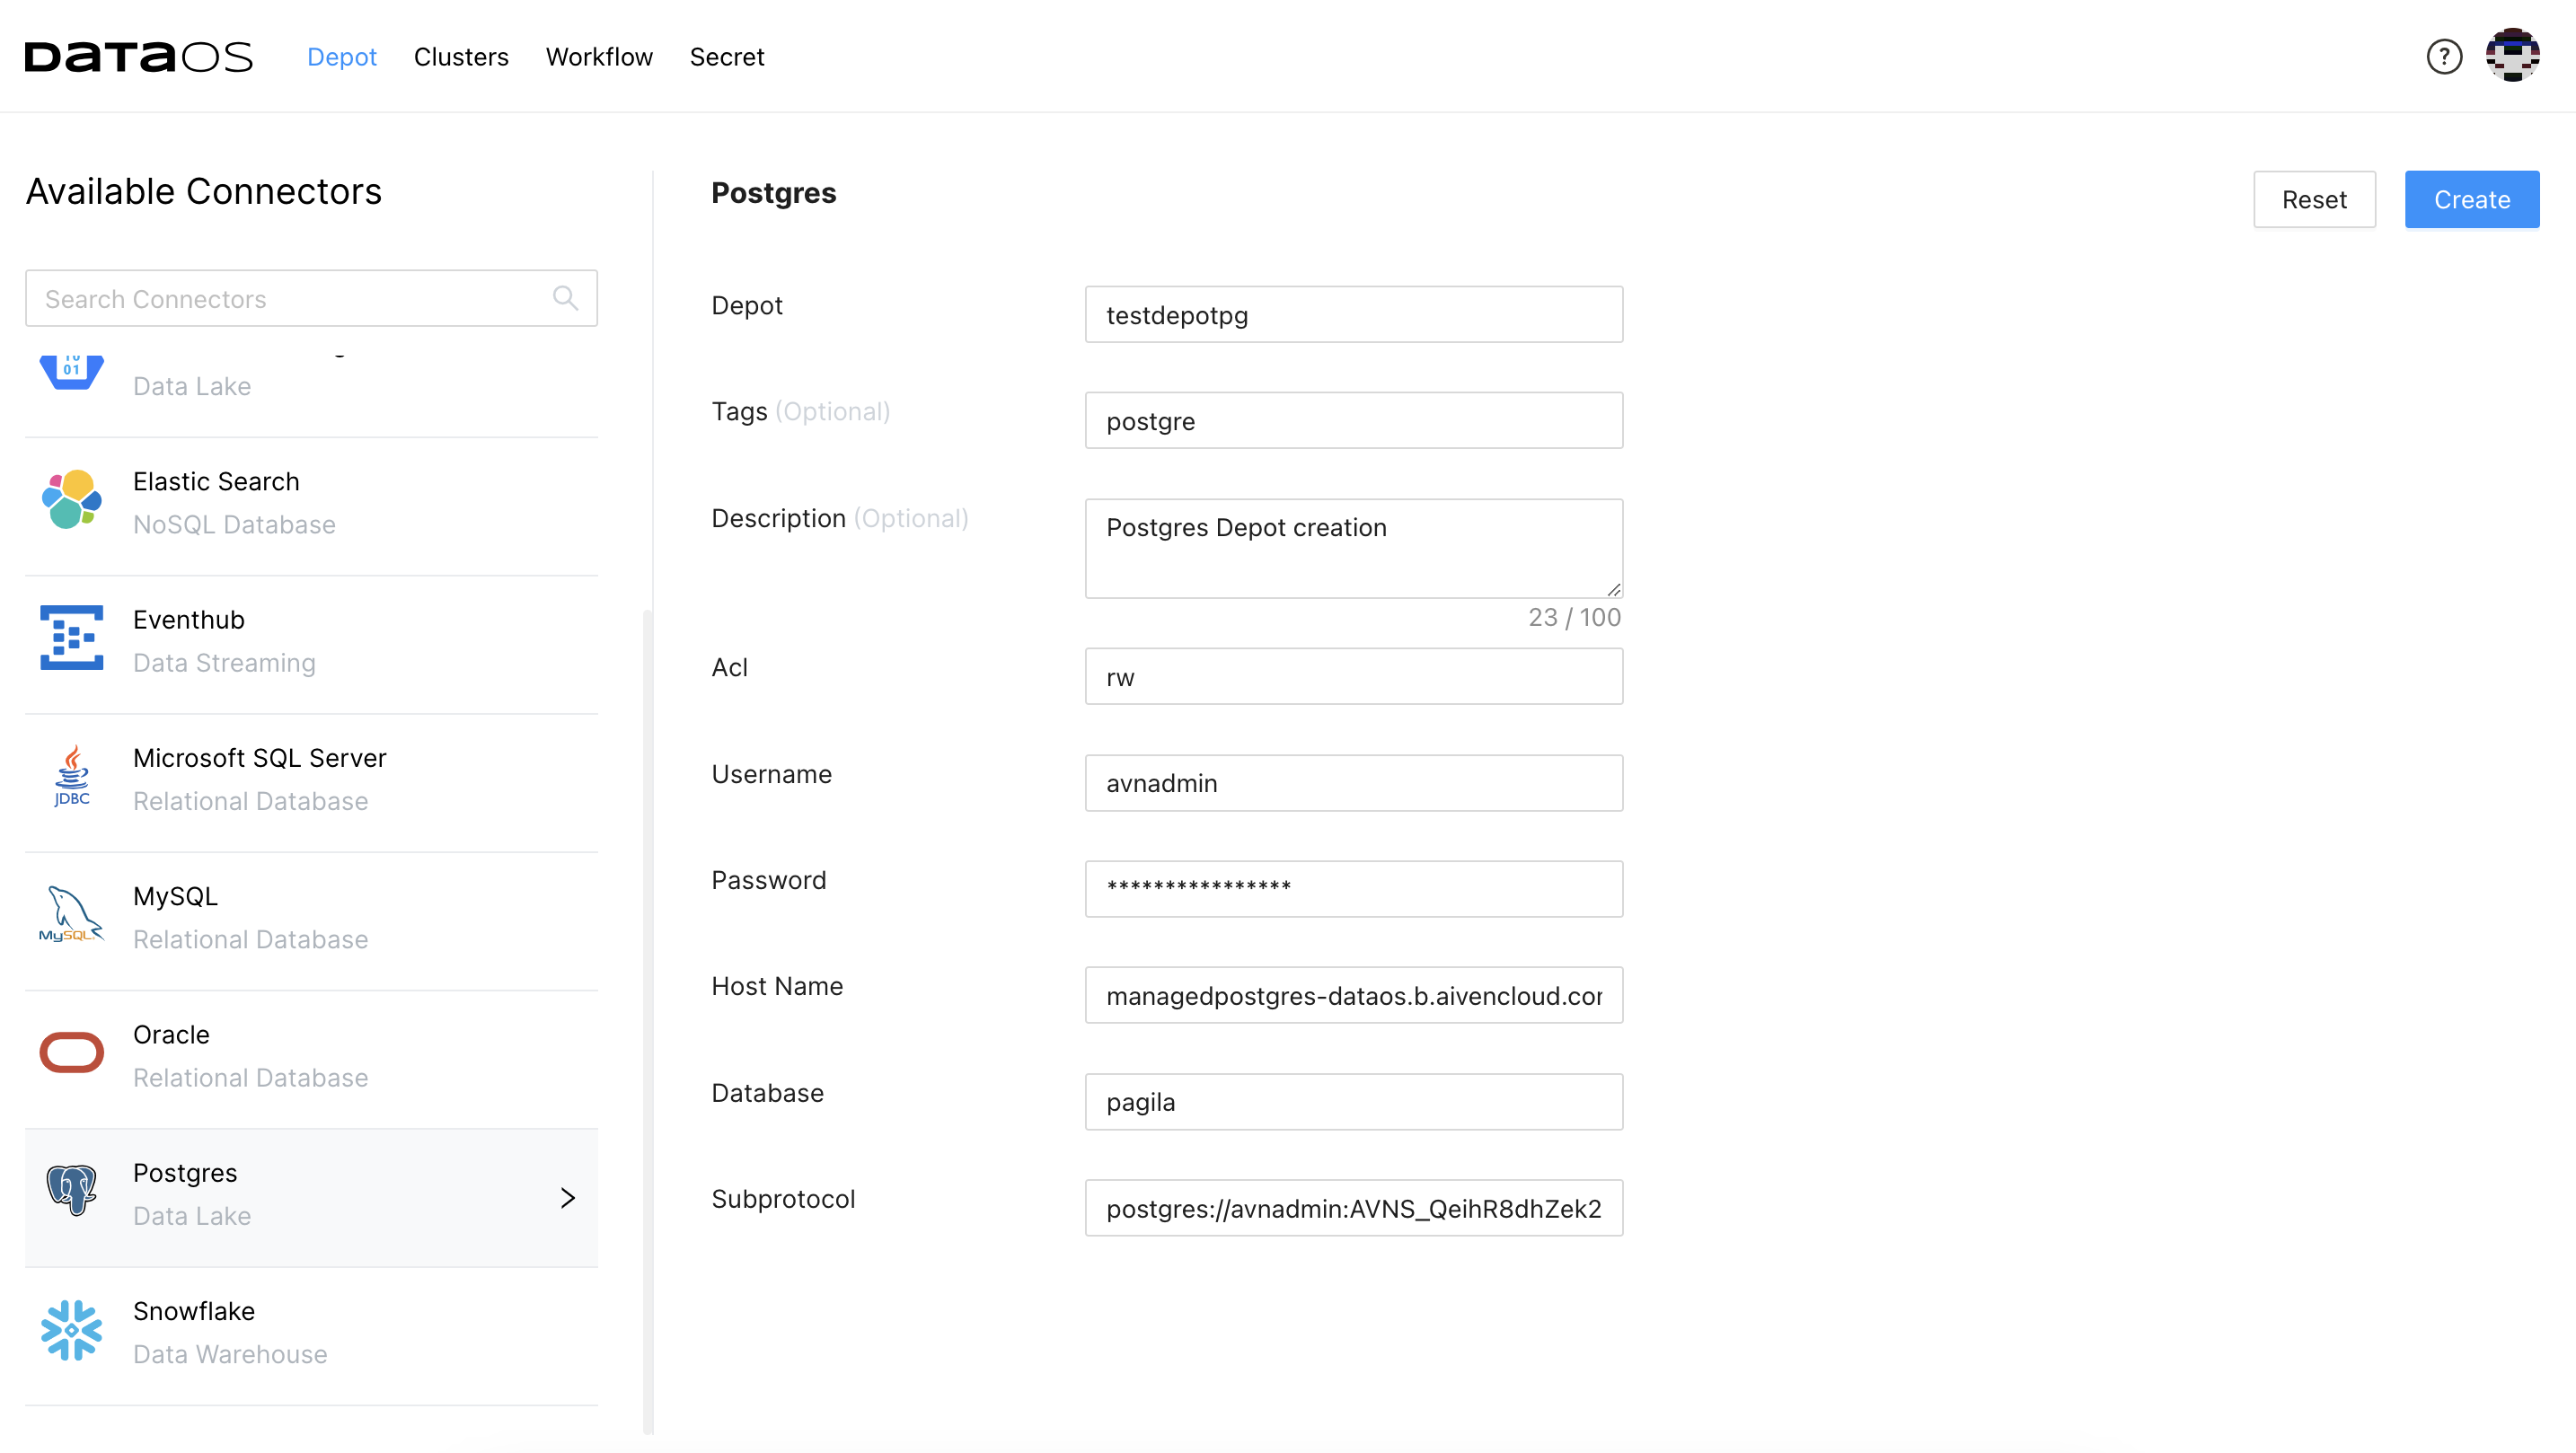
-
Click on the Create button. Upon successful creation, you'll see a confirmation message.

Step 3: Verify Depot Creation
-
Verify its creation by navigating to the Metis app.
-
In the Metis app, you can search for the newly created Depot to view its details.
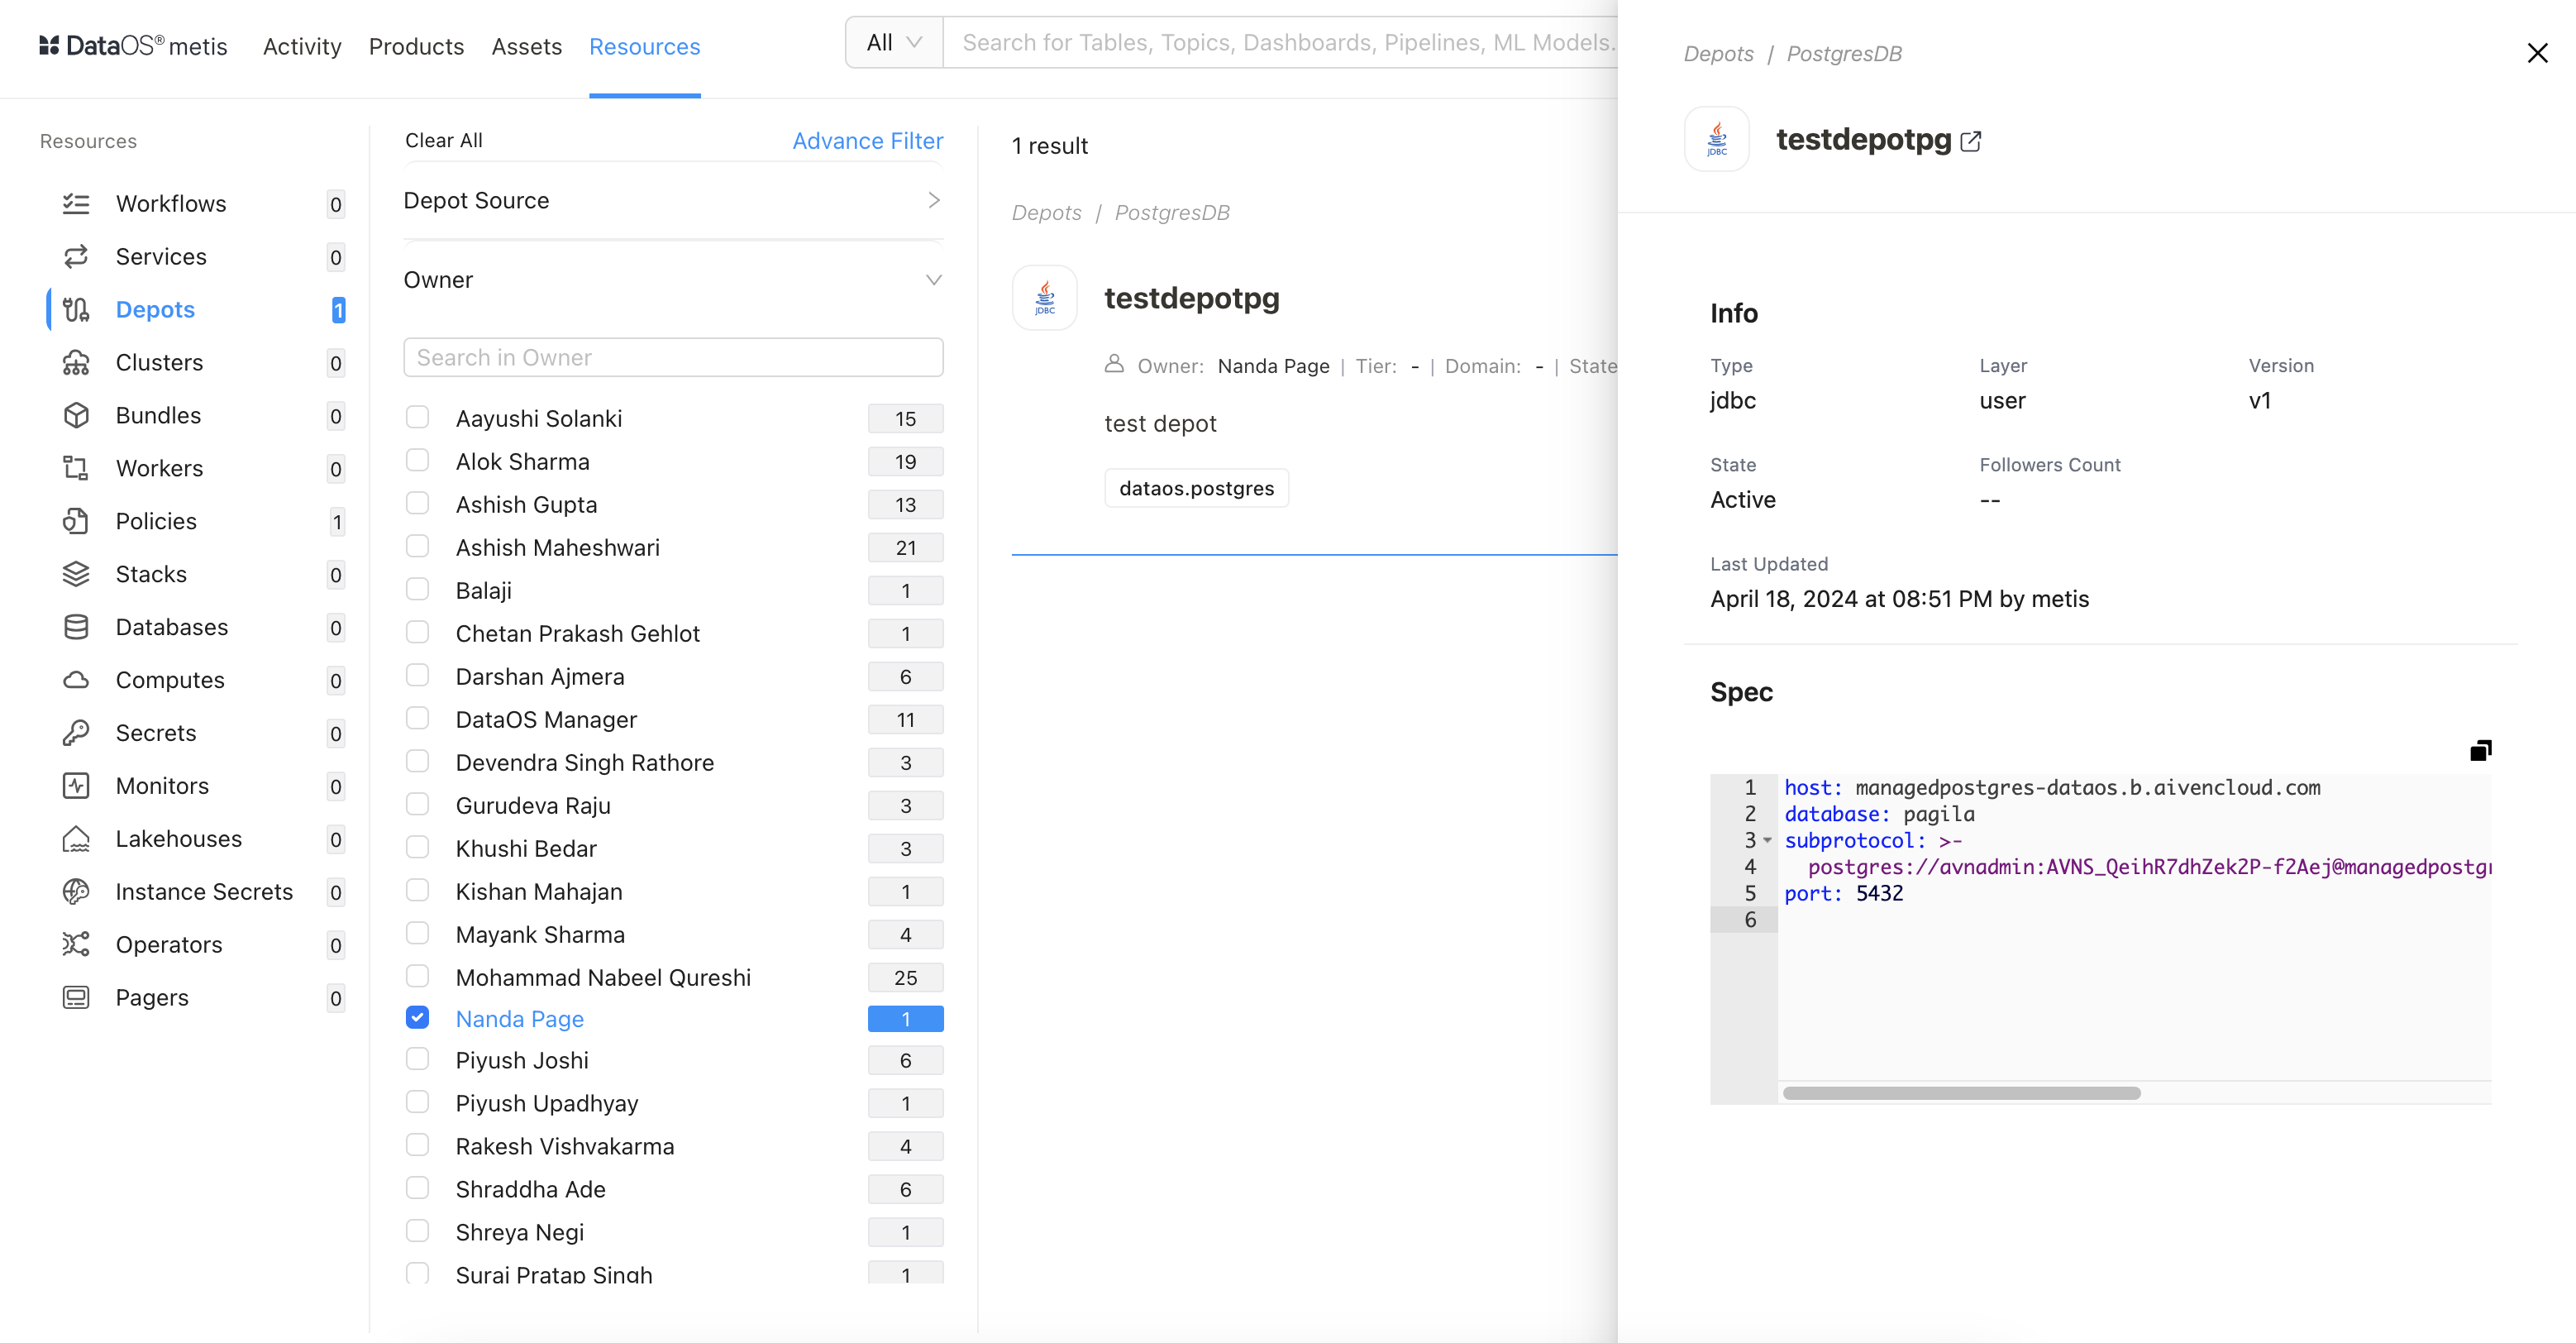
Your Depot is now ready to be utilized to connect with the source for your intended purpose.