Organizing and Versioning Your Data Product
A well-structured Data Product isn’t just about clean code—it’s about enabling collaboration, versioning, and long-term maintainability. In this module, you’ll set up your code repository, define a clean folder structure, and securely connect DataOS to your version control system.
Step 1: Create and set up your code repository
Initialize a Git repository
Start by creating a version-controlled repository using your team’s preferred platform:
Once created, clone the repository to your local machine and begin developing your DataOS resources.
Organize with a clear folder structure
Structure your Data Product directory to keep things organized. Each folder should hold only the relevant YAML specs for that DataOS component.
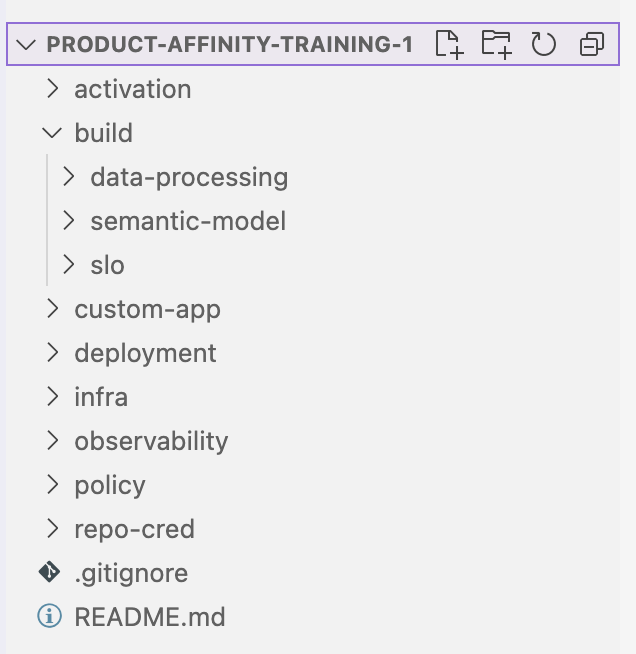
💡 Tip: A clear folder structure helps new contributors onboard faster and ensures smooth CI/CD workflows.
Step 2: Configure a repo secret for DataOS
To enable DataOS to sync from your private repository, you must define an Instance Secret containing Git credentials.
Define the Secret
name: bitbucket-cred
version: v1
type: instance-secret
tags:
  - dataos:type:resource
  - dataos:type:cluster-resource
  - dataos:resource:instance-secret
  - dataos:layer:user
description: bitbucket read secrets for repos.
owner: ""
layer: user
instance-secret:
  type: key-value
  acl: r
  data:
    GITSYNC_USERNAME: ""   # Your Git username
    GITSYNC_PASSWORD: ""   # Your Git token/password
Apply the Secret
Run the following command in the CLI:
Step 3: Push the Data Product directory to a code repository
After developing all your code, you will push your local Data Product directory to a preferred hosted code repository.
Next step
Now that your Data Product has a structured, version-controlled foundation, it’s time to connect it to the real world—your source systems.