Deploying your Data Product on DataOS
Overview
After setting up the essential YAML files — the Bundle YAML, Data Product Specification YAML, and Lens YAMLs — the final step is to deploy your data product on the Data Product Hub. This process makes your product available for discovery and consumption within your organization. The deployment involves resource instantiation and metadata registration.
📘 Scenario
Imagine you've built a source-aligned data product called retaildata that delivers curated customer, product, and sales data. You’ve already created the necessary configuration files—now it’s time to deploy it using the DataOS CLI.
Deploying Data Product
Deployment process has three stages:
-
Instantiate Resources: Using the Bundle YAML, all referenced resources such as Workflows, Secrets, and Services are created.
-
Register the Data Product: The Data Product Spec is applied to register the product in the Data Product Hub.
-
Register Metadata: A Scanner Workflow indexes the product into Metis, making it discoverable and searchable.
Step 1: Login to DataOS CLI
DataOS CLI is a text-based interface that allows users to interact with the DataOS context via command prompts.
Step 2: Use the apply command
-
Run the Bundle manifest file created in the previous topic.
-
Run the Data Product Spec file (YAML) with
dataos-ctl product applycommand. -
Run the Scanner YAML, created in the last topic, containing a valid reference to the Data Product. This step is important to make your data product discoverable in the Data Product Hub or Metis.
Step 3: Validating the creation of Data Product
To check if you have created a data product, run the following command. It lists all data products created by you:
Example Usage
dp_retaildata git:(master) dataos-ctl product get
INFO[0000] 🔍 product get...
INFO[0000] 🔍 product get...complete

  TYPE | VERSION |          NAME          | STATUS |   OWNER
-------|---------|------------------------|--------|------------
  data | v1beta  | retaildata              | active | nandapage
Step 4: Exploring Data Product on Data Product Hub
You're done creating your source-alined data product! Now, check it on Data Product Hub.
-
Log in to the DataOS instance and Navigate to Data Product Hub to search the data product.
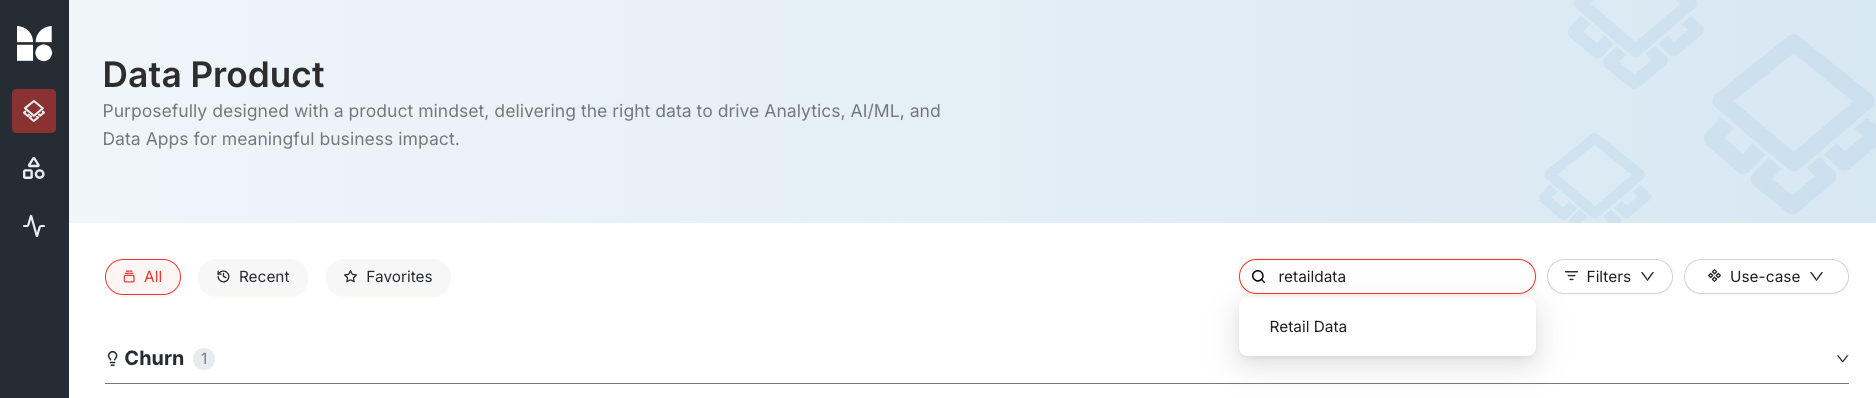
-
Click on the data product to view its details.

Next step
Now it’s time to advance to Data Products Foundations Track- Course II, where you’ll focus on creating Consumer-Aligned Data Products—tailored, business-ready products built on top of source-aligned foundations.
👉 Head to the next module: Creating a Consumer-Aligned Data Product