Setting Up Depots
Overview
In this topic, you’ll learn how to establish secure connections from DataOS to your external data sources using Depots—without moving any data.
📘 Scenario
Imagine you are a DataOS Operator or Data Product Developer and you need to integrate various data sources within DataOS. For this example, the data for your use case is stored in PostgreSQL and Azure BLOB Storage.
By setting up Depots, you can securely connect to these systems and enable data access for exploration, workflows, and Data Product creation—right within DataOS.
We'll walk through a PostgreSQL Depot creation example, but the process applies to any JDBC-compatible system like MySQL, MariaDB, or MSSQL Server.
Steps to create a Depot for PostgreSQL
To keep credentials secure and decoupled from Depot configuration, we’ll first create Instance Secrets, then reference them in a Depot manifest.
Step 1: Create an Instance Secret manifest file
The Instance Secret securely stores your database credentials.
Drafting the manifest
Create separate secrets for access level ‘r’ and ‘rw’. We will begin by drafting the manifest file for a read-only Instance Secret:
# PostgreSQL Read Instance-secret Manifest

name: postgres-r # Unique identifier for Resource, replace ${DEPOT_NAME} with depot name
version: v1 # Manifest version
type: instance-secret # Type of the Resource
description: Postgres Depot instance secret # Purpose of the Instance-secret
layer: user # DataOS layer
instance-secret:
  type: key-value-properties # Secret type
  acl: ${ACCESS_CONTROL_LIST} # Access control: 'r' for read-only
  data:
    username: ${POSTGRES_USERNAME} # replace with postgres username
    password: ${POSTGRES_PASSWORD} # replace with postgres password
Deploying the Instance Secret
Once the manifest file is ready, deploy it using the DataOS CLI. Run the following command to apply the configuration:
This step ensures that the database credentials are securely stored and ready for use in the next step.
🎯 Your actions:
- Postgres credentials required: Make sure you have the username and password. If not, contact your DevOps team.
- Create your secrets using the given templates and save them securely.
- Create separate secrets for access level ‘r’ and ‘rw’.
- Follow the naming convention for Instance secrets-
depotname-randdepotname-rw. - Apply the YAMLs using
dataos-ctl applycommand. -
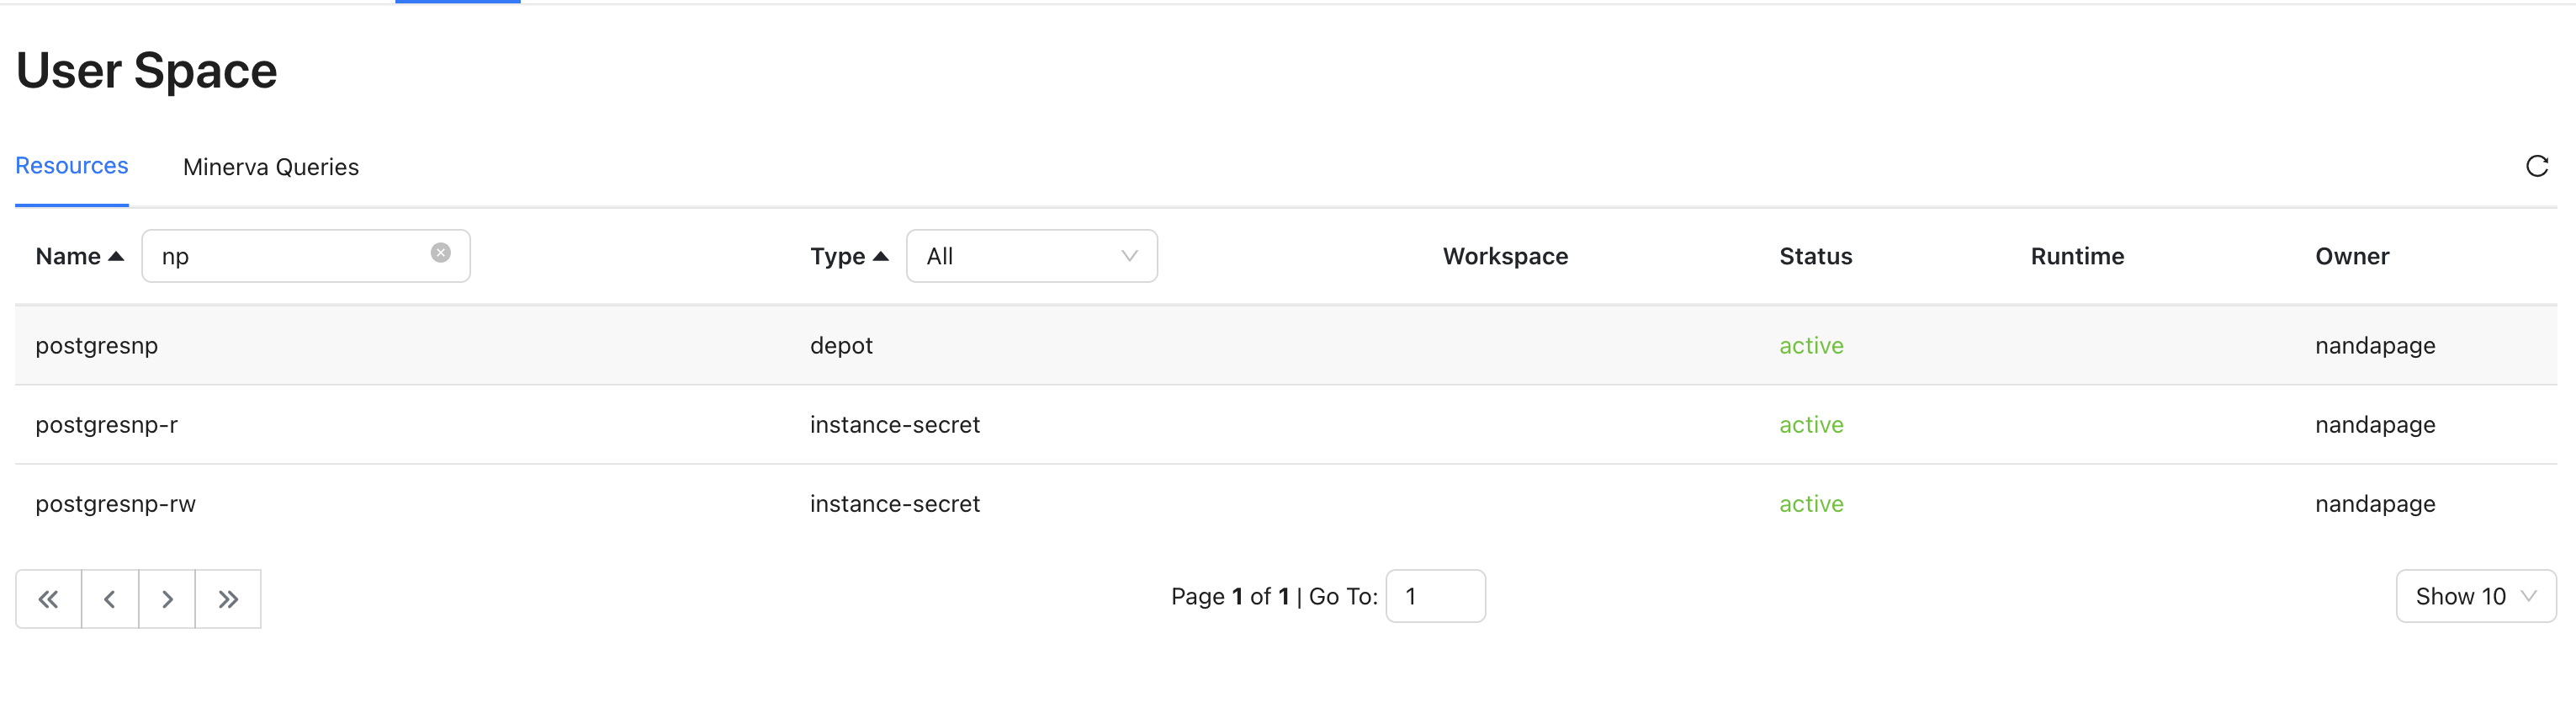
Open the Operations app to verify the successful creation of your resource by checking the status. The Operations app provides a centralized view of all your resources, allowing you to monitor their statuses and ensure they are functioning as intended.
Postgres-read-only Instance Secret YAML
# Replace 'abc' with your initials to personalize and distinguish the resource you’ve created.
name: postgresabc-r   # Instance name convention- {{depotname}}-{{acl}}
version: v1
type: instance-secret
description: Read-only secret for Postgres database
layer: user
instance-secret:
  type: key-value-properties
  acl: r
  data:
    username: <your-username>
    password: <your-password>
Postgres-read-write Instance Secret YAML
# Replace 'abc' with your initials to personalize and distinguish the resource you’ve created.
name: postgresabc-rw      # Instance name convention- {{depotname}}-{{acl}}
version: v1
type: instance-secret
description: Read-write secret for Postgres database
layer: user
instance-secret:
  type: key-value-properties
  acl: rw
  data:
    username: <your-username>
    password: <your-password>
Step 2: Create a Depot manifest file
Now link your secret to a Depot that defines the database connection.
# PostgreSQL Depot Manifest
name: postgres    # Unique name for the Depot
version: v2alpha  # Manifest version
type: depot       # Type of the Resource
layer: user
depot:
  type: jdbc
  description: default postgres depot
  external: true
  secrets:
    - name: postgres-rw   # Reference the Instance Secret for read & write access
      keys:
        - postgres-rw
      allkeys: true

    - name: postgres-r    # Reference the Instance Secret for read access
      keys:
        - postgres-r
      allkeys: true

  jdbc:
    subprotocol: postgresql
    host: usr-db-dataos-ck-eymm-dataostra-stg.postgres.database.azure.com # Replace with the database host URL
    port: 5432  # Replace with the database port number
    database: postgres  # Replace with the database name to connect to
Step 3: Applying the Depot manifest
Apply the Depot manifest using the following command:
Step 4: Verify the connection
Run this to confirm the Depot is live and connected:
This command displays the details of the configured Depot, confirming that it is active and properly connected to the PostgreSQL database.
🎯 Your actions:
- Ensure you have Postgres connection details: Hostname, port, database, etc. Contact your DevOps team if needed.
- Refer to instance secrets (created in the previous step) in the depot yaml.
- Apply the yaml file using
dataos-ctl applycommand.
Postgres Depot YAML
# Replace 'abc' with your initials to personalize and distinguish the resource you’ve created.
name: postgresabc
version: v2alpha
type: depot
layer: user
depot:
  type: jdbc
  description: Default Postgres depot
  external: true
  secrets:
    - name: postgresabc-rw
      keys:
        - postgresabc-rw
      allkeys: true
    - name: postgresabc-r
      keys:
        - postgresabc-r
      allkeys: true
  jdbc:
    subprotocol: postgresql
    host: <your-host>            # Enter host name
    port: 5432
    database: <databasename>     # Enter database name
To simplify the creation of depots for commonly used data sources, a set of pre-defined manifest templates is available. These templates provide a quick starting point for setting up depots for popular data sources.
To use these templates, you must fill in the key-value properties in the manifest file with the specific details of your data source. The required values will vary depending on the data source. A basic understanding of your organization's data infrastructure, as well as the necessary credentials or connection details, is essential for configuring these templates effectively.
FAQs
Q1: What are the naming conventions for Instance-secrets and Depots?
In Instance-secret names:
- Only lowercase letters (
a-z), digits (0-9), and hyphens/dashes () are allowed. - Hyphens/dashes cannot be at the start or end of the string.
- No uppercase letters or additional special characters are allowed.
In Depot names:
- Only lowercase letters (
a-z) and digits (0-9) are allowed. - Hyphens/dashes and other special characters are not allowed.
Q2: Are usernames/passwords visible in Depot files?
No, usernames and passwords can be securely stored using instance secrets or referenced through a JSON file path in the Depot manifest, keeping credentials hidden.
Alternatively, you can use environment variables like SNOWFLAKE_USERNAME and SNOWFLAKE_PASSWORD. Define these variables in the shell using export and reference them in the manifest file as $VARIABLE_NAME.
DataOS securely interpolates these values during execution, ensuring sensitive information remains secure and isn’t exposed in code or repositories.
Q3: Can users see everyone’s Depots or only their own?
By default, users with data-dev or operator roles can view all depots. Access can be restricted by removing the Manage All Depot use-case or applying policies to block the depot listing endpoint.
Check your Depots:
View all Depots (with permissions):
Depot details can also be explored via the Metis UI in DataOS.
Additional learning resources
Explore the following resources to enhance your understanding of data source connections:
- Depot Resource Documentation
- Instance Secret Resource Documentation
- Quick Guide: Depot Creation with DataOS CLI
With this knowledge, you are now equipped to connect DataOS to a wide variety of data sources.
Next step
Now that your depot is connected, the next step is to scan metadata from the data source using a Scanner Workflow.
👉 Refer to the next topic: Create a Scanner Workflow