Create a Scanner Workflow
Overview
After establishing a secure connection using a Depot, the next step is to validate that connection by creating and running a Scanner Workflow. This allows you to extract metadata from the connected data source and make it available for query within DataOS—without needing to ingest the data.
📘 Scenario
Let’s say your sales data lives in a purchase table in a PostgreSQL database. Once the Postgres Depot is configured, you can scan its metadata to inspect table structures and immediately begin querying it in Workbench, all without copying or moving the data.
Quick concepts
The Scanner Stack in DataOS is a metadata extraction framework that ingests metadata from external source systems connected via Depot (RDBMS, cloud-based warehouses, etc.). The Scanner enables the extraction of both high-level metadata such as dataset or table names, including table schemas, column names, and descriptions (if available in the data).
Creating a Scanner Workflow
Depots are used to connect to metadata sources to extract entities' metadata. To scan all datasets from the data source referenced by the Depot:
-
Provide the Depot name or address to establish a connection
-
Configure and apply a Scanner Workflow YAML
Step 1: Define your Scanner Workflow YAML
Create a file named scanner.yaml and define your Scanner Workflow using the following template:
# Important: Replace 'abc' with your initials to personalize and distinguish the resource you’ve created.
version: v1
name: wf-postgres-depot-abc
type: workflow
workflow:
  dag:
    - name: postgres-depot
      description: Scans schema tables in Postgres
      spec:
        stack: scanner:2.0
        compute: runnable-default
        stackSpec:
          depot: dataos://postgres        # name of the Depot
Step 2: Apply the Workflow YAML
Use the CLI to apply the Scanner Workflow:
Step 3: Test the successful deployment
Check the Operations app for the status of your workflow. If it fails, review the logs and debug as needed.
For troubleshooting common issues encountered during the process of creating Scanner Workflows in DataOS, please refer to the Troubleshooting Guide. This section provides guidance on resolving errors. You can find information to diagnose and resolve problems.
Verify metadata in Metis
-
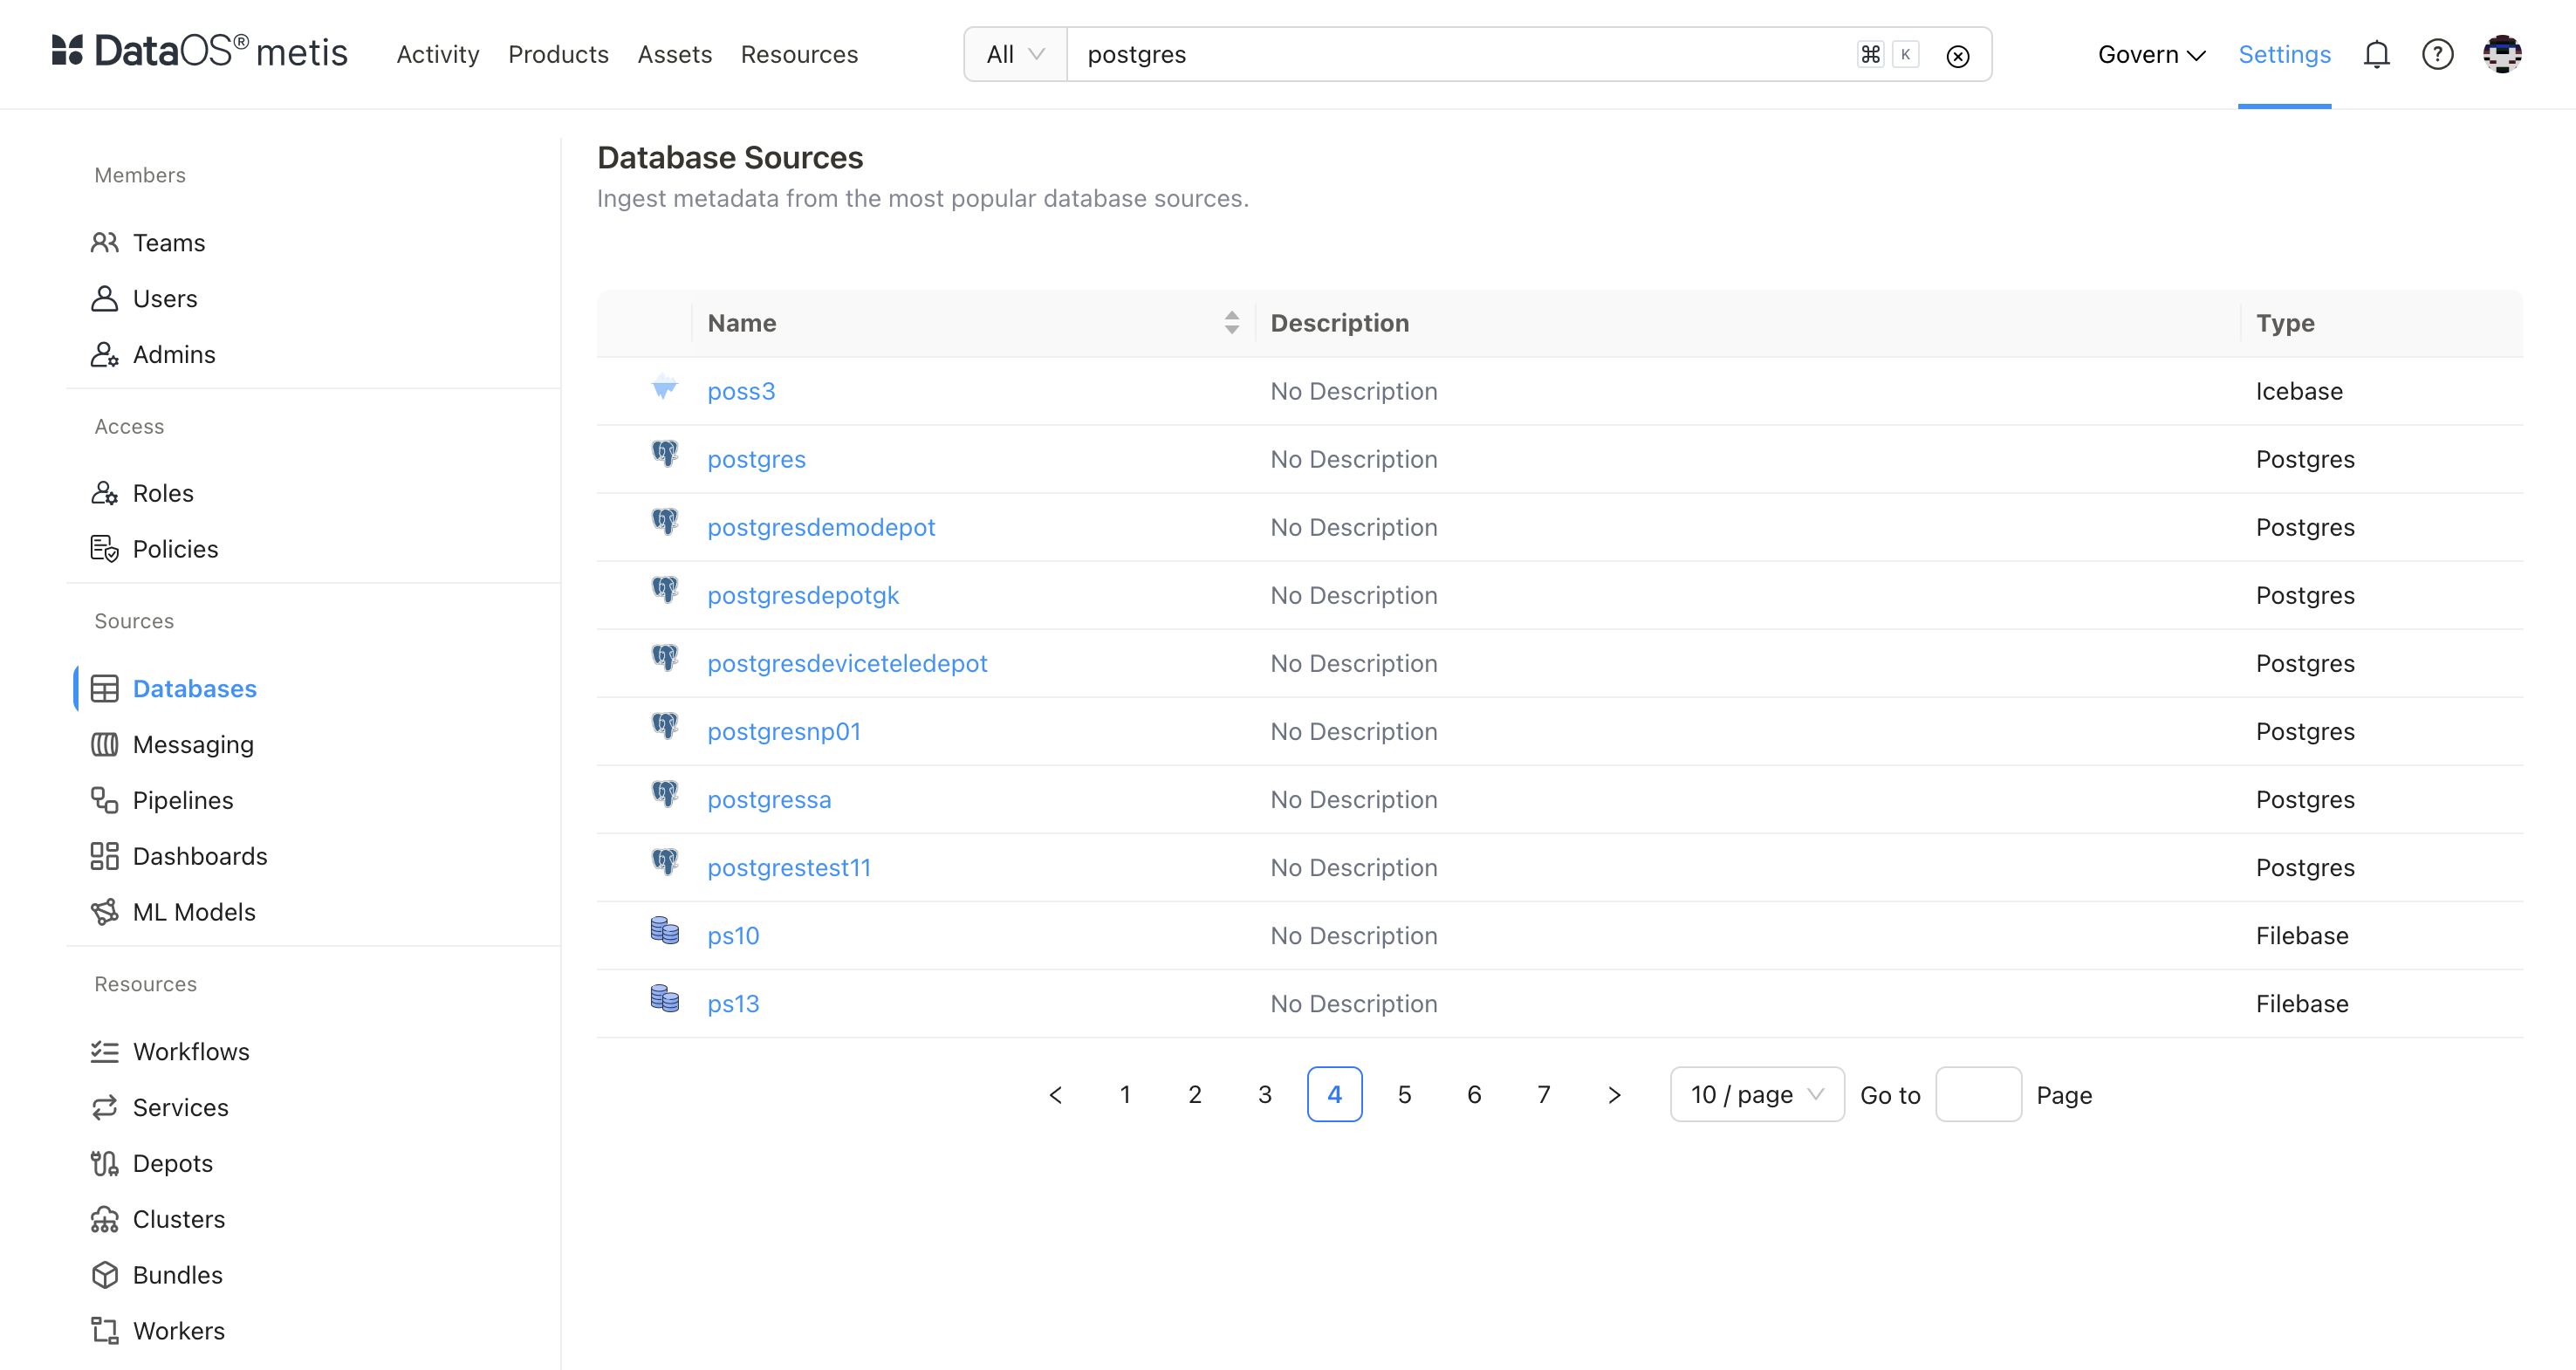
Go to the Metis app.
-
On Metis UI, go to Settings > Databases to access it.
-
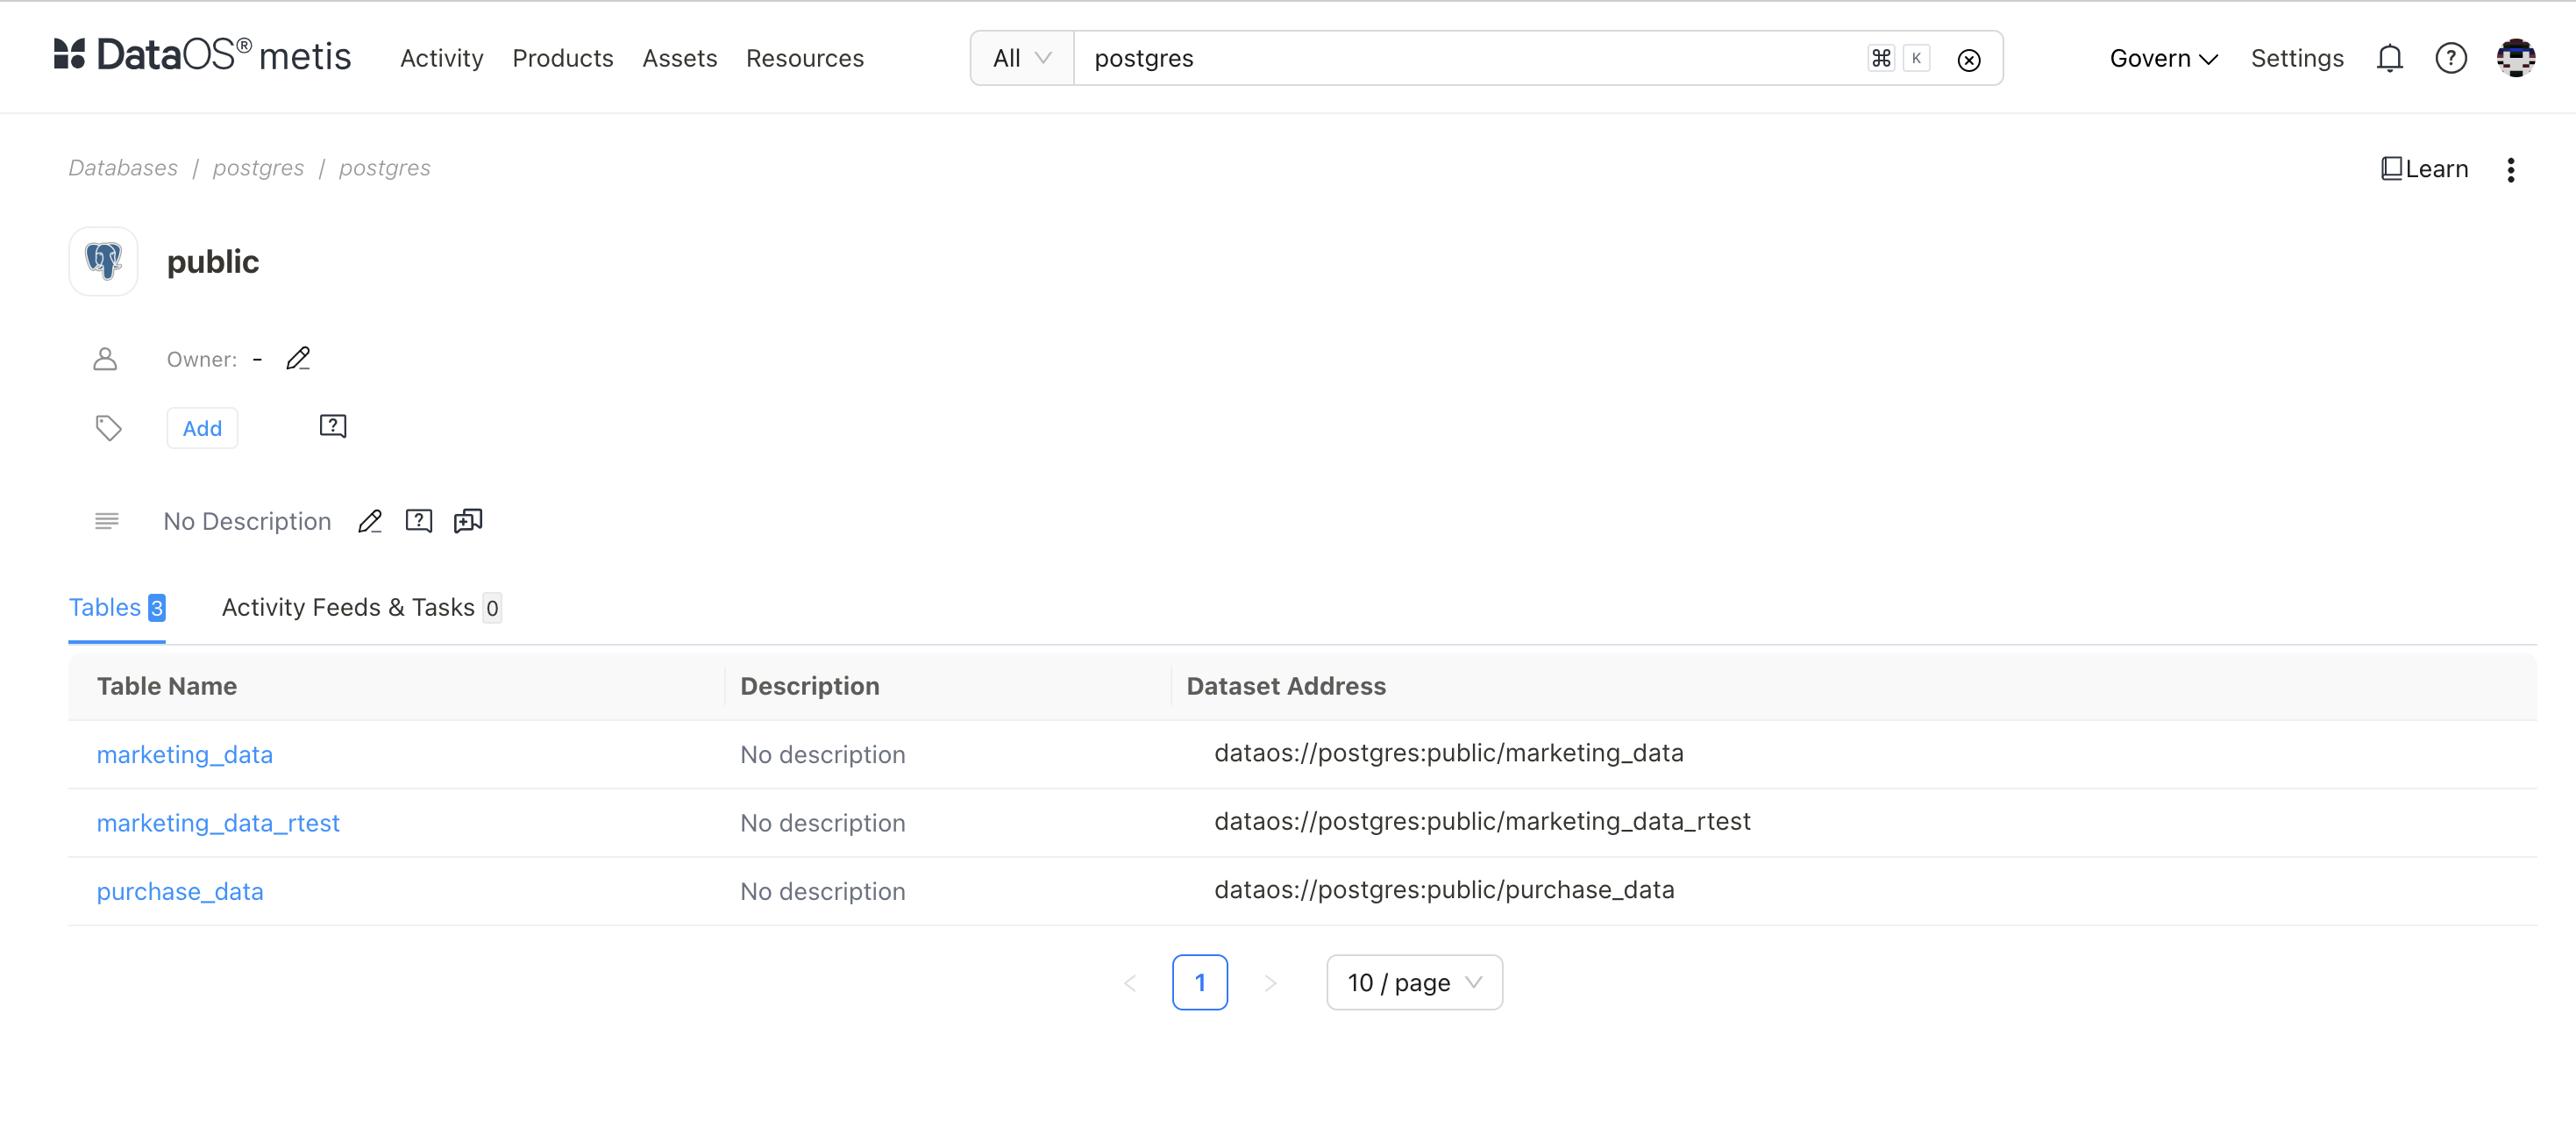
Select the database (same as Depot name).
-
Verify metadata fields like column names, data types, sample values, etc.
Explore data in Workbench
-
Confirm the DevOps team has added your Depot to the correct Cluster
-
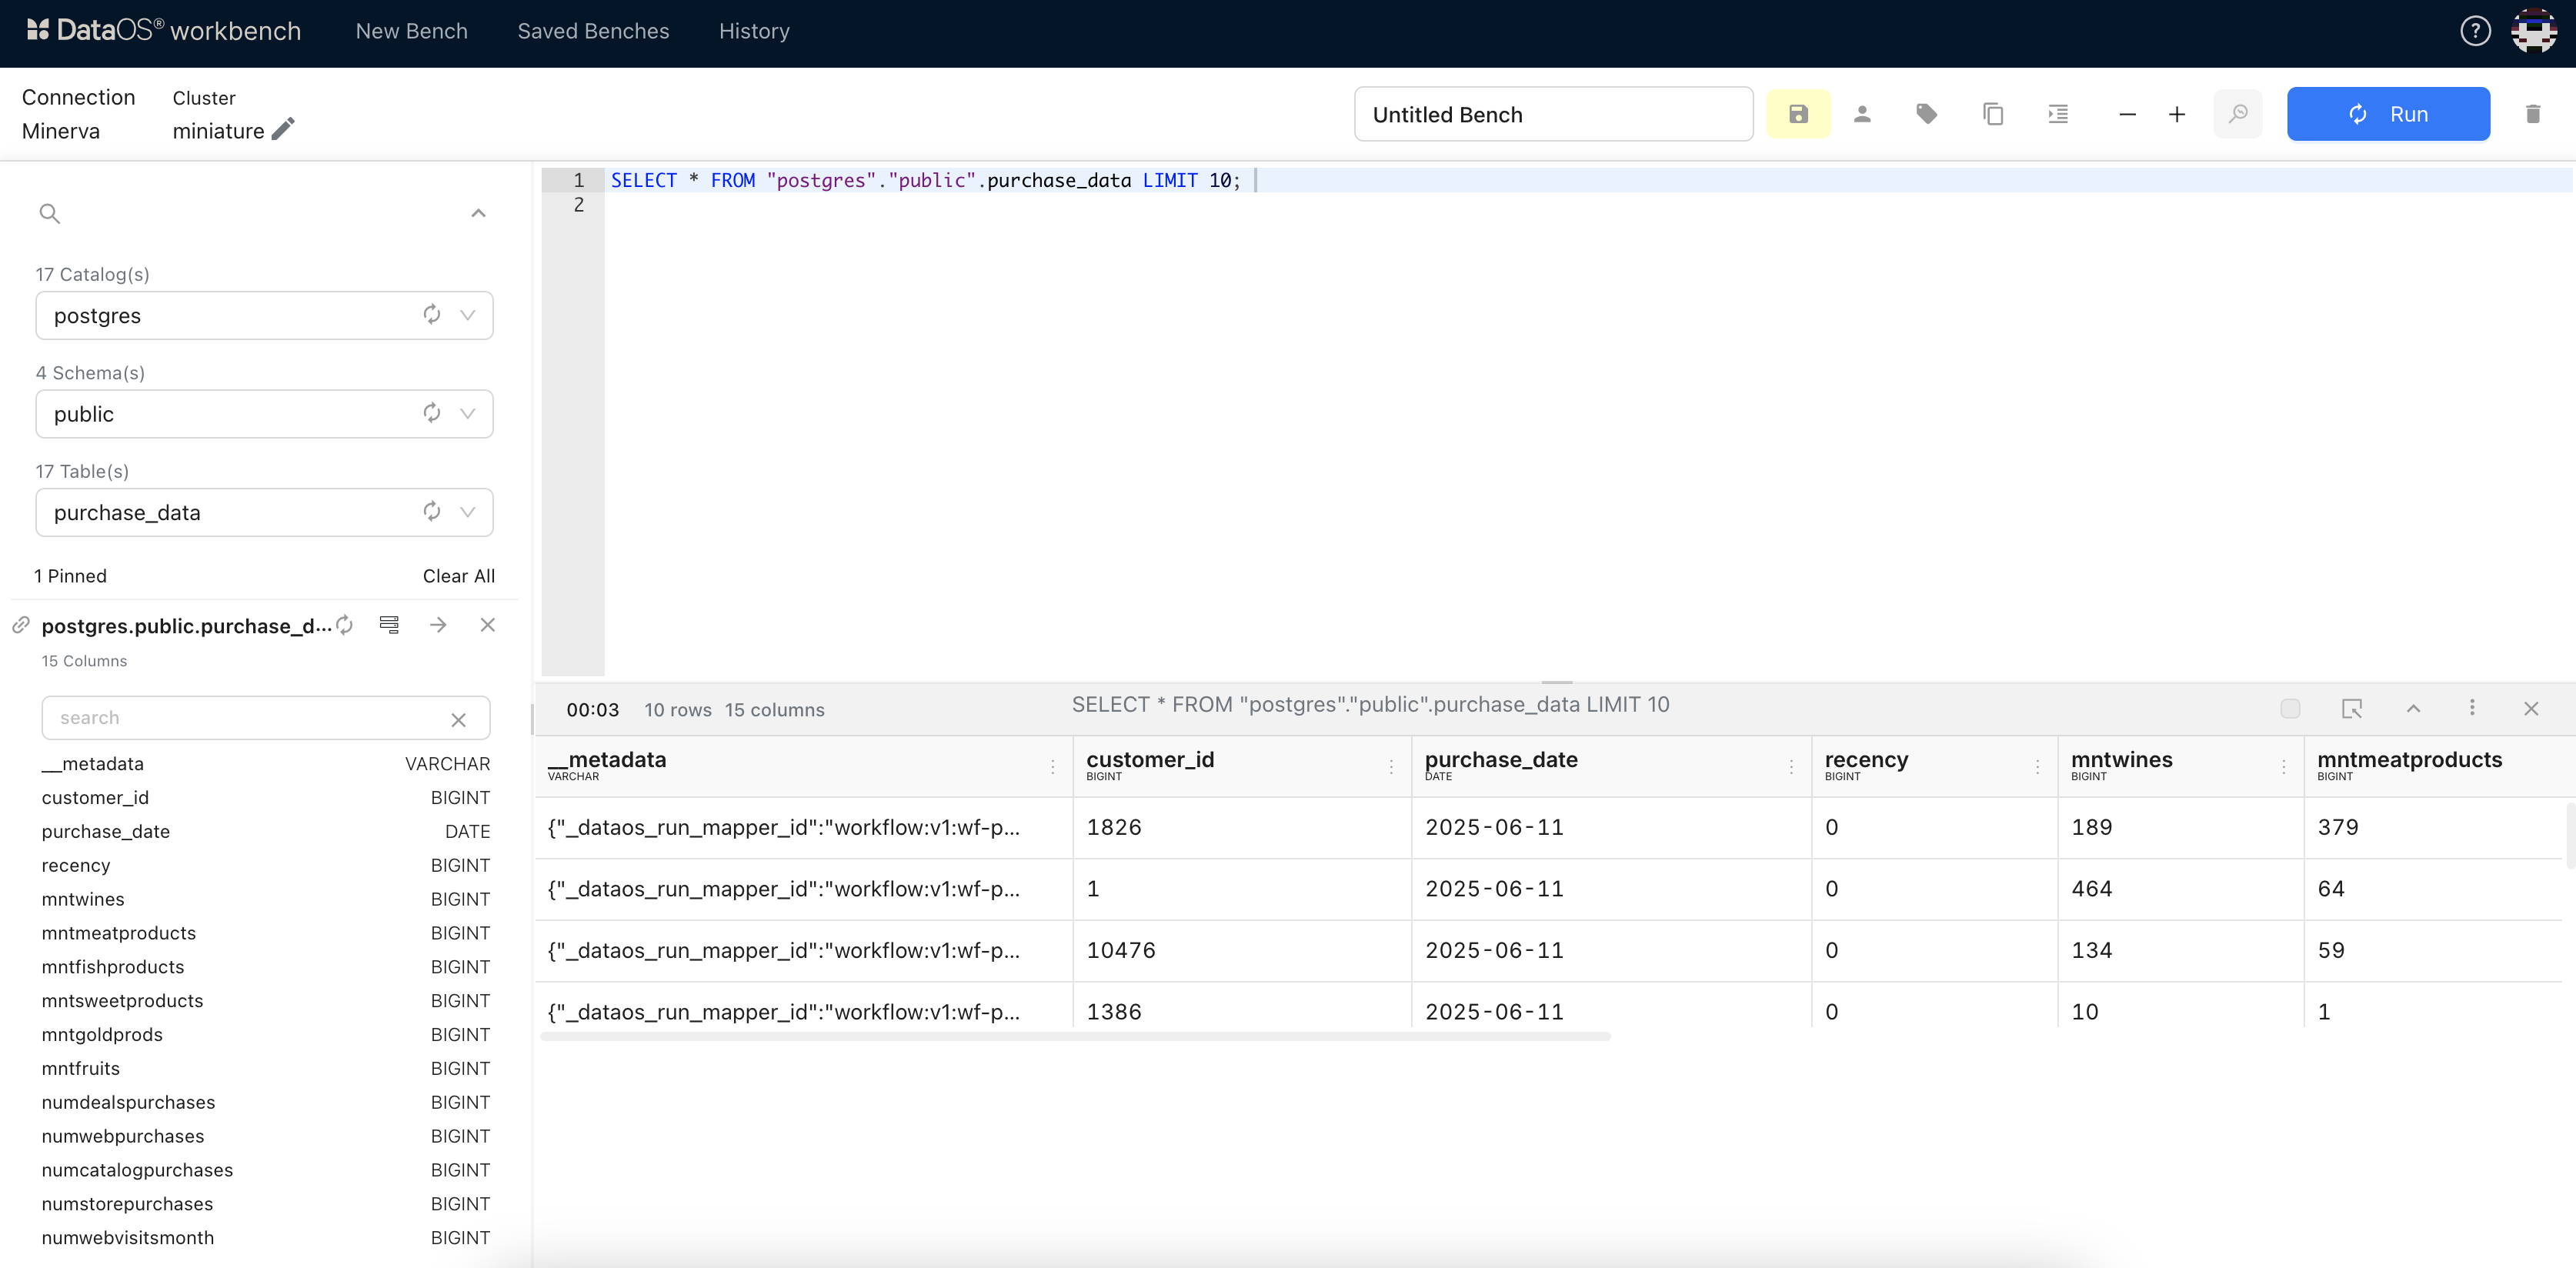
Open the Workbench app and select your Cluster
-
Navigate through Catalog > Schema > Table
-
Write a SQL query using the scanned metadata
-
Click Run and review the query results
You can now explore source data using SQL without ingestion—thanks to the metadata discovered through scanning.
Next step
With Depot in place, you are now ready to build data pipelines to deliver reliable data for your Data Products ensuring seamless data flow.
👉 Next topic:Building and Maintaining Data Pipelines.