Implementing Masking Data Policy
Data masking policies in DataOS can be implemented using one of the following approaches:
Using existing Data Masking Policies
DataOS includes a set of predefined data masking policies that are automatically enforced when certain standard tags (such as PII.DateOfBirth, PII.Age, etc.) are applied to dataset columns within DataOS using Metis UI.
The following tags are attached with data masking policies maintained by the DataOS. Each of these policies is assigned a default priority of 99 and is enforced when the tag is applied.
| Tag | Policy Name | Masking Behavior |
|---|---|---|
PII.Age |
age |
Groups age values into predefined buckets (e.g., 18–25). |
PII.DateOfBirth |
dateofbirth |
Displays only the year of birth. |
PII.Email |
email |
Masks all characters before the @ symbol. |
PII.PhoneNumber |
phonenumber |
Replaces the last five digits of an individual’s phone number with ‘XXXX’. |
PII.Name |
name |
Masks an individual’s name by replacing it with a generated hash. |
PII.SocialSecurityNumber |
socialsecuritynumber |
Replaces an individual's SSN with a random string of the same length. Data type is preserved. |
PII.LicenseNumber |
licensenumber |
Replaces an individual's license number with a random string of the same length. Data type preserved. |
PII.Gender |
gender |
Applies default gender masking logic (e.g., value redaction or standard grouping). |
PII.Income |
income |
Applies income range masking using predefined brackets. |
PII.Location |
location |
Reduces location granularity (e.g., shows only city or region). |
Creating Custom Data Masking Policies
If the predefined Data policies do not meet specific requirements, a custom policy can be created. This involves defining both a custom tag and a custom Data Policy. For instance, if the default age bucketing policy is unsuitable, a new policy can be created to group ages according to the desired preferences.
How to implement Data Policy using existing Data Masking Policies?
The initial step in applying a Data Policy involves assigning tags to columns. Tags serve as identifiers, facilitating the categorization and management of data based on its sensitivity and regulatory requirements.
To illustrate, consider a scenario where we aim to categorize the Age column within the customer table
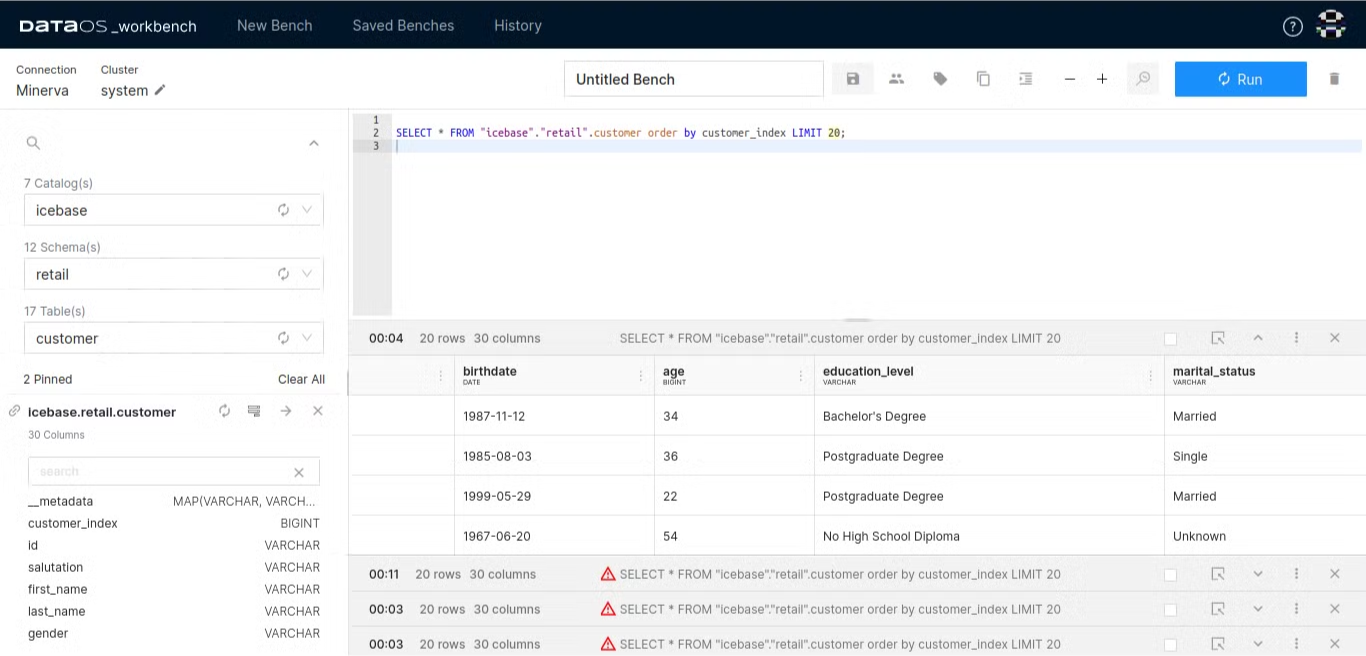
Let's first examine the state of our Age column data before implementing the policy:
Assign tags to columns
-
Access Metis and navigate to the Assets section.
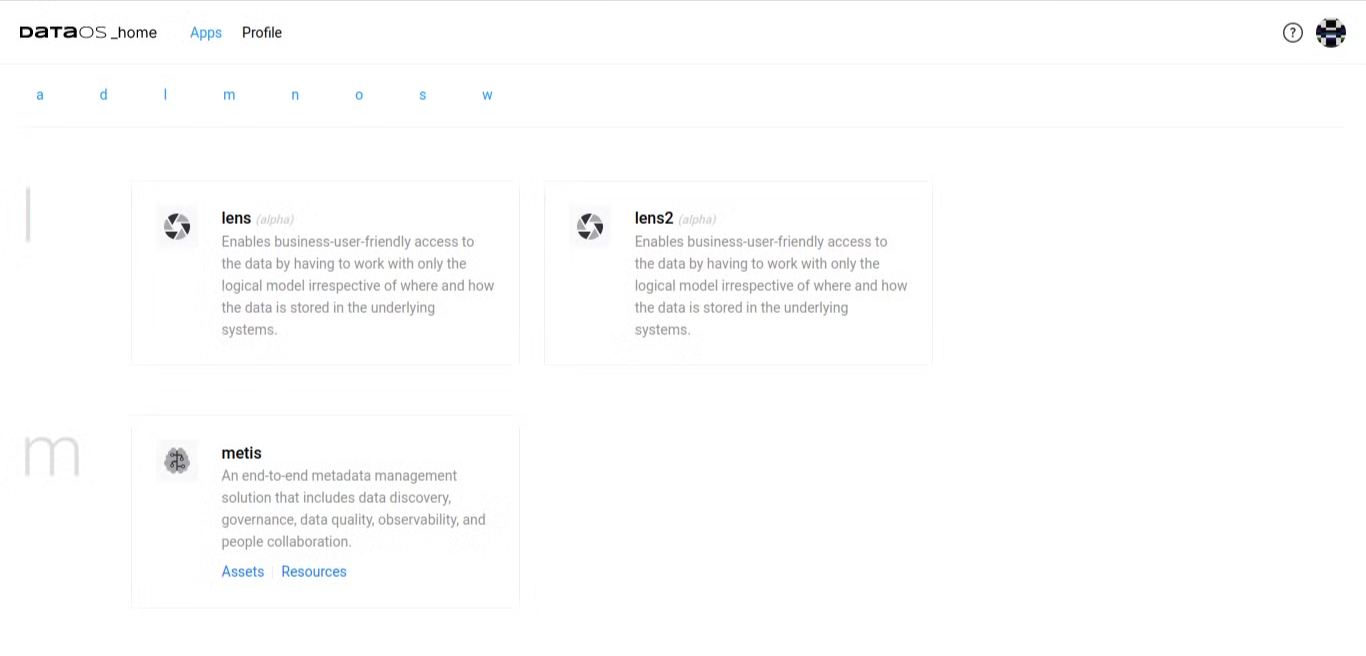
Metis -
Search for the specific table containing the data to be masked, e.g.,
lakehouse.retail.customer.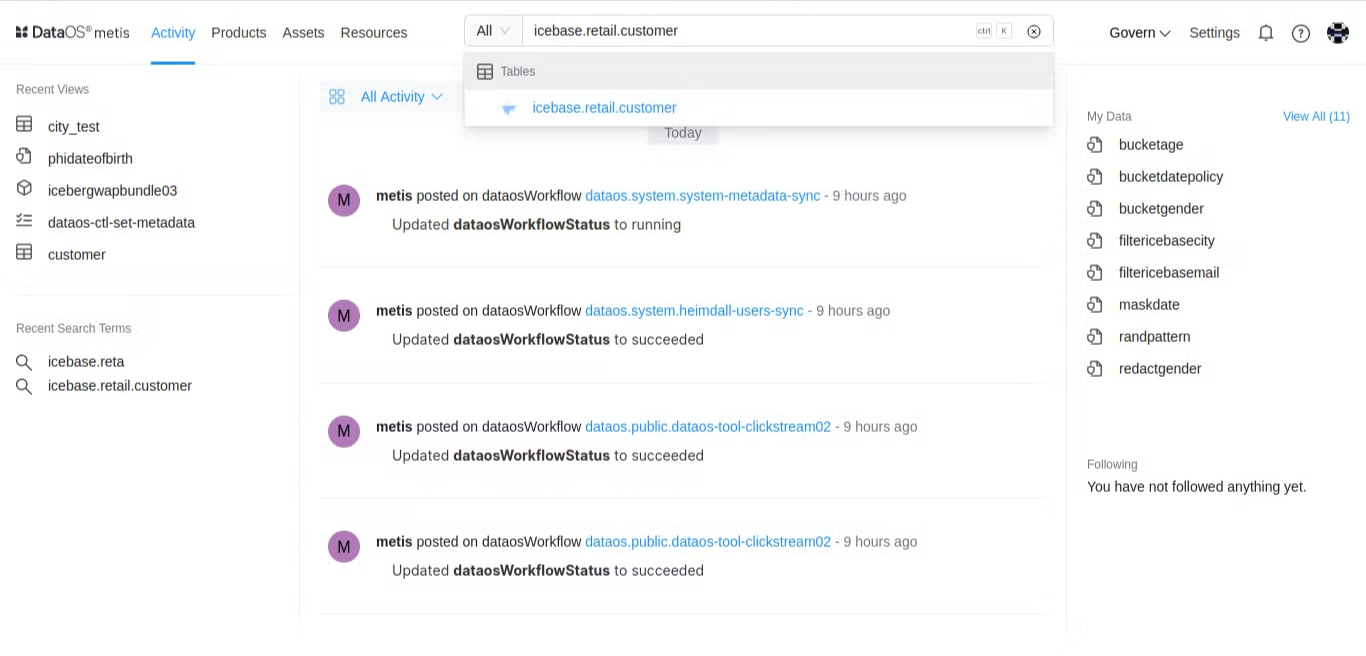
Metis -
Select the relevant table from the search results to display all associated columns.
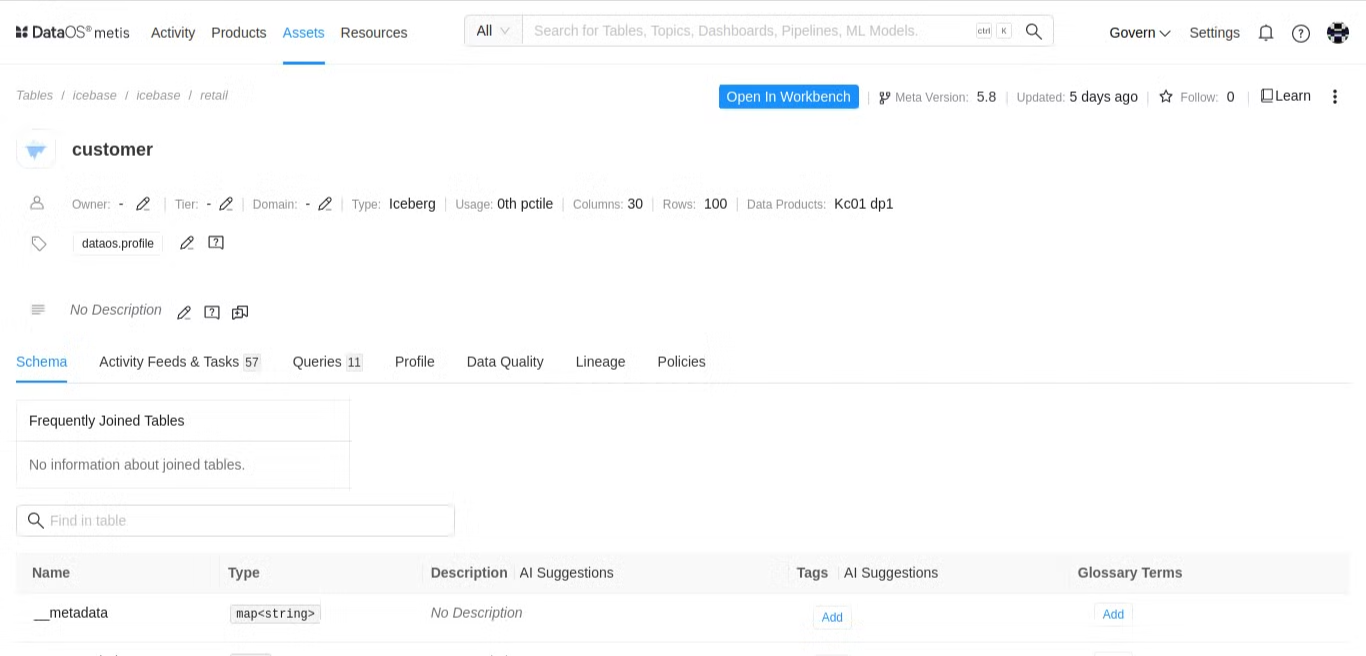
Metis - customer table -
Within the Schema section, click on the search box to search specific columns intended for grouping or redaction. e.g., to categorize the Age column using the bucket_number masking policy, locate the Age column within the table.
Metis - customer table Schema section -
In the Tag column, click on the Add button and select the appropriate tag, such as
PII.Age, to apply to the column.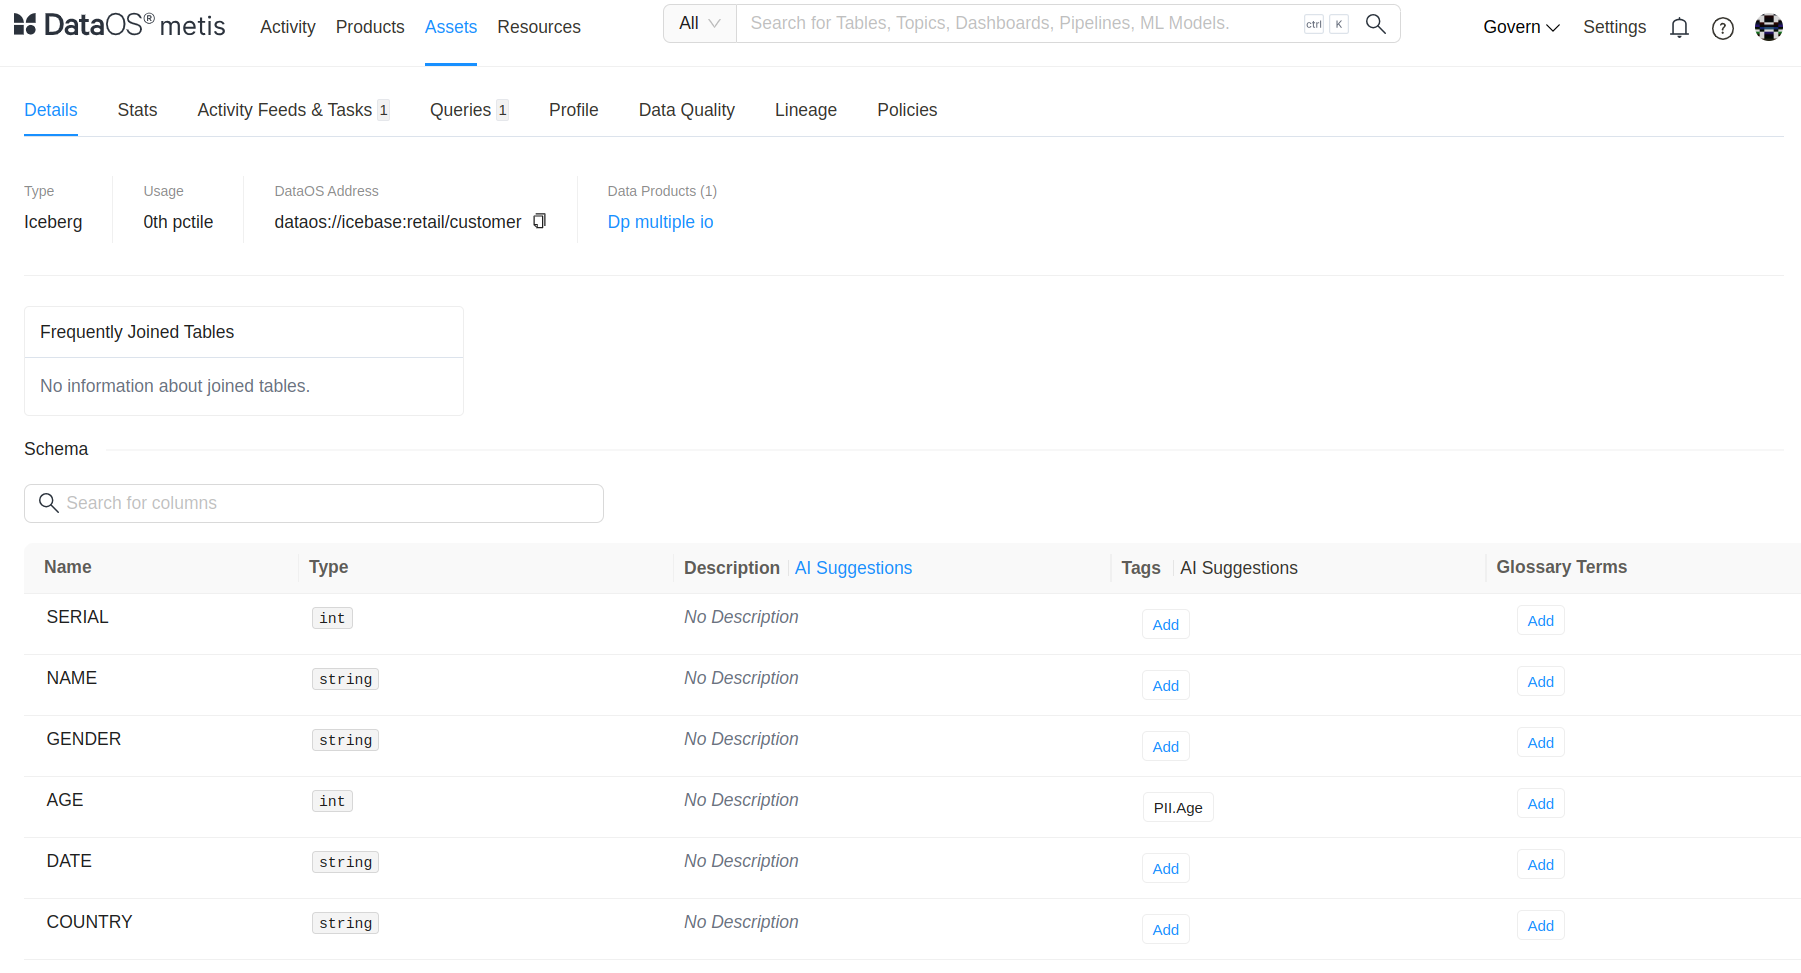
Applying PII.Age tag on Age column in customer table
You have now successfully applied a tag to the Age column.
-
Once the tag is applied, the policy associated with the tag, which is based on bucket age, will be enforced on the Age column. You can verify this in the Workbench, where datasets with an active policy will display a red triangle icon, indicating that the policy is in active state. Additionally, after applying the tag, you will notice that the ages are now successfully bucketed in their respective groups.
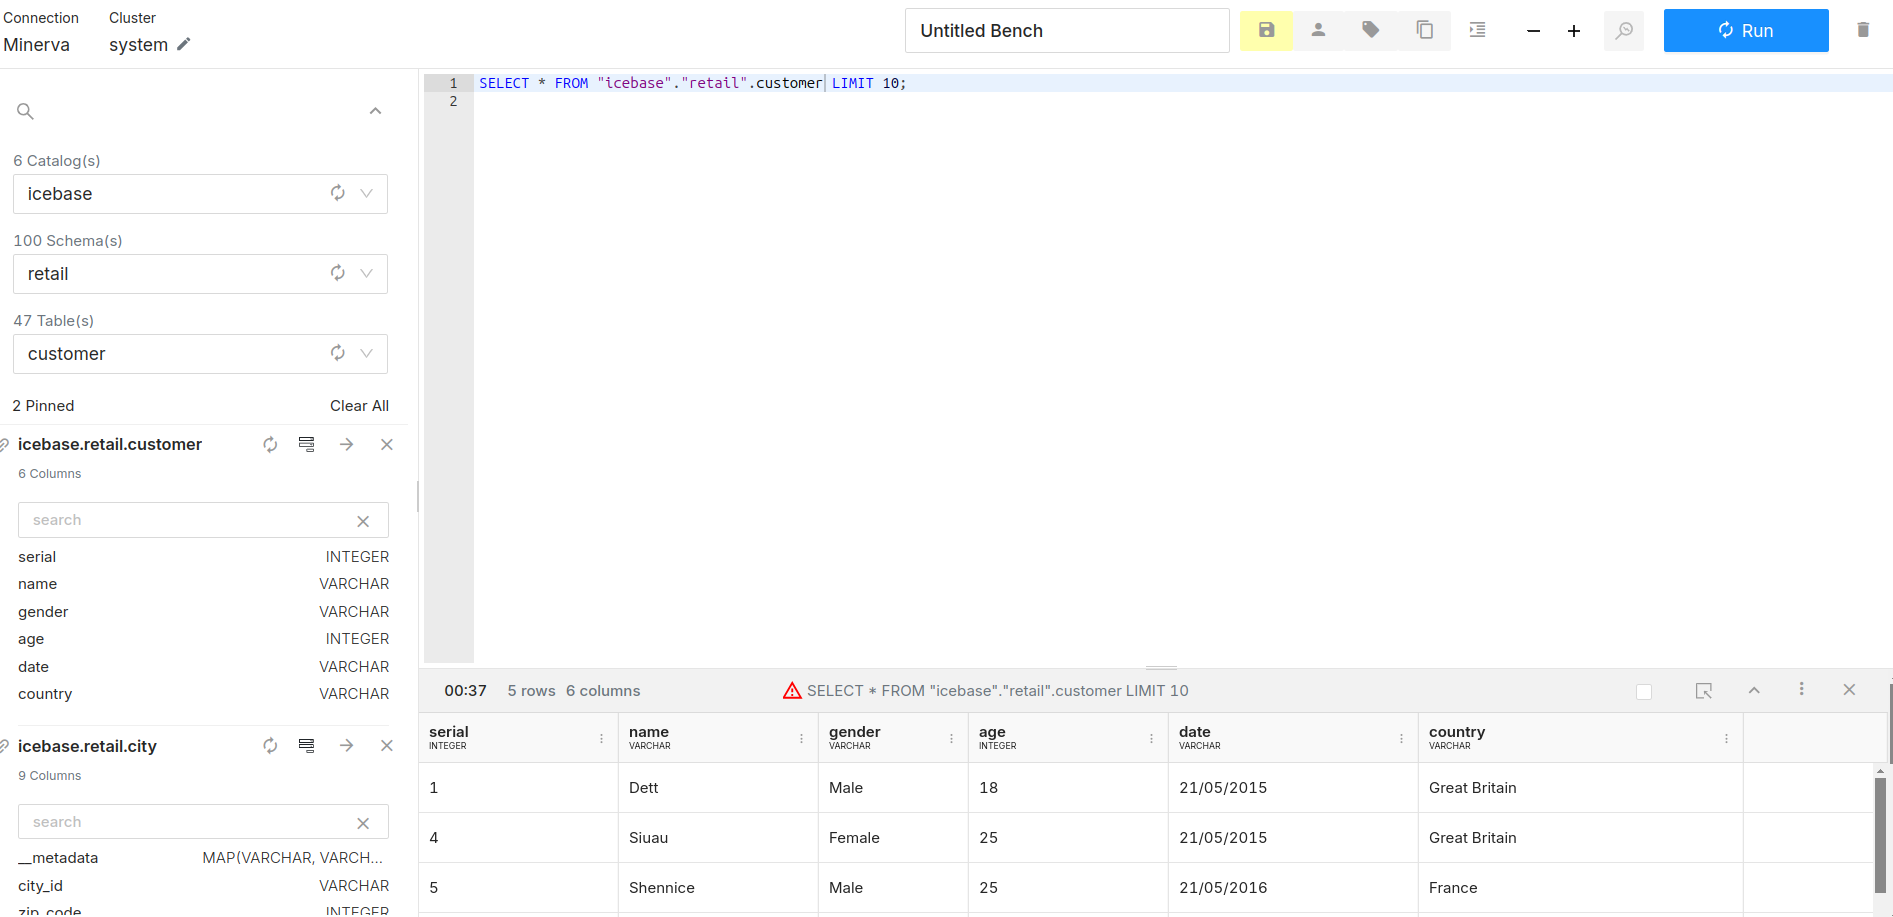
After applying the tag the age bucket data policy is activated -
You can further review the age bucket logic by clicking on the red triangle icon. In the Governance tab, you'll find the SQL logic that applied the bucketing through casting.
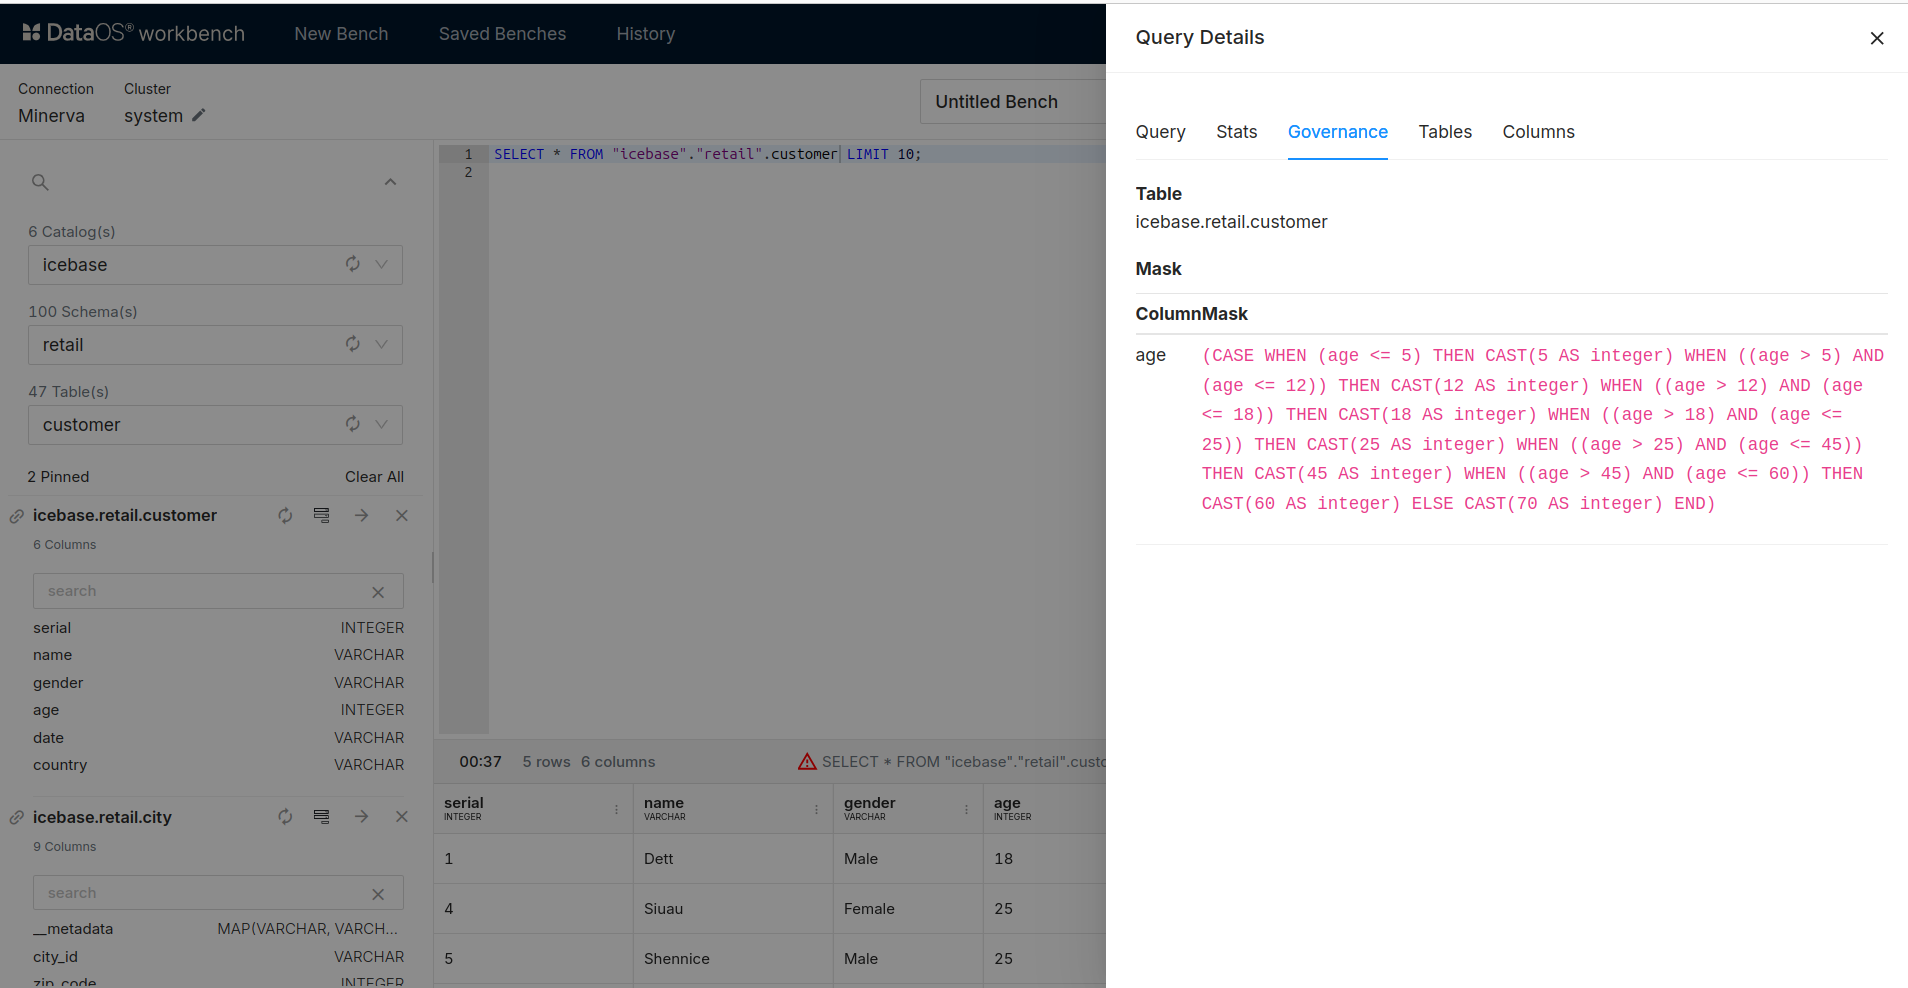
Governance tab
How to implement Data Policy using custom Data Masking Policies?
Create a custom tag via Metis
To create a new tag within Metis, follow these steps:
-
Access Metis: Log in to the Metis platform using your credentials.
-
Navigate to Governance: Click on the Govern button located in the top right corner of the page.
-
Access Tag Groups: Choose the appropriate tag group like
PIIwhere you want to create a new tag, or create a new tag group if needed. -
Add a New Tag: Click on the Add Tag button in the top right corner to initiate the creation of a new tag. For instance,
mycustomtag. -
Define Tag Details: Provide a Name and Description for the new tag to clearly identify its purpose and usage.
Create a Data Policy manifest file
After creating the tag, the next step is to define the policy associated with it. For example, if you need to customize an age bucket data masking policy for the tag PII.mycustomtag, the policy structure will be as follows:
Custom age bucketing data policy
name: bucketage
version: v1
type: policy
layer: user
description: "data policy to filter zip data"
policy:
  data:
    priority: 1 #lower number supersede the higher number during policy evaluation
    type: mask
    depot: lakehouse
    collection: retail
    dataset: customer
    selector:
      column:
        tags:
          - PII.mycustomtag
      user:
        match: any
        tags:
          - "roles:id:user"
    mask:
      operator: bucket_number
      bucket_number:
        buckets:
          - 15
          - 25
          - 30
          - 35
          - 40
          - 45
          - 50
          - 55
          - 60
    name: age_masking_policy
    description: An age bucket is formed by grouping the ages together. Based on defined
      age buckets, the age of individuals is redacted and anonymized. If an
      individual's age falls under a defined bucket, it is replaced with the
      lowest value of the bucket.
Info
To override an existing default policy, a custom policy must be assigned a priority between 1 and 98. Lower priority numbers take precedence during policy evaluation.
Assign tag to the appropriate column of the dataset
Once the tag has been created and its associated policy defined, the next step is to apply this tag to the appropriate column within the dataset. This ensures that the policy is enforced on the specified data. Follow these steps to apply the tag:
Navigate to the Dataset: Open the Metis platform and locate the dataset you want to modify.
Select the Dataset: Click on the dataset to view its schema and details.
Identify the Column: Browse through the dataset schema to find the column that requires the tag application.
Apply the Tag
Apply the tag using the same process as in first method.