Talos for MySQL
This section provides the configuration guide to set up Talos service for MySQL.
Prerequisites
To access the data using API from MySQL, User need the following:
-
Pre-created MySQL Depot: To check the Depot go to the Metis UI of the DataOS or use the following command:
dataos-ctl get -t depot -a

#expected output

INFO[0000] 🔍 get...
INFO[0000] 🔍 get...complete

| NAME             | VERSION | TYPE  | WORKSPACE | STATUS | RUNTIME | OWNER      |
| ---------------- | ------- | ----- | --------- | ------ | ------- | ---------- |
| mysqldepot       | v2alpha | depot |           | active |         | usertest   |
Template for creating MySQL Depot is shown below:
name: ${{depot-name}} version: v2alpha type: depot tags: - ${{dropzone}} - ${{mysql}} owner: ${{owner-name}} layer: user depot: type: mysql description: ${{description}} # optional external: ${{true}} secrets: - name: ${{instance-secret-name}}-r allkeys: true - name: ${{instance-secret-name}}-rw allkeys: true -
Access Permissions in DataOS: To execute a Talos Service in DataOS, verify that following role tags are assigned to the respective user:
roles:id:data-devroles:id:system-devroles:id:user
Use the following command to check assigned roles:
If any required tags are missing, contact a DataOS Operator or submit a Grant Request for role assignment.
Alternatively, if access is managed through use cases, ensure the following use cases are assigned:
- Manage Talos
- Read Talos
To validate assigned use cases, refer to the Bifrost Application Use Cases section.
Steps
Connect to the data source
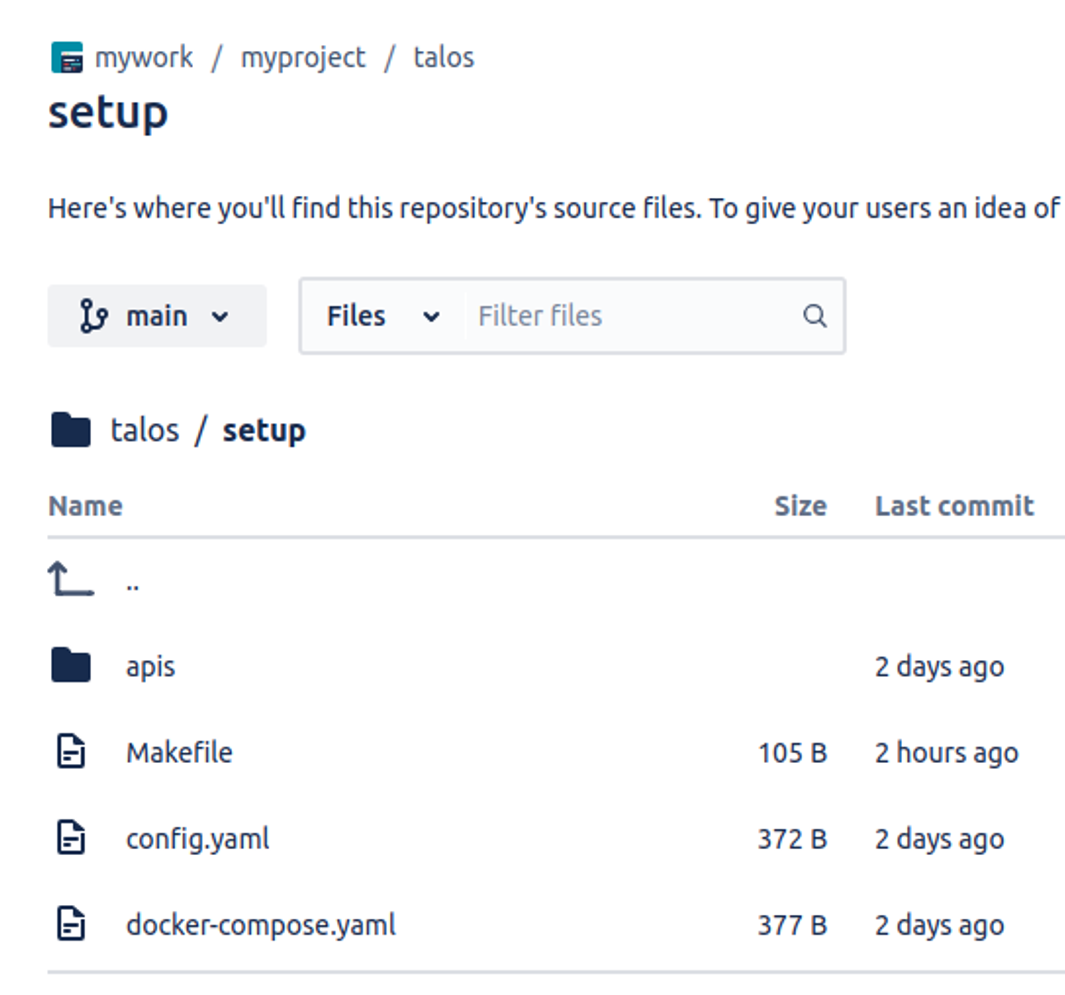
Open the repository in the preferred code editor. Navigate to the setup folder and open the config.yaml manifest file. This file contains details such as the Talos app name, description, version, authentication information, and source connection settings.
name: ${{superstore}}
description: ${{A talos-depot-mysql app}} # description
version: "0.1.26-test" # The version of the Talos(string)
auth:
  userGroups:
  - name: datadev
    description: data dev group
    includes:
      - users:id:iamgroot
      - users:id:thisisthor
  - name: default
    description: Default group to accept everyone
    includes: "*"
logLevel: ${{'DEBUG'}}
sources: # source details
  - name: ${{mysqldepot}} # source name
    type: ${{depot}} # source type
    options:    # required
      ssl:
        rejectUnauthorized: true
Update the following attributes within the file to align with the required configurations:
- name: Set the Talos app name.
- description: Provide a description of the Talos application.
- version: Specify the application version.
- source name: Update the source system name.
- source type: Define the type of source system being used.
To know more information about each attribute, please refer to the Configuration Page.
Writing SQL templates
Open the apis folder within the setup directory and access the table.sql and table.yaml files. Update the SQL queries in table.sql and modify the urlPath, description, and source fields in table.yaml to accurately reflect the API's data access paths and configuration details.
urlPath: /table # output path
description: product list # description
source: ${{mysqldepot}} # source name
Ensure that both the queries and the YAML configuration are properly aligned with the API requirements.
Additionally, multiple SQL files and their corresponding manifest files can be added within the apis folder as needed. This ensures modularity and maintainability of query definitions.
To know more information about each attribute, please refer to the Configuration Page.Push the changes
Push the changes to the working source control service (here ‘bitbucket’) repository as shown below:
Create a Talos Service manifest file
-
Now create a manifest file for the Service as shown below.
name: ${{talos-test}} # service name
version: ${{v1}} # version
type: service # resource type
tags: # tags
  - ${{service}}
  - ${{dataos:type:resource}}
  - ${{dataos:resource:service}}
  - ${{dataos:layer:user}}
description: ${{Talos Service}}
workspace: ${{public}}
service: # service specific section
  servicePort: 3000
  ingress:
    enabled: true
    stripPath: true
    path: /talos/${{workspace}}:${{talos-test}} # service name
    noAuthentication: true
  replicas: ${{1}}
  logLevel: ${{DEBUG}}
  compute: runnable-default
  envs:
    TALOS_SCHEMA_PATH: ${{talos/setup}}
    TALOS_BASE_PATH: /talos/public:${{talos-test}}
  resources:
    requests:
      cpu: ${{100m}}
      memory: ${{128Mi}}
    limits:
      cpu: ${{500m}}
      memory: ${{512Mi}}
  stack: talos:2.0
  dataosSecrets:
    - name: ${{bitrepo-r}}
      allKeys: true
  stackSpec:
    repo:
      url: ${{https://bitbucket.org/mywork15/talos/}}
      projectDirectory: ${{talos/setup}}
      syncFlags:
        - '--ref=main'
To know more information about each attribute, please refer to the Configuration Page.
-
Apply the Service manifest by executing the below command:
-
To check if the service is running successfully, execute the following command.
Successful execution will look like the following:
- The data can now be accessed through the API endpoint on platforms such as Postman, Swagger (OpenAPI Specification), and Google APIs Platform, as shown below (in Postman):INFO[0000] 📃 log(public)... INFO[0001] 📃 log(public)...complete NODE NAME │ CONTAINER NAME │ ERROR ───────────────────────────────────────────┼────────────────────────────┼──────── aaditest-service-zvs7-d-5dc48797c6-gs9fb │ aaditest-service-zvs7-main │ -------------------LOGS------------------- 2025-03-07 04:08:49.536 DEBUG [CORE] Duckdb config: temp_directory = /etc/dataos/work/.worktrees/a76bec81137783ce29782bb6aa6de0856a076401/aadi-test/talos_cache.db.tmp 2025-03-07 04:08:49.536 DEBUG [CORE] Duckdb config: threads = 1 2025-03-07 04:08:49.537 DEBUG [CORE] Duckdb config: username = NULL 2025-03-07 04:08:49.537 DEBUG [CORE] Duckdb config: arrow_large_buffer_size = false 2025-03-07 04:08:49.537 DEBUG [CORE] Duckdb config: user = NULL 2025-03-07 04:08:49.537 DEBUG [CORE] Duckdb config: wal_autocheckpoint = 16.0 MiB 2025-03-07 04:08:49.537 DEBUG [CORE] Duckdb config: worker_threads = 1 2025-03-07 04:08:49.537 DEBUG [CORE] Duckdb config: allocator_flush_threshold = 128.0 MiB 2025-03-07 04:08:49.537 DEBUG [CORE] Duckdb config: duckdb_api = nodejs 2025-03-07 04:08:49.538 DEBUG [CORE] Duckdb config: custom_user_agent = 2025-03-07 04:08:49.538 DEBUG [CORE] Duckdb config: partitioned_write_flush_threshold = 524288 2025-03-07 04:08:49.538 DEBUG [CORE] Duckdb config: enable_http_logging = false 2025-03-07 04:08:49.538 DEBUG [CORE] Duckdb config: http_logging_output = 2025-03-07 04:08:49.538 DEBUG [CORE] Duckdb config: binary_as_string = 2025-03-07 04:08:49.538 DEBUG [CORE] Duckdb config: Calendar = gregorian 2025-03-07 04:08:49.539 DEBUG [CORE] Duckdb config: TimeZone = UTC 2025-03-07 04:08:49.539 DEBUG [SERVE] Data source duckdb initialized 2025-03-07 04:08:49.539 DEBUG [SERVE] Initializing data source: pg 2025-03-07 04:08:49.539 DEBUG [CORE] Initializing profile: sivapostgresdepot using pg driver 2025-03-07 04:08:49.636 DEBUG [CORE] Profile sivapostgresdepot initialized 2025-03-07 04:08:49.636 DEBUG [CORE] Initializing profile: lens using pg driver 2025-03-07 04:08:49.789 DEBUG [CORE] Profile lens initialized 2025-03-07 04:08:49.789 DEBUG [SERVE] Data source pg initialized 2025-03-07 04:08:49.789 DEBUG [SERVE] Initializing data source: mysql 2025-03-07 04:08:49.789 DEBUG [SERVE] Data source mysql initialized 2025-03-07 04:08:49.790 DEBUG [SERVE] Initializing data source: snowflake 2025-03-07 04:08:49.790 DEBUG [SERVE] Data source snowflake initialized 2025-03-07 04:08:49.791 INFO [SERVE] Start to load and schedule prefetched data results from data sources to cache layer... 2025-03-07 04:08:49.796 DEBUG [SERVE] profile: sivapostgresdepot, allow: * 2025-03-07 04:08:49.796 DEBUG [SERVE] profile: lens, allow: * 2025-03-07 04:08:49.797 DEBUG [SERVE] profile: talos.cache, allow: * 2025-03-07 04:08:49.805 DEBUG [CORE] Authenticator: { "heimdallUrl": "https://dataos-training.dataos.app/heimdall", "ttl": 120, "userGroups": [ { "name": "default", "description": "auto-generated default group to include everyone", "includes": "*" } ] } 2025-03-07 04:08:49.810 INFO [CLI] 🚀 Server is listening at port 3000.
The endpoint can also be hit as “/doc/postman?apikey='xxxxxxxxx” in order to download the postman collection and import the .json collection into postman.
- Authenticate the API endpoints by passing the API Key on DataOS CLI, as query param as shown below.