Configure OIDC Authentication Setup
This section includes the steps to add OIDC authentication to the Python application.To add OpenID Connect (OIDC) authentication to your Python application, you'll need to follow a series of steps to configure the application to interact with an OIDC provider. The provided example code, which uses Dash and Flask, handles the core OIDC logic and Flask-based routing for login, callback, and logout. Similarly, you can add OIDC for other frameworks such as Streamlit.
Prerequisites
The following credentials must be obtained from your DevOps team before configuring OIDC authentication in the Python application:
-
OIDC Redirect URI: The callback URL where the Python app will receive the authentication response. The developer defines this endpoint and shares it with DevOps for registration.
-
OIDC Client ID: Provided by DevOps after they register the application with the given Redirect URI.
-
OIDC Client Secret: Provided by DevOps together with the Client ID and must be kept secure.
-
OIDC Authority URL: The base issuer/authority endpoint of your OIDC provider.
-
OIDC Scopes: The scopes that will be requested during login (for example,
openid profile email).
In addition, ensure the following technical requirements are met:
-
Ensure the code is compatible with Python 3.7+ versions.
-
A web framework is available (Flask, FastAPI, Streamlit, Dash, etc.).
-
Network access to reach the OIDC provider’s endpoints from your app.
Step 1. Create/Select a Repository
Create or select any repository in GitHub or Bitbucket where the Python code will be added.
Step 2. Create base directory
Inside that repository, add a folder named app, which will include OIDC code, the Python scripts with the .py extension, and a requirements file with a .txt extension.
python-stack/
└── app/                        # baseDir (referenced in service/stack manifest)
    ├── dash_app.py               # UI logic
    ├── oidc_auth.py
    ├── main.py                 # Application entry point (required)
    └── requirements.txt        # Dependencies (required)
Step 3. Add the OIDC, Python code, and dependencies, and push the changes
In the files with the .py extensions, add the OIDC code and the Python scripts as given below, in the requirements.txt file, and add the requirements to run the Python scripts.
dash_app.py
import os
from flask import Flask
import dash
from dash import html
from oidc_auth import get_current_user, add_auth_routes

server = Flask(__name__)
add_auth_routes(server)

# Get the base path from environment variable
url_base_pathname = os.environ.get("URL_BASE_PATHNAME", "/")

# Create Dash app
app = dash.Dash(
    __name__,
    server=server,
    url_base_pathname=url_base_pathname,
    suppress_callback_exceptions=True
)

def layout():
    current_user = get_current_user()
    if not current_user:
        return html.Div([
            html.H1("Please log in"),
            html.A("Sign in with OIDC",
                    href=f"{url_base_pathname.rstrip('/')}/auth/login",
                    target="_self",
                    style={"text-decoration": "underline", "color": "blue"})
        ], style={"margin": "5rem"})

    return html.Div([
        html.H1(f"Welcome {current_user.get('name') or current_user.get('email')} 👋"),
        html.A("Logout",
                href=f"{url_base_pathname.rstrip('/')}/auth/logout",
                target="_self",
                style={"margin-top": "1rem", "display": "block", "text-decoration": "underline", "color": "blue"})
    ], style={"margin": "5rem"})

app.layout = layout
oidc_auth.py
import os
import requests
from flask import redirect, request, session
from authlib.jose import jwt, JsonWebKey

# ============================================================================
# OIDC Core Logic
# ============================================================================

class OIDCCore:
    """Reusable OIDC logic"""

    def __init__(self):
        # Load config from environment
        self.authority = os.environ.get("OIDC_AUTHORITY")
        self.client_id = os.environ.get("OIDC_CLIENT_ID")
        self.client_secret = os.environ.get("OIDC_CLIENT_SECRET")
        self.redirect_uri = os.environ.get("OIDC_REDIRECT_URI")
        self.scope = os.environ.get("OIDC_SCOPE", "openid email profile")

        if not all([self.authority, self.client_id, self.client_secret, self.redirect_uri]):
            raise RuntimeError("Missing required OIDC configuration")

        # OIDC discovery
        discovery_url = f"{self.authority.rstrip('/')}/.well-known/openid-configuration"
        self.oidc_config = requests.get(discovery_url).json()
        jwks = requests.get(self.oidc_config["jwks_uri"]).json()
        self.public_keys = JsonWebKey.import_key_set(jwks)

    def get_auth_url(self):
        return (
            f"{self.oidc_config['authorization_endpoint']}?"
            f"response_type=code&client_id={self.client_id}&"
            f"redirect_uri={self.redirect_uri}&scope={self.scope.replace(' ', '+')}"
        )

    def process_callback(self, code):
        token_data = {
            "grant_type": "authorization_code",
            "code": code,
            "redirect_uri": self.redirect_uri,
            "client_id": self.client_id,
            "client_secret": self.client_secret,
        }

        token_resp = requests.post(self.oidc_config["token_endpoint"], data=token_data).json()

        if "error" in token_resp:
            raise Exception(f"Token error: {token_resp.get('error_description', token_resp.get('error'))}")

        claims = jwt.decode(token_resp["id_token"], self.public_keys)
        claims.validate()

        return {
            "sub": claims.get("sub"),
            "name": claims.get("name"),
            "email": claims.get("email"),
        }

# ============================================================================
# Flask Specific Integration : Configure this as per the framework chosen by you
# ============================================================================

# Global instance
oidc_core = OIDCCore()

def get_current_user():
    return session.get('user', {})

def verify_jwt(token):
    claims = jwt.decode(token, oidc_core.public_keys)
    claims.validate()
    return claims

def add_auth_routes(server):
    server.secret_key = os.environ.get('FLASK_SECRET_KEY', 'your-secret-key-change-in-production')
    url_base_pathname = os.environ.get("URL_BASE_PATHNAME", "/").rstrip("/")

    @server.route(f"{url_base_pathname}/auth/login")
    def login():
        return redirect(oidc_core.get_auth_url())

    @server.route(f"{url_base_pathname}/auth/callback")
    def auth_callback():
        code = request.args.get("code")
        error = request.args.get("error")

        if error:
            return f"Authentication failed: {error}", 400

        if not code:
            return "No authorization code received", 400

        try:
            user_data = oidc_core.process_callback(code)
            session['user'] = user_data
            return redirect(url_base_pathname or "/")
        except Exception as e:
            return f"Authentication failed: {str(e)}", 400

    @server.route(f"{url_base_pathname}/auth/logout")
    def logout():
        session.clear()
        return redirect(url_base_pathname or "/")
main.py
Step 4. Secure repository credentials within DataOS
If the app code is in a private Git repository, credentials must be secured in DataOS using Instance Secrets to refer to them in the Python Service manifest file.
- GitHub: Create a Personal Access Token (PAT), then store it in DataOS as a secret. Guide | GitHub PAT docs
- Bitbucket: Generate an App Password (API token) with repo permissions, then store it in DataOS as a secret. Guide | Bitbucket docs
Step 5: Configure the Python Service
To deploy the Python application with the OIDC authentication, configure a Python Service manifest as a template given below by replacing the placeholders with actual values.
name: auth-app
version: v1
type: service
tags:
  - service
  - python-stack
  - auth
description: auth-app
owner: iamgroot
workspace: public
service:
  servicePort: 8050
  ingress:
    enabled: true
    path: /st_auth
    stripPath: false
    noAuthentication: true
replicas: 1
stack: python3:1.0
logLevel: DEBUG
envs:
  PORT: 8050
  URL_BASE_PATHNAME: "/st_auth/"  #same as ingress.path
  OIDC_REDIRECT_URI: "${{*************}}$"
  OIDC_SKIP_DISCOVERY: "false"
  OIDC_AUTHORITY: "https://${{dataos-fqdn}}$/oidc"
  OIDC_CLIENT_ID: "${{dataos_generic}}"
  OIDC_CLIENT_SECRET: "${{************}}"
  OIDC_SCOPE: "openid profile groups email federated:id offline_access"
  FLASK_SECRET_KEY: "your-random-secret-key-for-sessions-change-in-production"
dataosSecrets:
  - name: bitbucket-r
    allKeys: true
    consumptionType: envVars
compute: runnable-default
resources:
  requests:
    cpu: 1000m
    memory: 1536Mi
limits: {}
stackSpec:
  repo:
    baseDir: app-usecases/app   # path to base directory
    syncFlags:
      - '--ref=main'
    url: https://bitbucket.org/app-usecases  # git repository
The oidc_auth.py script requires the following environment variables to be set in the Python Service manifest file.
OIDC_AUTHORITY: This is the base URL of the OIDC provider. The script uses this URL to automatically discover all other necessary endpoints (like the authorization and token endpoints) through the OIDC Discovery protocol.OIDC_CLIENT_ID: This is the public identifier for your Python application. When you register your application with the OIDC provider, it assigns this unique ID to it.OIDC_CLIENT_SECRET: This is the secret key for your application, used for server-to-server communication to protect the integrity of the authentication flow.OIDC_REDIRECT_URI: This is the URL on your Python application where the OIDC provider sends the user back after a successful login.OIDC_SCOPE: (Optional) This variable defines the permissions your application is requesting from the user. The default value isopenid email profile, which requests access to the user's basic identity, email address, and profile information.FLASK_SECRET_KEY: (Optional, depends on the framework you use) This is a secret key used by the Flask framework to sign session cookies. It's crucial for security and should be a unique, complex string in a production environment.
To get more details on each attribute of the Python Service manifest file, please refer to this link.
Step 6. Apply the Python Service manifest file
Apply the Python Service manifest file by executing the command below.
Step 7. Verify the Python Service
Validate the Python Service by executing the command below.
Example:
dataos-ctl resource get -t service -w public -n my-python-app-test
# Expected output:
INFO[0000] 🔍 get...
INFO[0001] 🔍 get...complete

         NAME        | VERSION |  TYPE   | WORKSPACE | STATUS |  RUNTIME  |    OWNER
---------------------|---------|---------|-----------|--------|-----------|--------------
  my-python-app-test | v1      | service | public    | active | running:1 | iamgroot
Step 8: Verify the authentication
Authentication can be verified by accessing the configured endpoint, as shown in the example below.
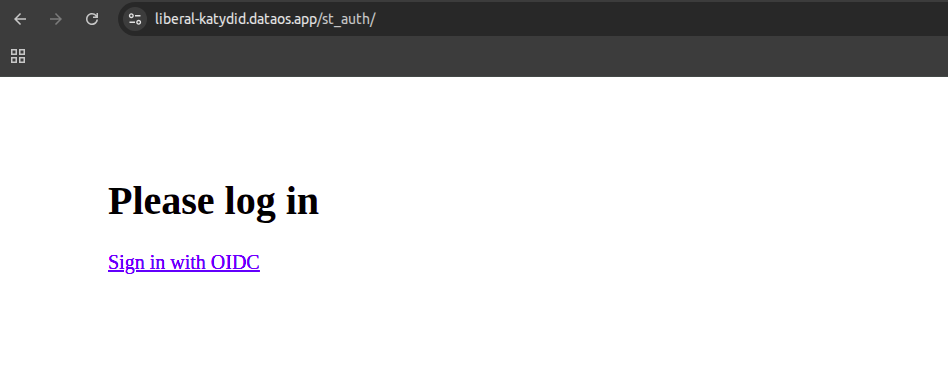
After accessing the endpoint in your browser, a login page will appear. Click the "Sign in with OIDC" link to authenticate.
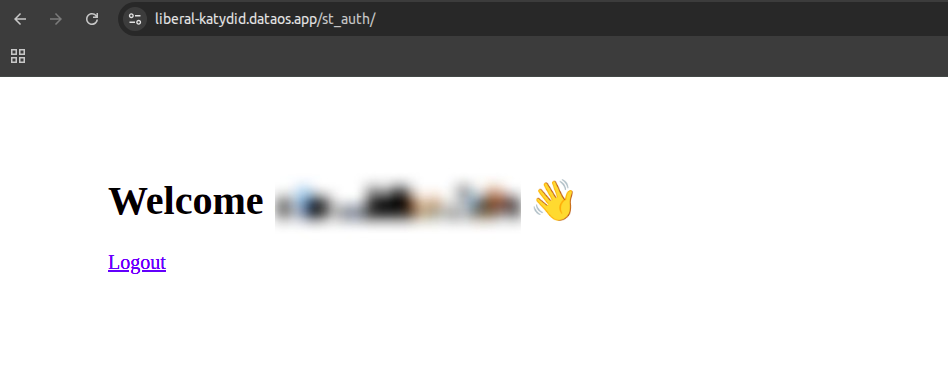
Upon successful authentication, a welcome page will appear, confirming you are logged in.
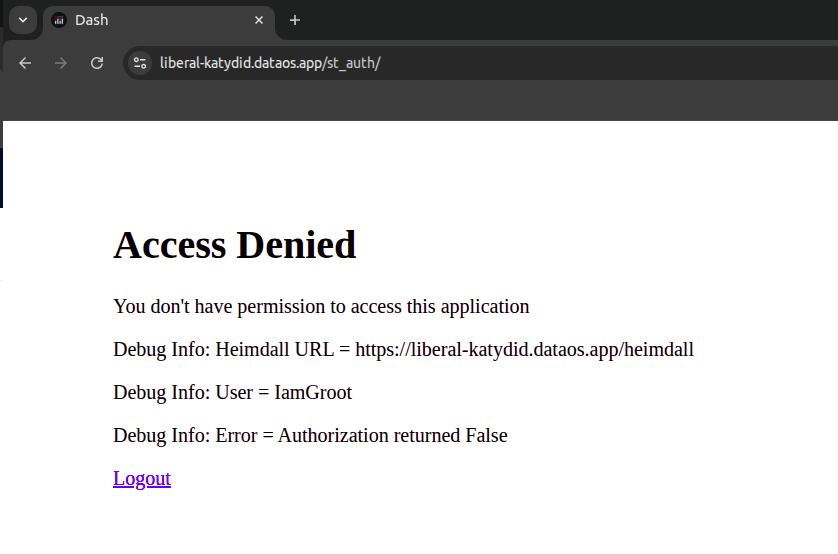
If a user without the required permissions tries to access the application, they will see an access denied message as shown below.
Next Step
Once the OIDC authentication is set up, you can govern the access of the Python application by following this link.