Manage access permission for the Python application
This section provides a step-by-step guide on how to manage access permissions for a Python application using Bifrost Governance. By leveraging Bifrost Governance, you can define granular access policies, create reusable 'use cases', and assign these permissions to individual users or roles.
Use cases in Bifrost Governance are reusable templates that bundle together a set of permissions.
Prerequisites
Ensure you meet the following requirements.
- Using Bifrost requires admin-level permissions; in other words, the
roles:id:operatortag must be assigned to the user. - In the Python Service configuration,
noAuthenticationmust be false. - The Python Service should be running and accessible.
- DataOS user token.
Configure Policy Enforcement Point (PEP)
A PEP enforces access control policies defined in Bifrost Governance. By configuring PEP, users can specify and manage who is allowed to access the application and what operations each user or role can perform. This enables fine-grained permission control, ensuring that only authorized users can perform specific actions.
Steps to create PEP:
Here, the steps include how to incorporate this logic in the code for a flask based app in which user will be authorized to access the application.
-
Log in to DataOS and navigate to Bifrost application.
Bifrost Governance -
Click on 'Heimdall primitives' > 'Providers'.

Bifrost Governance -
Click on 'Create Provider' button. Bifrost PEP creates authorization atoms for granular level access.
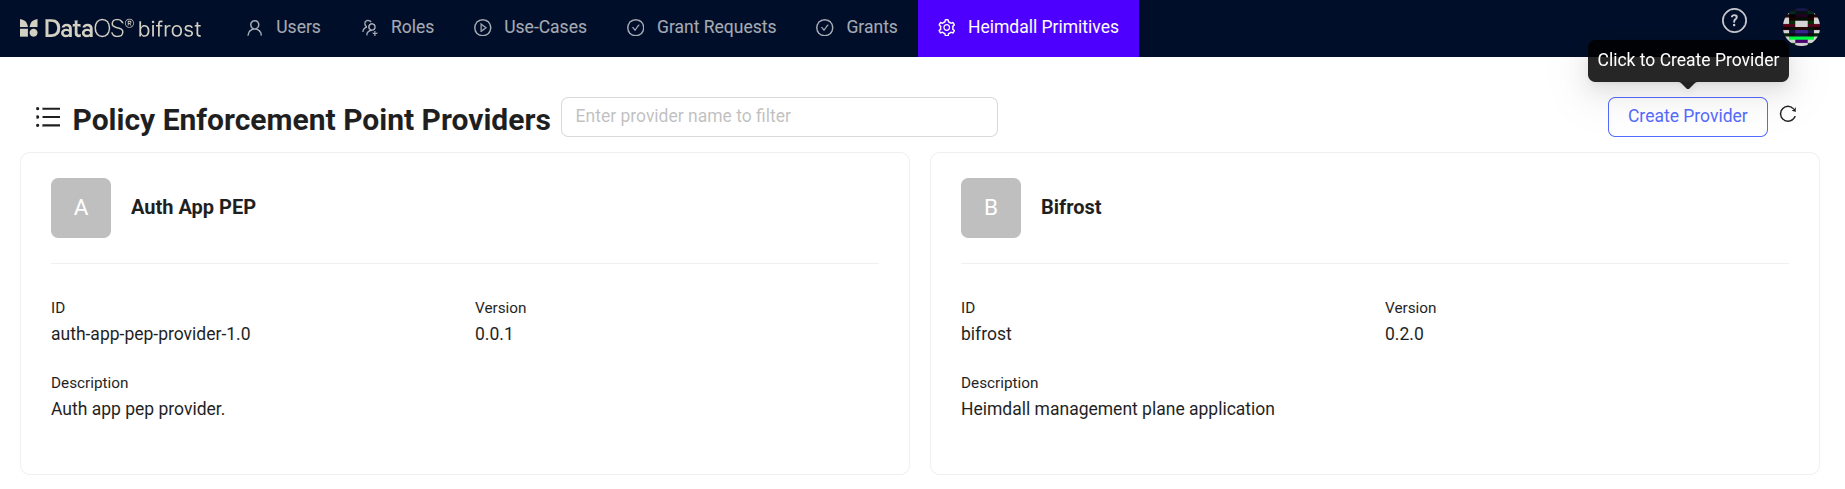
Bifrost Governance -
Define the authorization atoms and predicates in the YAML format. For the flask app, predicate like
getis defined. Then click 'Create' button.version: "0.0.1" id: "auth-app-pep-provider-1.0" name: "Auth App PEP" description: "Auth app pep provider." authorization_atoms: - id: get-path-st-auth description: user have read-only access to auth-app predicate: get paths: - "${path}"Breaking down the manifest configuration
Field Value Description version "0.0.1" Version of the PEP provider configuration id "auth-app-pep-provider-1.0" Unique identifier for the PEP provider name "Auth App PEP" Name of the PEP provider description "Auth app pep provider." Description of the PEP provider authorization_atoms List of access rules ("atoms") id get-path-st-auth Unique ID for the atom (rule) description user have read-only access... What this atom allows (read-only access to auth-app) predicate get Allowed operation (GET, i.e., read-only) paths "${path}" Path(s) where this rule applies; "${path}" is a variable 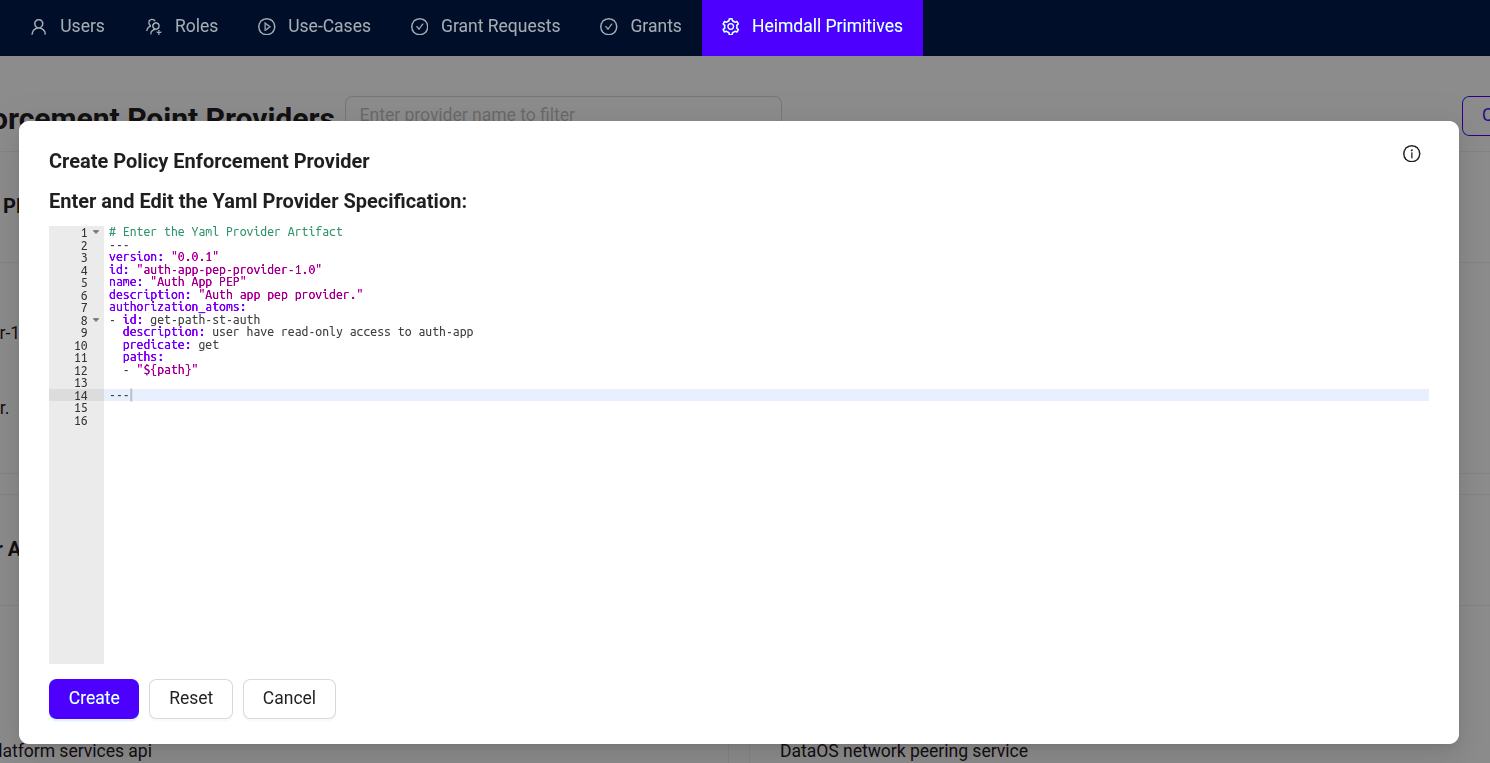
Bifrost Governance -
Once created, you can see the details of atoms created with their respective predicates information in the list of providers.
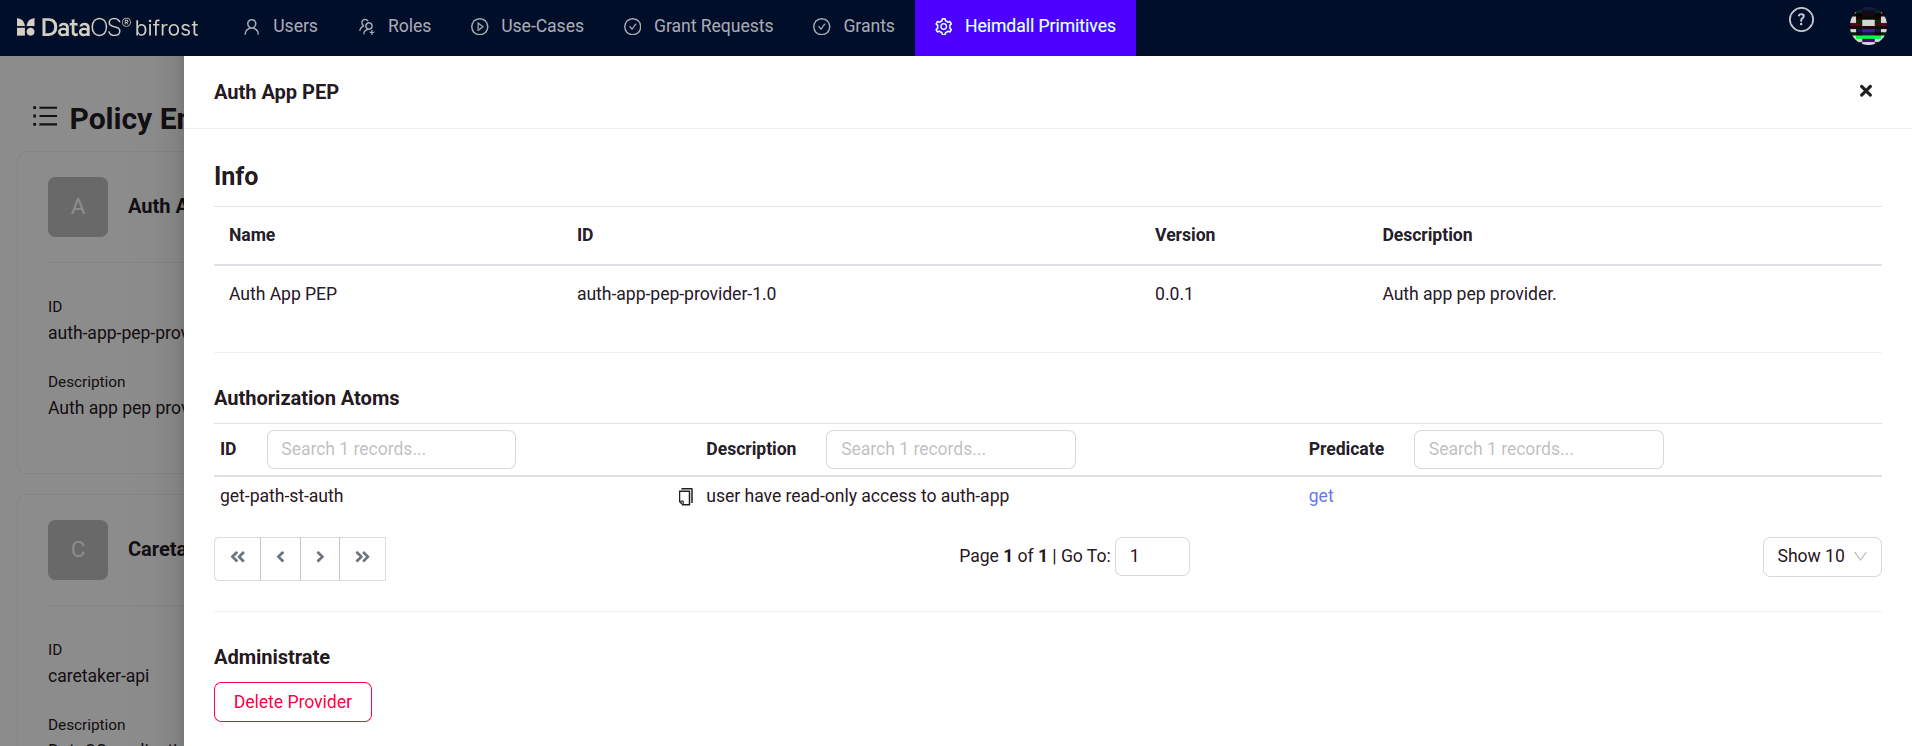
Bifrost Governance
Create the use cases specific to a Python application
Follow the steps below to create a use case for accessing a Python application using Bifrost Governance.
-
Access Bifrost Governance.
Bifrost Governance -
Navigate to the 'Use Cases' section.
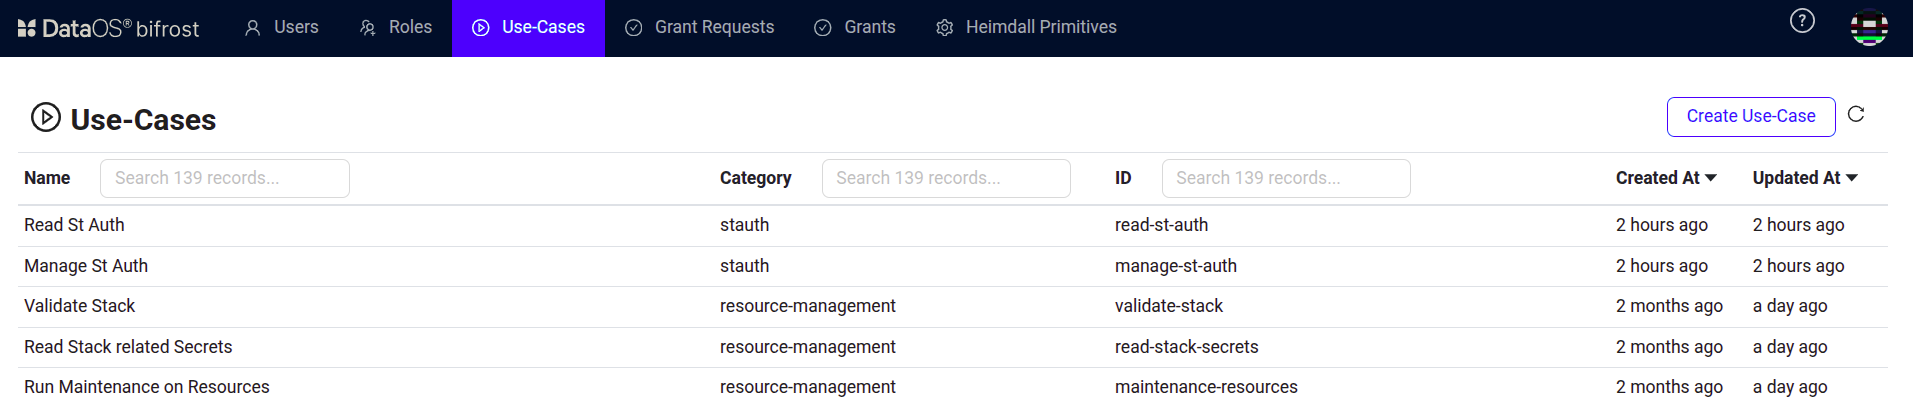
Bifrost Governance -
Click on the 'Create Use Case' button and paste the code below with some specific updates.
This code defines two distinct use cases for an application hosted at
st_authingress path configured in the Python Service manifest file:read-st-auth: Provides read-only access.manage-st-auth: Provides full read/write/delete access.
---
id: manage-st-auth
name: 'Manage St Auth'
description: 'Manage St Auth'
category: stauth
authorization_atoms:
- get-path-ingress
- delete-path-ingress
- put-path-ingress
- post-path-ingress
values:
- authorization_atom_id: get-path-ingress
  variable_values:
  - path: /st_auth/**
- authorization_atom_id: put-path-ingress
  variable_values:
  - path: /st_auth/**
- authorization_atom_id: post-path-ingress
  variable_values:
  - path: /st_auth/**
- authorization_atom_id: delete-path-ingress
  variable_values:
- path: /st_auth/**
Similarly, you can configure the use case for your particular Python application by updating the
id,name,description, and thepathvariable in the code above. -
Then click on the 'Create' button, and it is done.

Bifrost Governance
Add authorization logic in code
This section explains how to integrate Heimdall authorization checks into the authentication enabled Python application.
1. Add required dependencies
Update your requirements.txt to include the necessary packages:
dash==2.*
Flask==3.*
Authlib==1.*
requests==2.*
python-dotenv==1.*
dataos-sdk-py==0.0.1   # mandatory for authorization
2. Implement authorization function
Add the following function to your oidc_auth.py file to check user permissions using Heimdall:
from heimdall.heimdall_client import HeimdallClientBuilder
from heimdall.models.authorization_request import AuthorizationRequest

def authorize_user(heimdall_base_url, permissions):
    '''Check if user has required permissions'''
    user = session.get('user', {})
    token = user.get('access_token') or user.get('id_token')
    if not token:
        return False

    auth_request = AuthorizationRequest(
        token=token,
        permissions=permissions,
        context={
            "predicate": permissions[0],
            "object": {
                "paths": ["/st_auth**"]  # Match your use-case path
            }
        }
    )

    try:
        h_client = HeimdallClientBuilder().set_base_url(heimdall_base_url).build()
        auth_response = h_client.authorize_api.authorize(auth_request)
        return auth_response.allow
    except Exception:
        return False
3. Use authorization in application
Update the main app code (e.g., dash_app.py) to use the authorization function:
from oidc_auth import get_current_user, add_auth_routes, authorize_user

def layout():
    current_user = get_current_user()
    if not current_user:
        return html.Div([
            html.H1("Please log in"),
            html.A("Sign in with OIDC", href="/auth/login")
        ])

    heimdall_url = os.environ.get("HEIMDALL_BASE_URL", "")
    if not authorize_user(heimdall_url, ["get"]):
        return html.Div([
            html.H1("Access Denied"),
            html.P("You don't have permission to access this application"),
            html.A("Logout", href="/auth/logout")
        ])

    return html.Div([
        html.H1(f"Welcome {current_user.get('name')}!"),
        html.A("Logout", href="/auth/logout")
    ])
4. Configure environment variables
Add the Heimdall base URL to the Python Service manifest file (e.g., deployment.yaml):
5. Ensure path matching
Make sure the path in the use-case YAML matches the path used in the code and the ingress path defined in the Python Service manifest.
Use-case YAML:
Python code (oidc_auth.py):
Python Service manifest (e.g., deployment.yaml):
Note: All three paths (use-case YAML, Python code, and Python Service manifest) must match exactly for authorization to work as expected.
Assign use cases to a specific user
Once the use cases specific to the Python application are created, the next step is to assign those use cases to the users who need to access the application.
-
Open Bifrost Governance.
Bifrost Governance -
Under the “Users” section, select the user to whom the use cases need to be assigned.
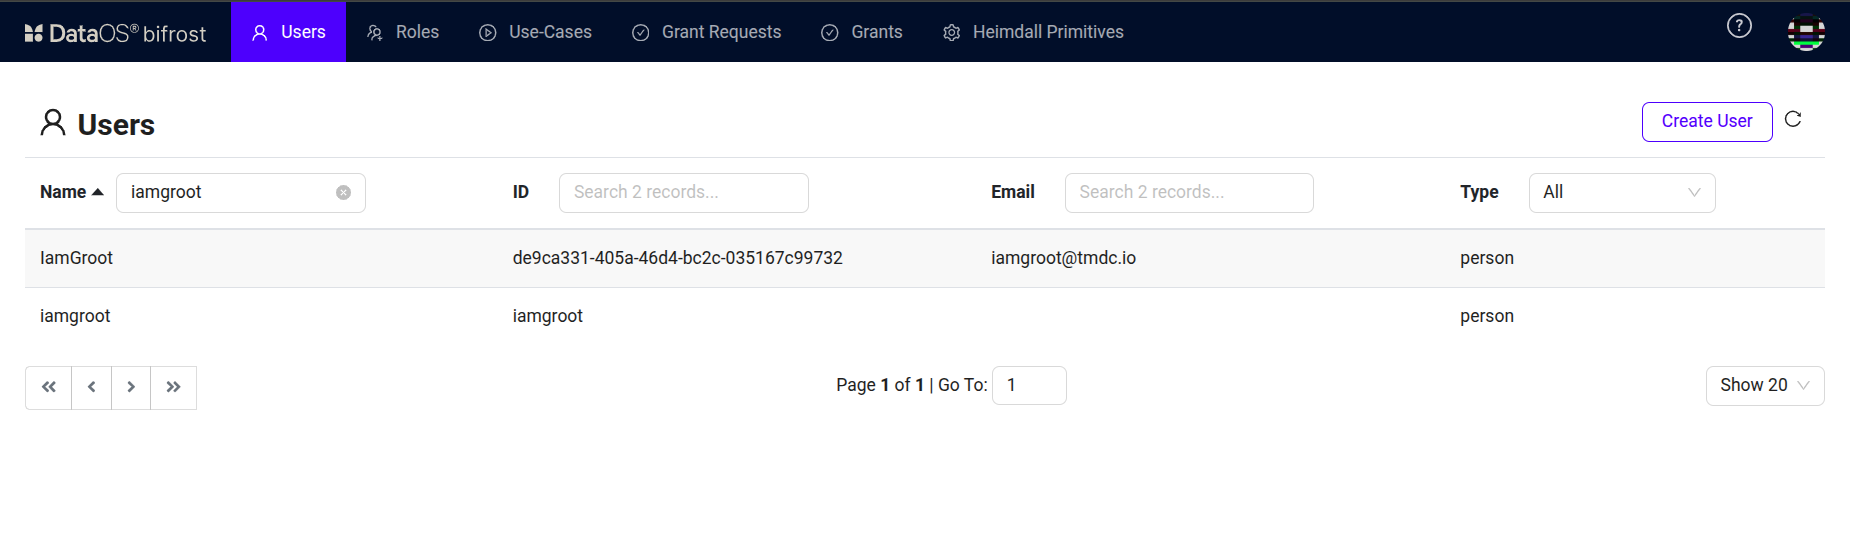
Bifrost Governance -
Under the Grant section, click on “Grant Use Case”.
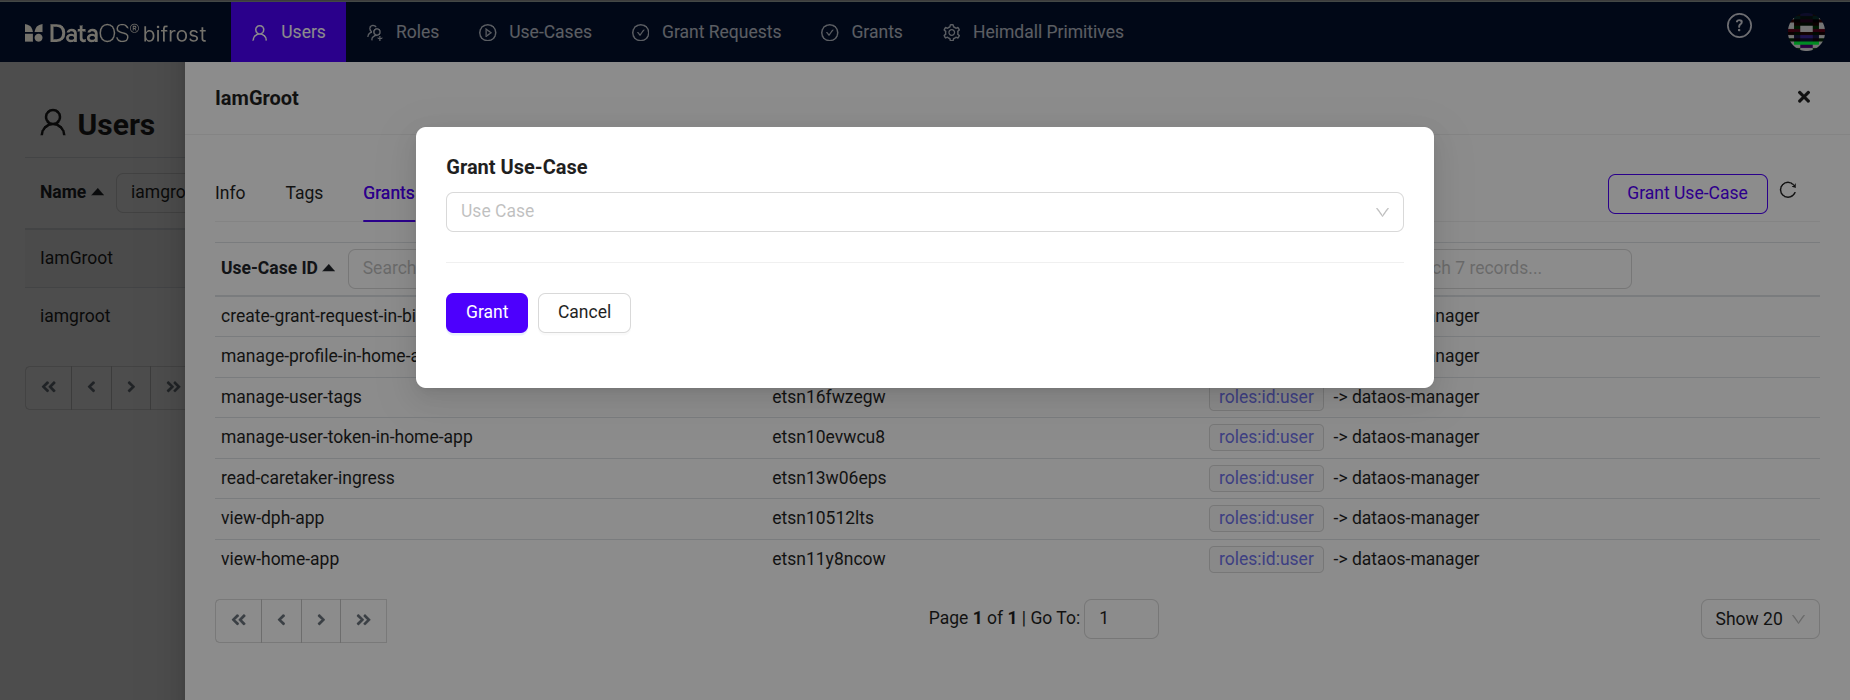
Bifrost Governance -
Select the use case specific to the Python application which is created previously.
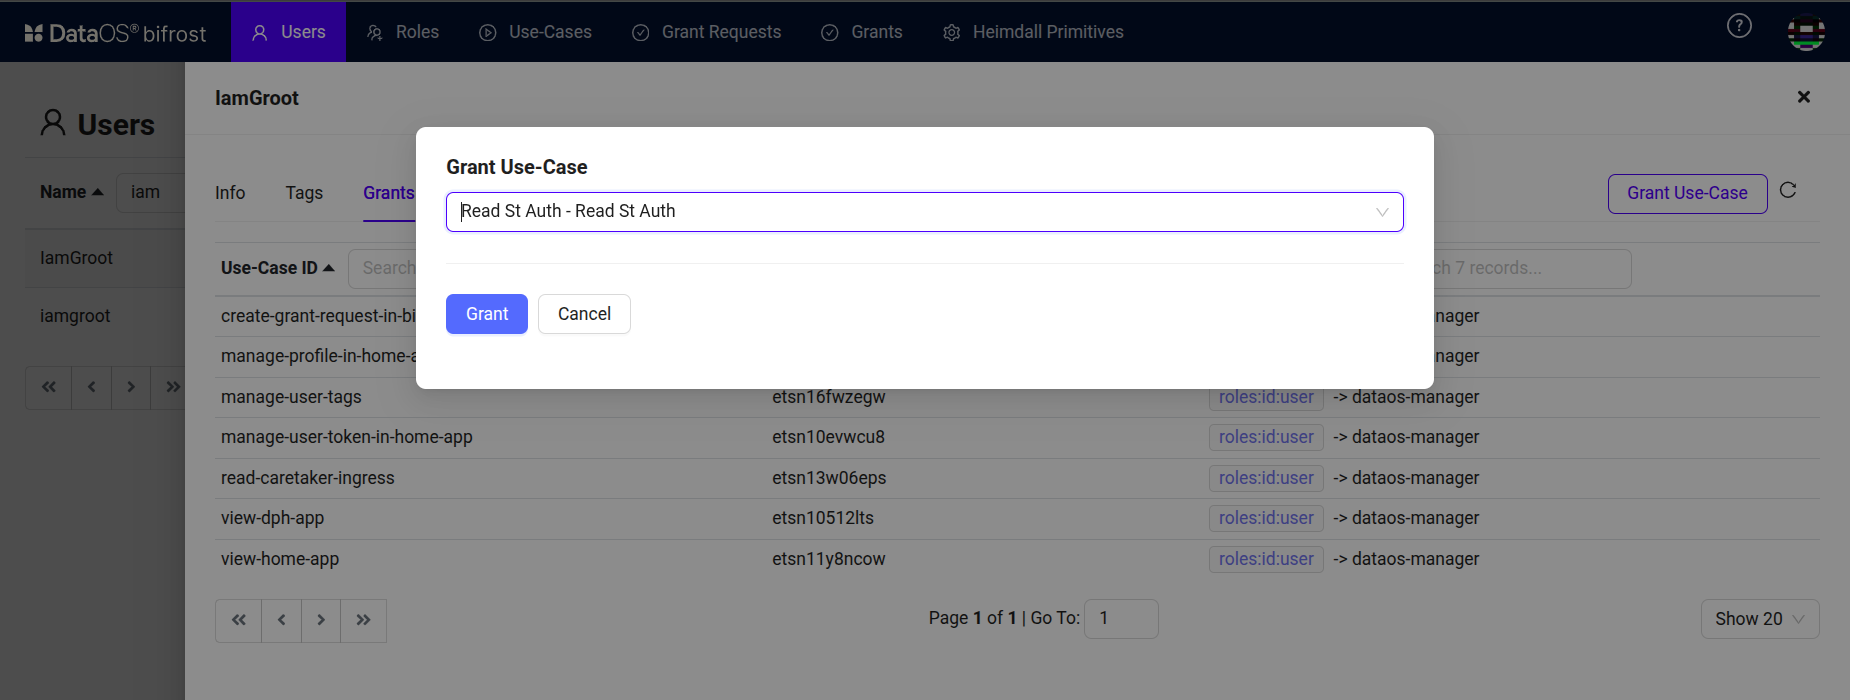
Bifrost Governance -
Click on “Grant”. Once the use case is granted, it is listed under the “Grants” section as shown below.
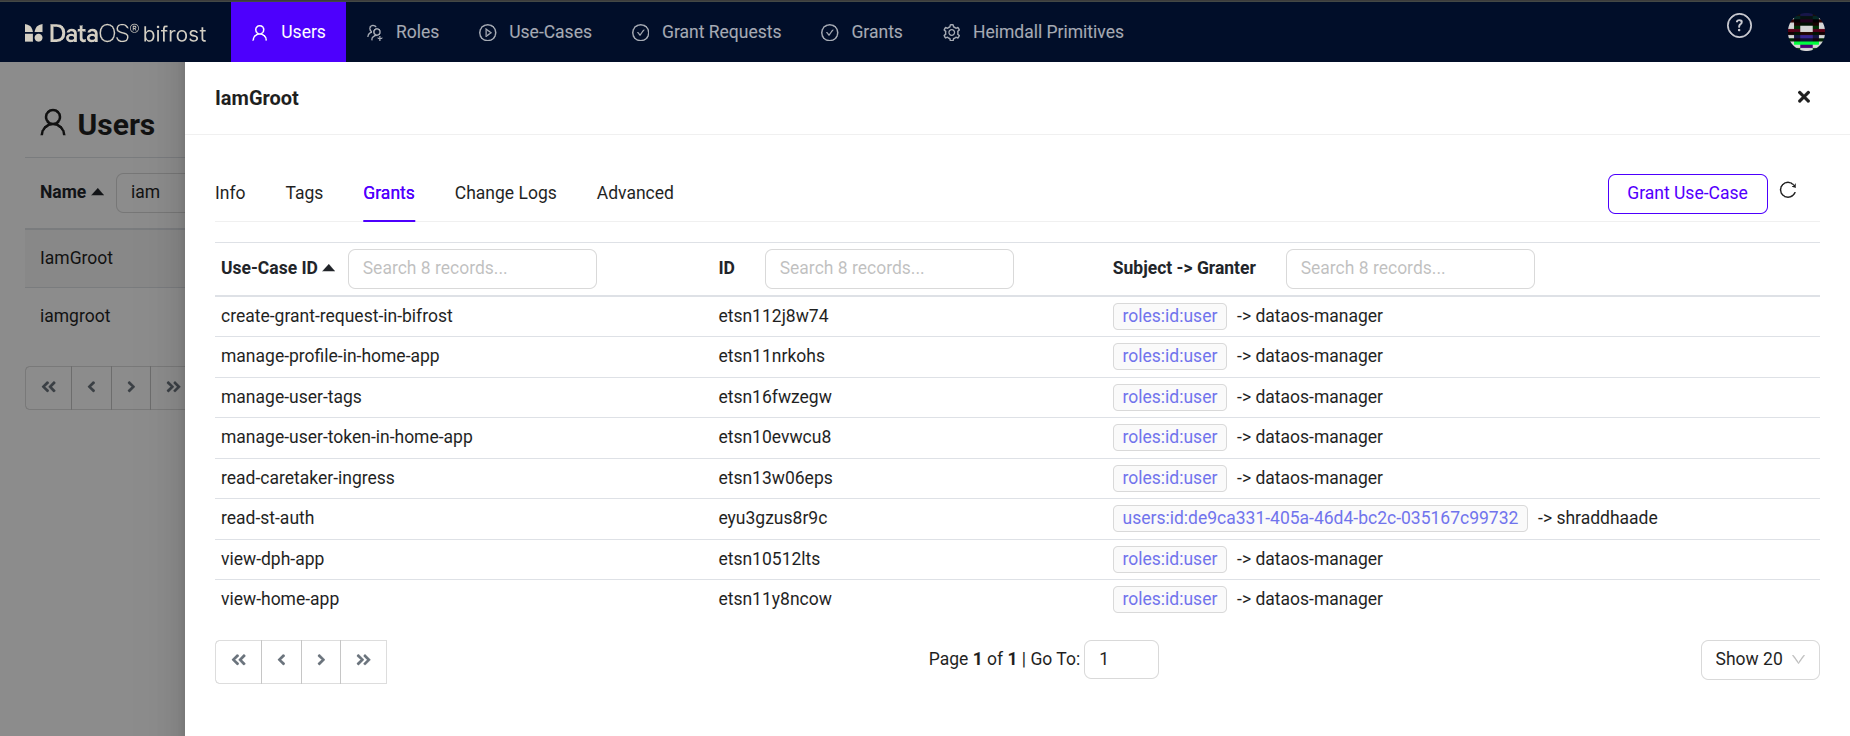
Bifrost Governance
Assign use cases to a group of users with a specific role
Alternatively, instead of assigning use cases to a single user, one can assign use cases to a group of users having a specific role assigned.
-
Open Bifrost Governance.
Bifrost Governance -
Navigate to the Roles section.
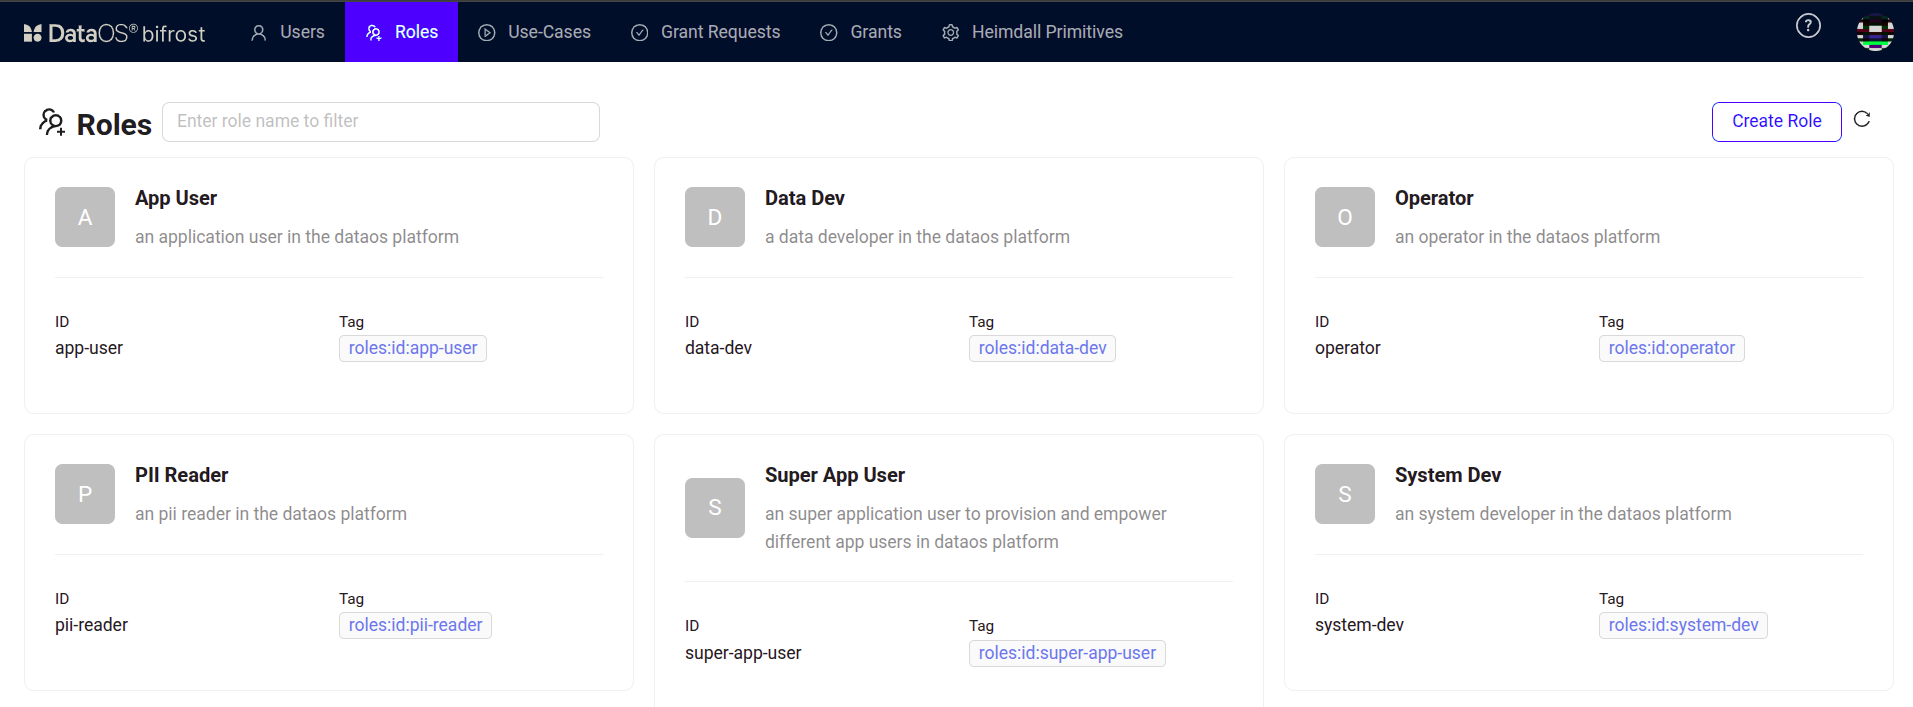
Bifrost Governance -
Click on the “Data Dev” role, as in this scenario, we will grant permission to each user with the “data-dev” role tag to access the Python application by assigning the use case.
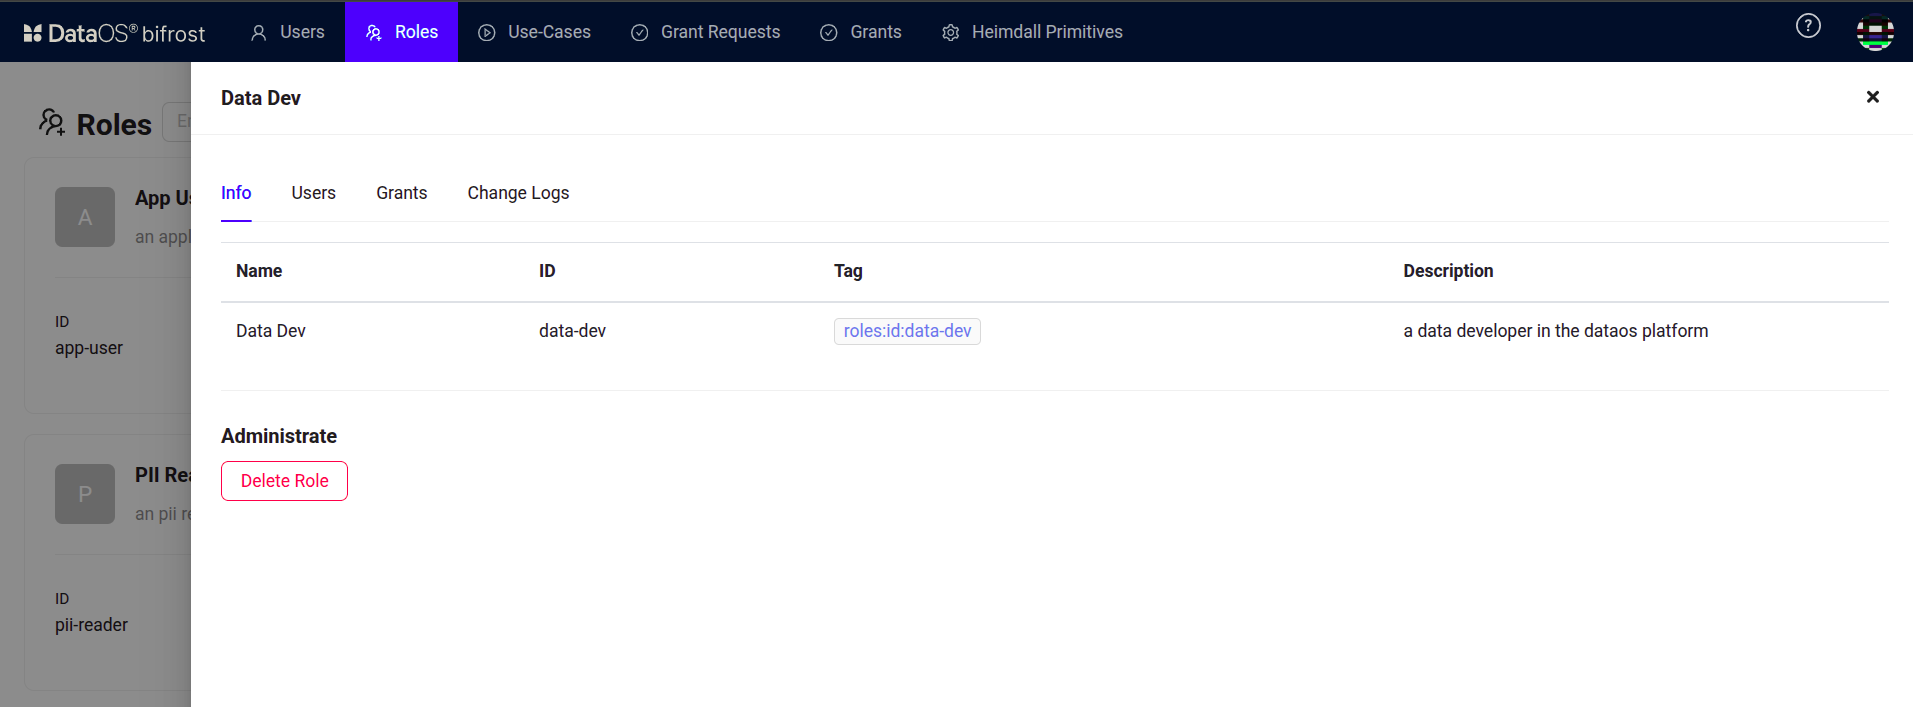
Bifrost Governance -
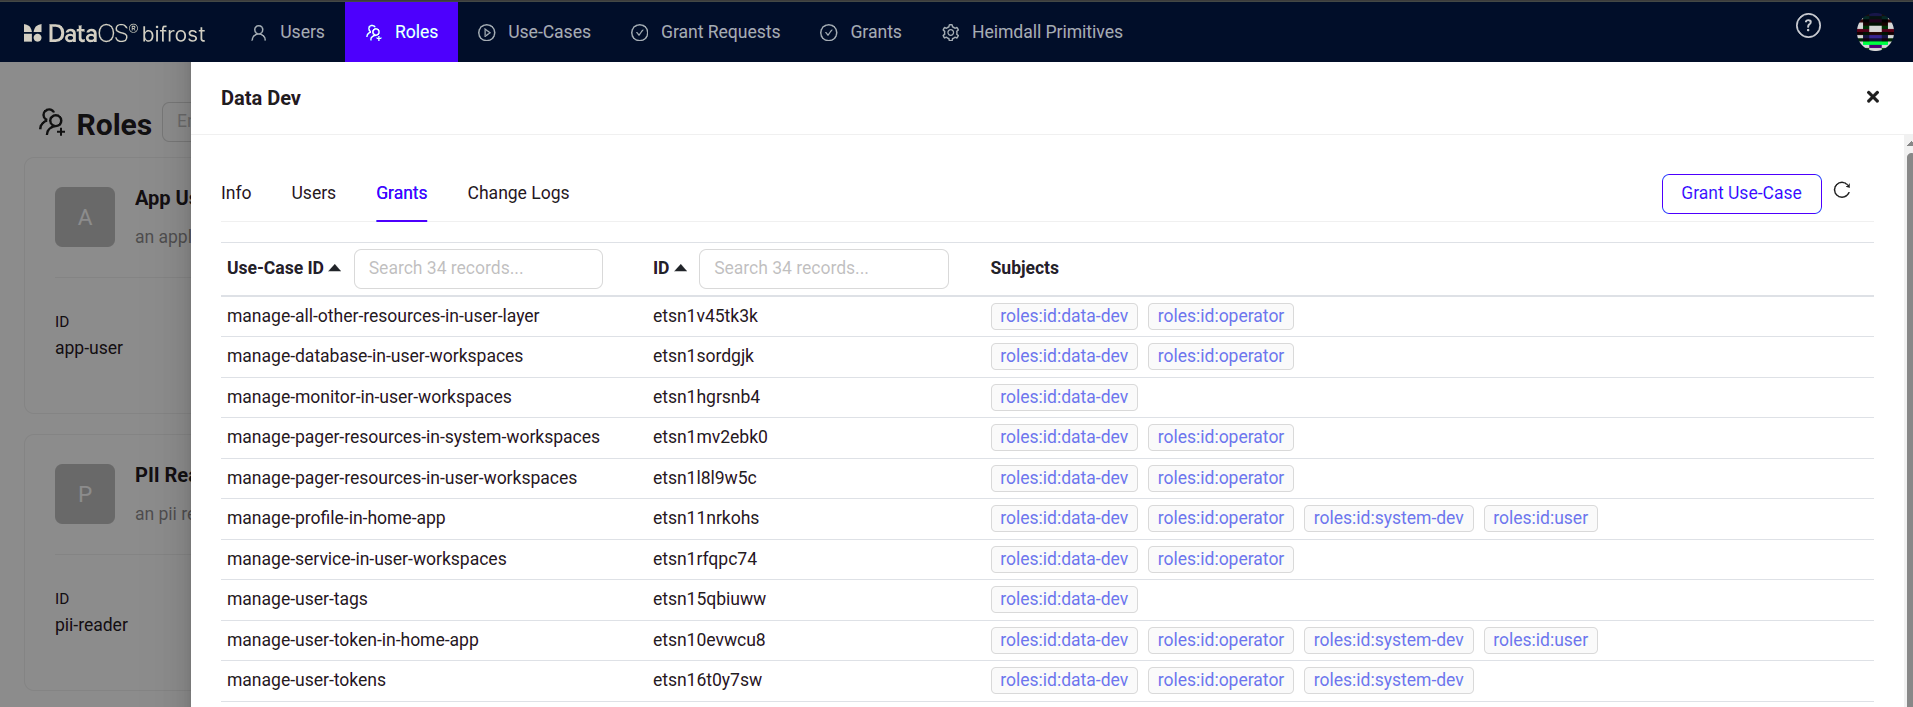
Navigate to the “Grants” section and click on the “Grant Use Case” button.
Bifrost Governance -
Select the use case created for your Python application.
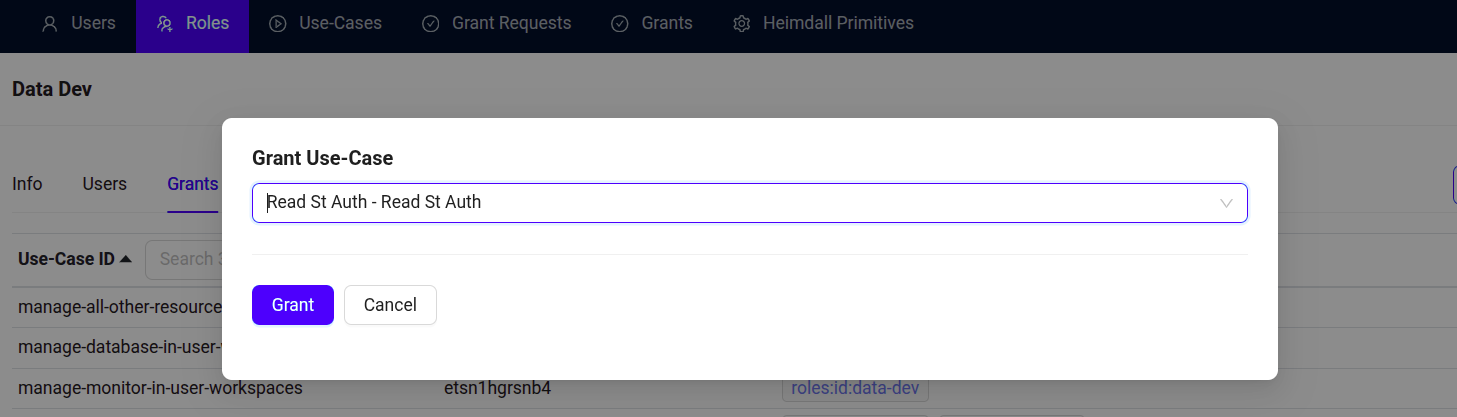
Bifrost Governance -
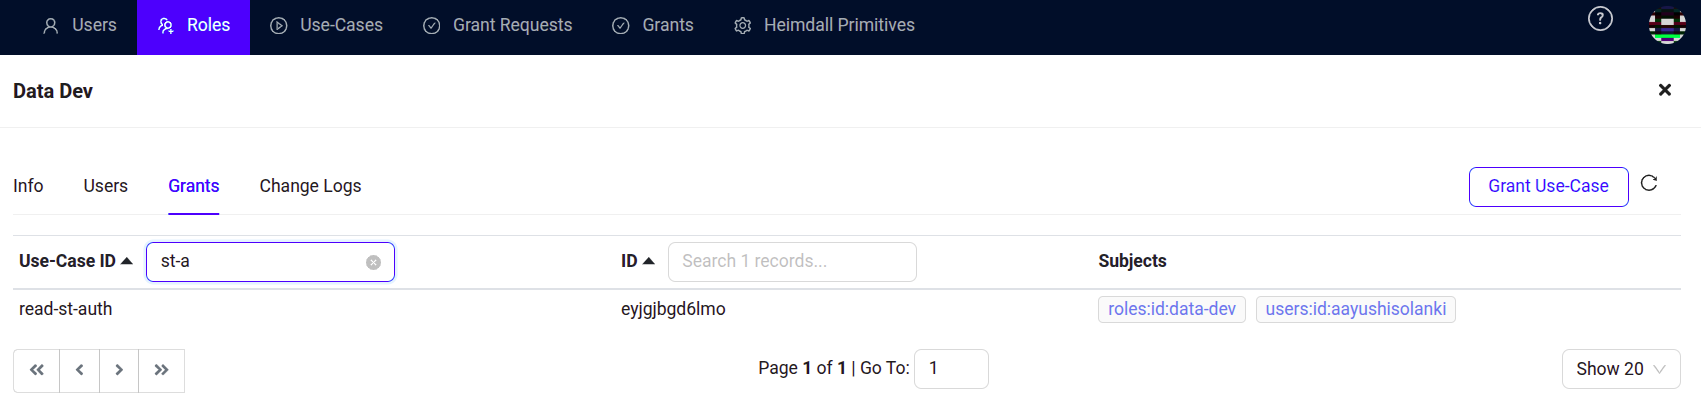
Once the use case is granted, it is listed under the “Grants” section as shown below.
Bifrost Governance