Snowflake
With Key-Pair Authentication:
- Create a public/private RSA key pair locally.
- Register the public key with the Snowflake user account.
- Register the private key with DataOS using an Instance Secret.
Pre-requisites
To create an Instance Secret for securing Snowflake credentials, you must have the following information:
Access Permissions in DataOS
To create an Instance Secret in DataOS, at least one of the following role tags must be assigned:
-
roles:id:data-dev -
roles:id:system-dev -
roles:id:user
Checking Assigned Roles
Use the following command to verify assigned roles:
If any required roles are missing, contact a DataOS Operator or submit a Grant Request for role assignment.
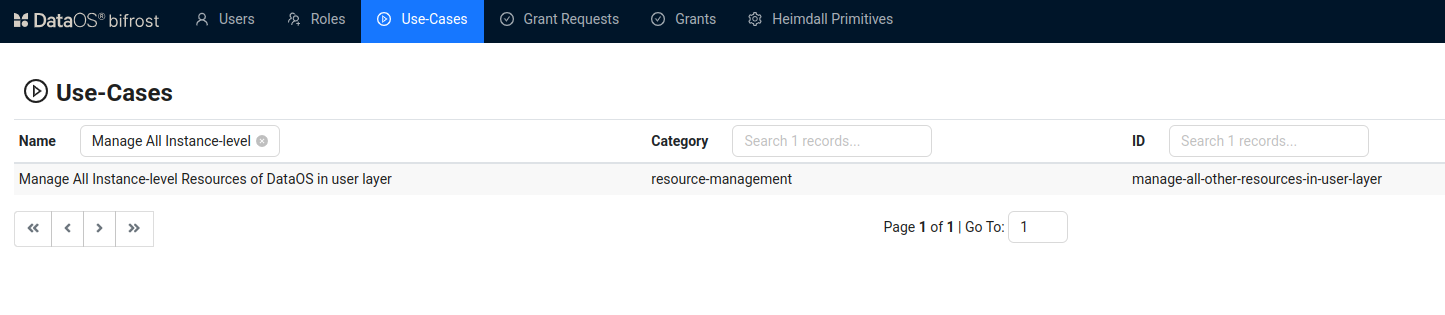
Alternatively, if access is managed through use cases, ensure the following use case is assigned:
-
Manage All Instance-level Resources of DataOS in User Layer
To validate assigned use cases, refer to the Bifrost Application Use Cases section.
Bifrost Governance
Source System Requirements
-
Username: The Snowflake username used to authenticate to the Snowflake account. This can be obtained from your Snowflake administrator or found in your Snowflake account settings.
-
RSA Key Pair: You must generate a public and private RSA key pair in PKCS#8 PEM format for key-pair authentication.
-
The public key (
snowflake_rsa_key.pub) must be registered with your Snowflake user account using: -
The private key (
snowflake_rsa_key.p8) will be used in Instance Secret.
For key generation steps, see the Generate RSA Key Pair section.
-
-
Passphrase: A secure passphrase to encrypt the private key.
Steps to configure Key-Pair Authentication
Snowflake is a data warehouse that serves as a centralized repository for structured data, enabling efficient query and analysis. Follow the steps below to complete the creation process efficiently and securely.
Step 1: Create a manifest file
Begin by creating a manifest file to hold the configuration details for your Snowflake Instance Secret. Depending on your access needs (read-only or read-write), start with the corresponding YAML template provided below
# Snowflake Read Instance-secret Manifest

name: ${snowflake-depot-name}-r # Unique identifier for Resource, replace ${snowflake-depot-name} with depot name
version: v1 # Manifest version
type: instance-secret # Type of the Resource
description: ${description} # Purpose of the Instance-secret
layer: user # DataOS layer
instance-secret:
  type: key-value-properties # Secret type
  acl: r # Access control: 'r' for read-only
  data:
    username: ${snowflake-username}
    auth_mode: key-pair
    passphrase: ${pass phrase}
    key: |
      -----BEGIN ENCRYPTED PRIVATE KEY-----
      add the private key here
      -----END ENCRYPTED PRIVATE KEY-----
# Snowflake read-write Instance-secret Manifest

name: ${snowflake-depot-name}-rw # Unique identifier for Resource, replace ${snowflake-depot-name} with depot name
version: v1 # Manifest version
type: instance-secret # Type of the Resource
description: ${description} # Purpose of the Instance-secret
layer: user # DataOS layer
instance-secret:
  type: key-value-properties # Secret type
  acl: rw # Access control: 'r' for read-only
  data:
    username: ${snowflake-username}
    auth_mode: key-pair
    passphrase: ${pass phrase}
    key: |
      -----BEGIN ENCRYPTED PRIVATE KEY-----
      add the private key here
      -----END ENCRYPTED PRIVATE KEY-----
# Snowflake Read Instance-secret Manifest

name: sfdepottest-r # Unique identifier for Resource
version: v1 # Manifest version
type: instance-secret # Type of the Resource
description: snowflake credentials # Purpose of the Instance-secret
layer: user # DataOS layer
instance-secret:
  type: key-value-properties
  acl: r
  data:
    username: TESTUSER_1
    auth_mode: key-pair
    passphrase: SnoF@k3!2025
    key: |        # Key provided here is only for demonstration purpose, please provide the actual key
        -----BEGIN ENCRYPTED PRIVATE KEY-----
        MIIFHDBOBgkqhkiG9w0BBQ0wQTApBgkqhkiG9w0BBQwwHAQIJwUWFEM/l8UCAggA
        MAwGCCqGSIb3DQIJBQAwFAYIKoZIhvcNAwcECMg2/lnrMBUfBIIEyBkriuK7ZXw6
        b3xpJiRRvIdd+Ii9Vd1oxU+qwD/LsBi0sIXSnKzGkEgTEUEpuSuuEH0p8kjOLcbm
        JfVY0iU9ZKdgDb3aqsG8sc4PvSH8xOCzE0Oy4sWH4jnoKMryOi43yd+tR16kR+u5
        PybjvuOeLRB1EUaftrCYe69SzZkZh8dRmSUgYC6PCjmsq3C5+eqNVvqagHfRmHzd
        O7orBZvmsqMNFI47QOLsZ3mplwjzrUqlArLlpa3HXa854z0iM9+U5XA1+uNY+OHy
        a7VR9Ag4NSouhuzEWCxshSWpMEVCO0cT3QWut+E+q+RRXX19UQeL67GcROfsYyP/
        K7JWroJQSTLV5XUSumY1OpcACw/ipO4+ImJ8L8inWFvQ5vBcdEO8uDJmRNr+0xD8
        +lL5rfGAlN97yFeTwzCIQg==
        -----END ENCRYPTED PRIVATE KEY-----
Resource meta section
The Instance Secret manifest includes a Resource meta section with essential metadata attributes common to all resource types. Some attributes in this section are optional, while others are mandatory. For more details, refer to the configurations section.
Instance-secret specific section
This section focuses on attributes specific to Snowflake Instance Secrets. It includes details like:
-
type: Specifies the Instance Secret type (key-value-properties). -
acl: Access control level (read-only or read-write). -
data: Contains sensitive information such as Snowflake username, authentication mode, passphrase, and encrypted private key.
For more information, refer to the configurations section.
Step 2: Apply the manifest
Warning
If the connection credentials contain special characters such as @ : / ? # & = + ; % \ ' { } ( ) * $ !, the --disable-interpolation flag must be used when applying instance-secrets or secrets. This ensures that special characters are retained as-is in the string.
Example:
To create the Snowflake Instance Secret within DataOS, use the apply command. Since Instance Secrets are Instance-level resources, do not specify a workspace while applying the manifest.
Step 3: Validate the Instance Secret
To validate the proper creation of the Instance Secret in DataOS, use the get command.
To get the list of all the Instance Secrets within the DataOS environment execute the following command.
dataos-ctl resource get -t instance-secret -a
INFO[0000] 🔍 get...
INFO[0000] 🔍 get...complete

            NAME            | VERSION |      TYPE       | WORKSPACE | STATUS | RUNTIME |         OWNER
-----------------------------|---------|-----------------|-----------|--------|---------|------------------------
abfssv2alpha-r             | v1      | instance-secret |           | active |         | iamgroot
abfssv2alpha-rw            | v1      | instance-secret |           | active |         | iamgroot
abfsswithoutmetastore-r    | v1      | instance-secret |           | active |         | thisisthor
abfsswithoutmetastore-rw   | v1      | instance-secret |           | active |         | thisisthor
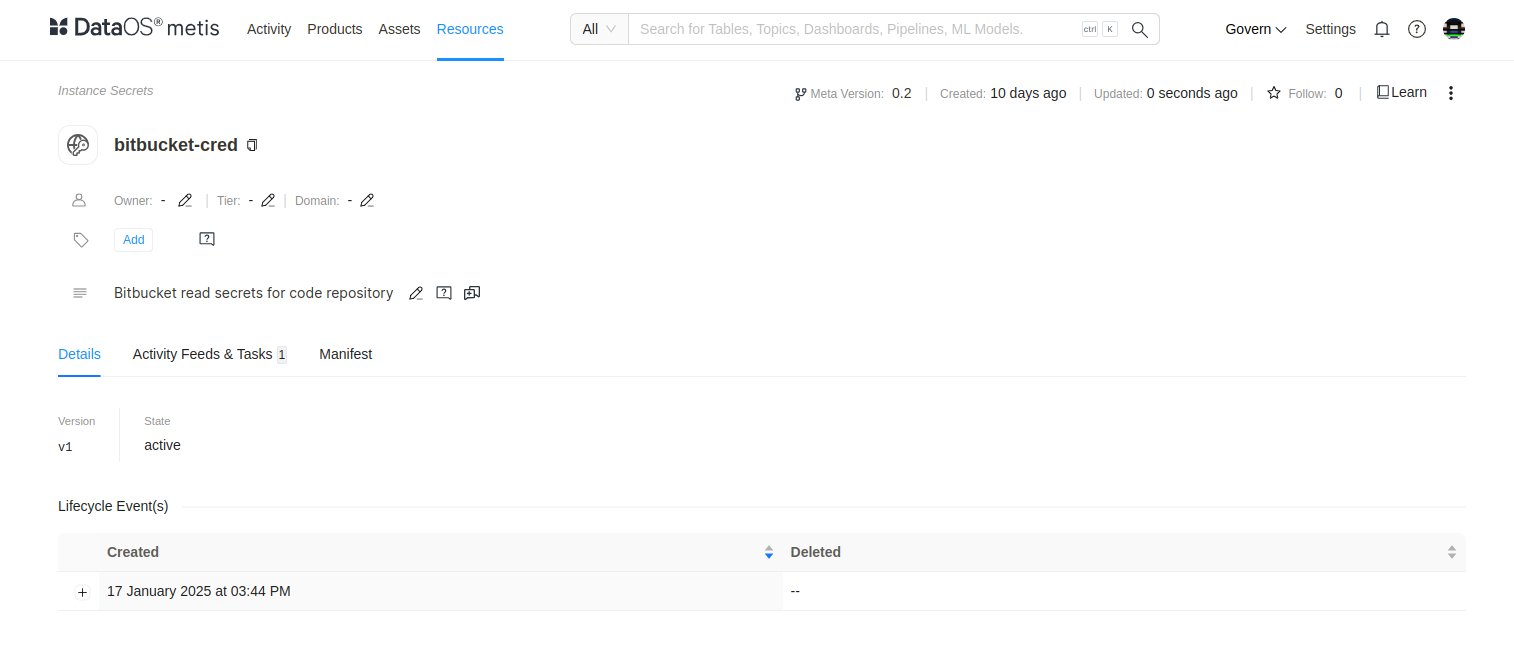
Alternatively, you can also check on Metis UI by searching the Instance Secret by name.
Delete the Instance Secret
To delete an Instance Secret, use one of the following methods:
Method 1
Specify the Resource type and Instance Secret name in the delete command.
Method 2
Copy the Instance Secret name, version, and Resource-type from the output of the get command separated by '|' enclosed within quotes and use it as a string in the delete command.
Method 3
Specify the path of the manifest file and use the delete command.
Troubleshooting
This section provides guidance on resolving errors encountered during consumption of Snowflake Depot with Key-Pair Authentication.
| Issue | Cause |
|---|---|
JWT token is invalid |
The private key used by the client doesn’t match the public key on the Snowflake user. |
Insufficient privileges |
The active role cannot modify the user; switch to ACCOUNTADMIN or equivalent. |